Showing posts with label Sharp Practice. Show all posts

Monday, 10 August 2026

General Roundup for Early August

It's been a fairly hectic period with a lot of games for me, so rather than spending lots of time writing lots of detailed battle reports I thought I'd just go over everything I've done since the last post.

18 July: Test of Honour

With my dad back from overseas we had a couple of games of ToH, with me taking a samurai+ashigaru force and him taking warrior monks; the first round was just the base game and then we did it again with the Sengoku expanded rules, with me taking some ronin allies and him some ninjas. Both scenarios were the Control mission from the core rules.


Final result was 1-all; I conceded the first game after he slew all my characters, but the second game featured a staggering number of fumbled rolls in the second half, and despite heavier losses I won through controlling more objectives.

21 July: Traitor's Toll

Gareth joined us for a round of Traitor's Toll with the main plot being the Phantom; a thief of uncertain identity masquerading as one of the civilians.


The game went better than our last goes for the guards, although not without a few twists and turns as our squads repeatedly failed to arrest secondary suspects while the Phantom ran loose among the populace.

25 July: Chain of Command

Timmy and I went back to the jungle for this one, with an aggressive Japanese manoeuvre on their left blunted by some good dice rolling on the British side. A more concentrated attack on the lead British section likely would have achieved greater results than the split effort between the infantry and the MG nest (though the latter was dispersed on the second Japanese assault.


Not the most exciting game but one that reminded us of how important it was to keep the jungle rules in mind.

28 July: Chain of Command

Rather than clear the table I left it in place while I oversaw Gareth as the Japanese versus my dad as the British. A rare moment of hesitation from Gareth led to his prematurely calling in a mortar barrage that not only hit some of his own troops, but also left him with little room to manoeuvre on his left. An ill-advised dash into the open on his right flank led to that unit being shot from behind, and so badly outmatched when it attempted to charge that it simply broke and fled without fighting.


1 August: Test of Honour

For that fortnight's club afternoon James and I went at it with our respective forces, with me bringing my usual Onna-Bugeisha while he had a bandit and ronin force. We had two runs of the Ambush scenario, both of which ended with one of us conceding after heavy losses. Special mention goes to one of James' (evil, dastardly) ronin units which used exactly the same figures as one of my (noble, upstanding) onna-bugeisha groups!


2 August: Big Chain of Command

Timmy wanted another go at a jungle scenario but this time using the Deep Battle setup for Big Chain of Command, so I prepared a scenario using the full 8x6' table. Three British platoons would face two Japanese platoons and attempt to take the buildings astride the road running down the middle.


The first phase saw my British moving aggressively, though not tremendously so, up towards the river and almost in position to seize the first phase line on the crossroads. In the event it was an armoured car that took the phase line, after what were frankly quite avoidable losses on the part of the infantry.


Although one section had been badly mauled in an attempted counterattack by assault, Timmy held on with his current forces and began bringing out his bunkers, a bit of a problem as I had assumed he'd use them near the end of the battle and had kitted out my third platoon accordingly. Instead platoon #2 was going to have to go into the lion's maw with much less supporting firepower.


Nevertheless, a tenacious advance allowed me to post some grenades into the aperture of one bunker and completely wipe out its defenders, while a mortar barrage locked down most of his force.


When the barrage cleared, however, I was still down a lot of men, and Timmy swapped in his reserve platoon to land the killing blow against my battered force.


Nevertheless, to do that he had needed to deploy all of his supporting assets, and although I did lose my armoured car, the left flank saw my Sherman (not pictured) and a sniper in the woods knock out the MG nest and anti-tank gun on his right, while the barrage more or less destroyed all of the heavy weapons on his left. When my second platoon broke, thus bringing my third in, Timmy decided his remaining force was unlikely to succeed against a fresh platoon supported by an intact tank, and we called it a day.

4 August: Test of Honour

Gareth wanted something a bit lighter after quite a lot of CoC, so I brought Test of Honour out again, with me taking an ashigaru+samurai force against warrior monks. I raised the budget to either 36 or 40 points (I forget which) so that each side had four characters instead of the usual three, although on the deeper table it turned out (to be expected, really) that characters with their extra movement simply expose themselves to attack much earlier, so most of the game turned out to be duelling between our respective big men. I won this one by a hair's breadth after Gareth's commander kept rolling dismally on what ought to have been easy hits.


6 August: Chain of Command

Albert and Stuart, two friends of James', were in town for part of last week, and with James unable to get off work he asked if my dad and I could organise a few games for them. We ended up playing six games across four different sets of rules, which was simultaneously quite impressive and a bit exhausting by the end, but still a good way to show off the game room and our respective collections. The first game was Chain of Command, using the Probe scenario which is my usual intro to new (or in this case new-ish) players. I'd supervise Albert leading the Japanese attackers while my dad advised Stuart on defending as the British.


An aggressive Japanese move on the left was initially blunted when it made a hasty attack against prepared defenders, but the combined effect of the PIAT failing to destroy the Japanese tankette, the Japanese grenade dischargers basically levelling the British lead section in the hut, and severe attrition against their second section meant that although the game did eventually reach the Final Countdown, their morale broke before the clock ran out.

7 August: Twilight of Divine Right

On Friday morning we used Twilight of Divine Right and my dad's 10mm Thirty Years War figures to put on the Battle of Ameixial in 1663, during the Portuguese Restoration War. Albert took the Portuguese while Stuart took the Spanish while we advised from the sidelines. The Portuguese and their English allies had a similar amount of infantry (11 regiments vs 10) but substantially fewer cavalry (7 vs 11), but with an overall quality advantage, and would need to drive the Spanish off the hill.


Some exceptionally bad luck for the Portuguese cavalry wing began causing serious concern, and the Spanish resolutely refused to roll low on their morale checks for several turns while managing to sneak a single cavalry unit around the Portuguese right flank and begin rolling it up. Although we didn't fight through to a definite conclusion it had come to be fairly obvious that a Portuguese loss was a matter of when rather than if.

7 August: Test of Honour

With more time in the afternoon, I put on two games of Test of Honour, one against Albert and one against Stuart. In both games I took a samurai+ashigaru force and my opponent had warrior monks (I think I'm starting to spot a pattern...).


Game 1 went rather poorly for Albert, who ended up losing all of his characters very early, but he was avenged by Stuart who inflicted a resounding defeat on me.

8 August: Sharp Practice

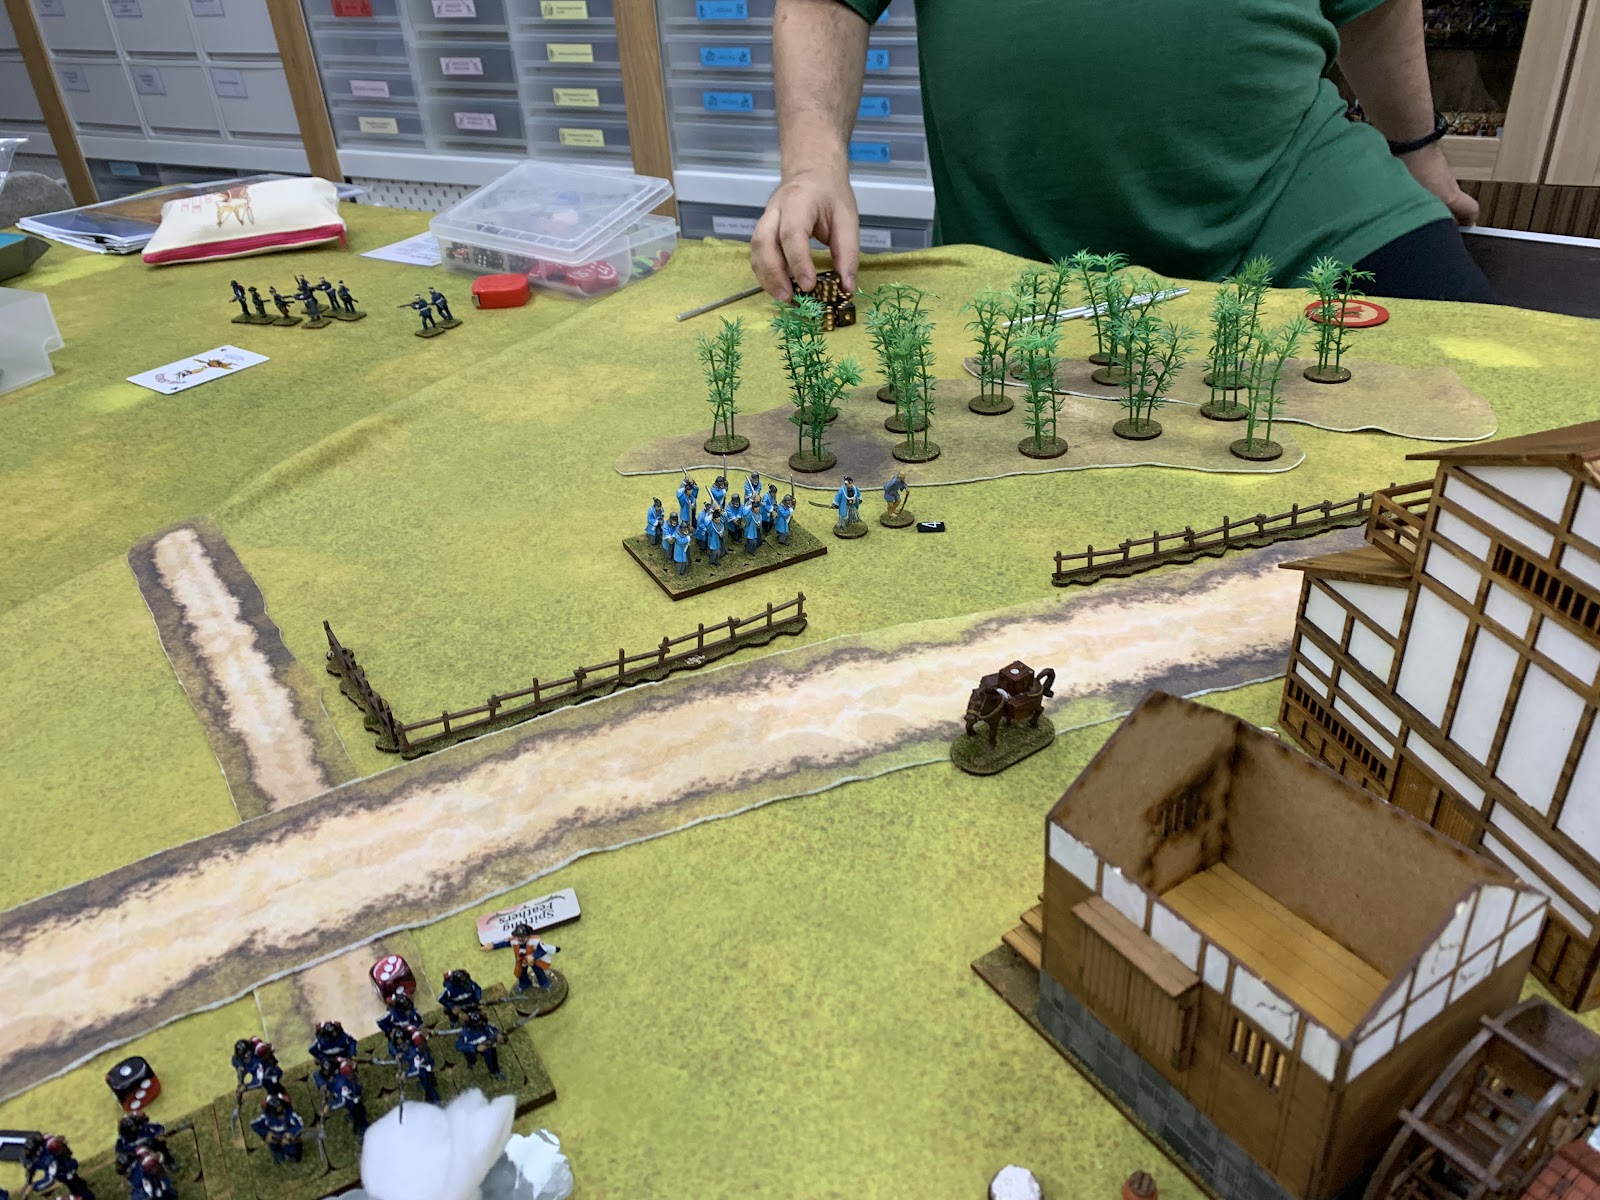
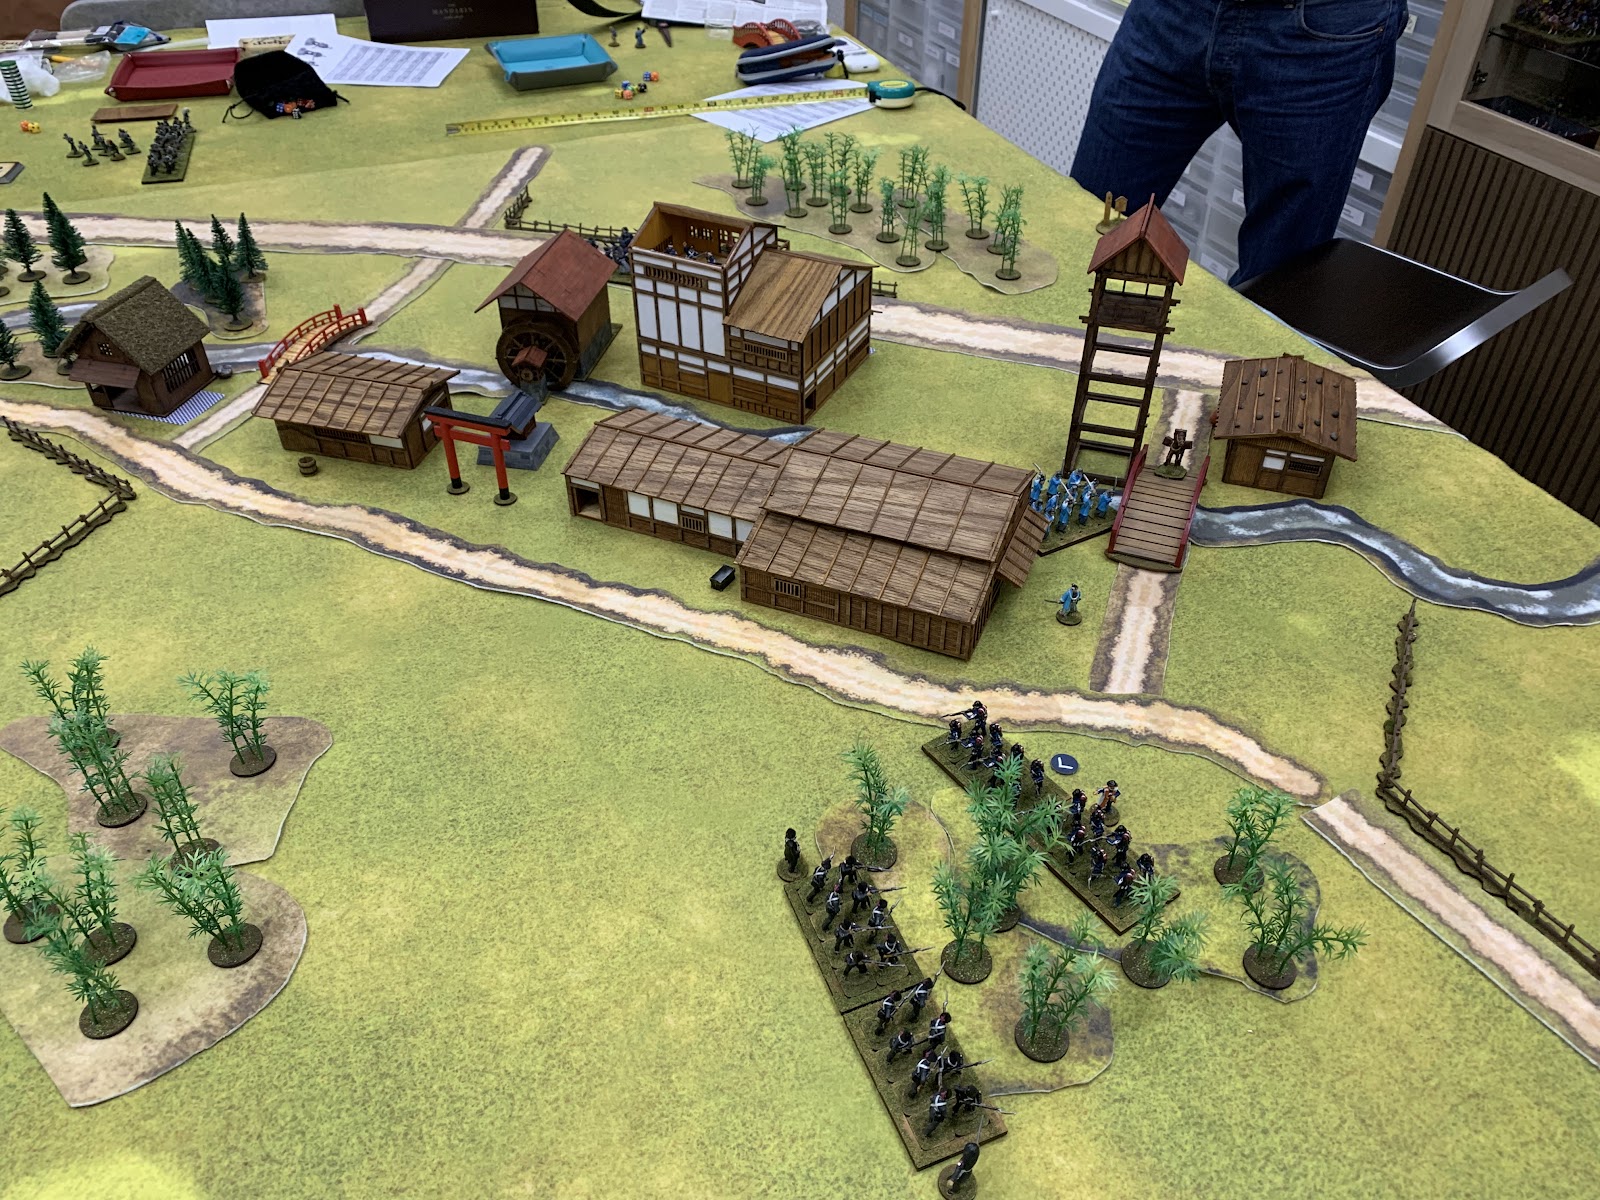
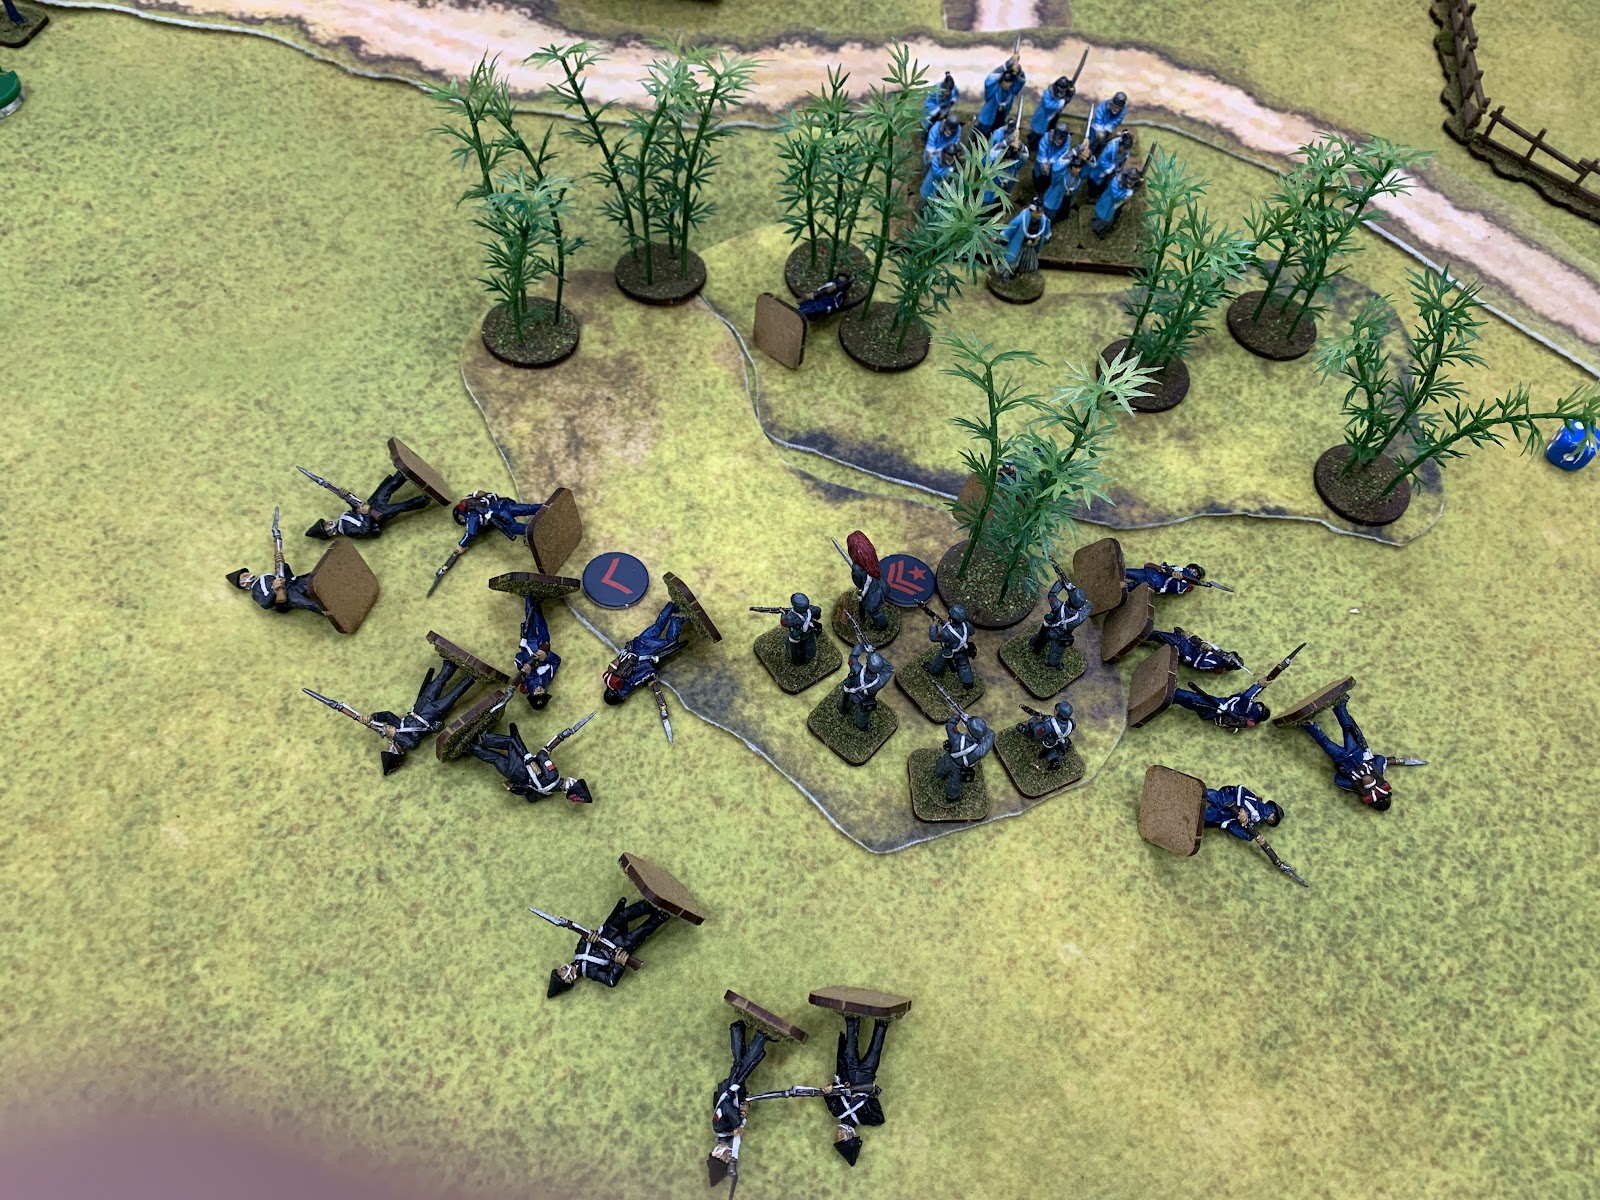
On Saturday morning it was initially just me and Albert, with me taking the forces of the Shogunate and him the restorationist coalition for a game set in the 1868 Boshin War, using figures I don't think I've brought out in over a year. I had set up the terrain intentionally looking to create some major chokepoints that both of us would have trouble manoeuvring through effectively, although I may have gone a bit overboard.


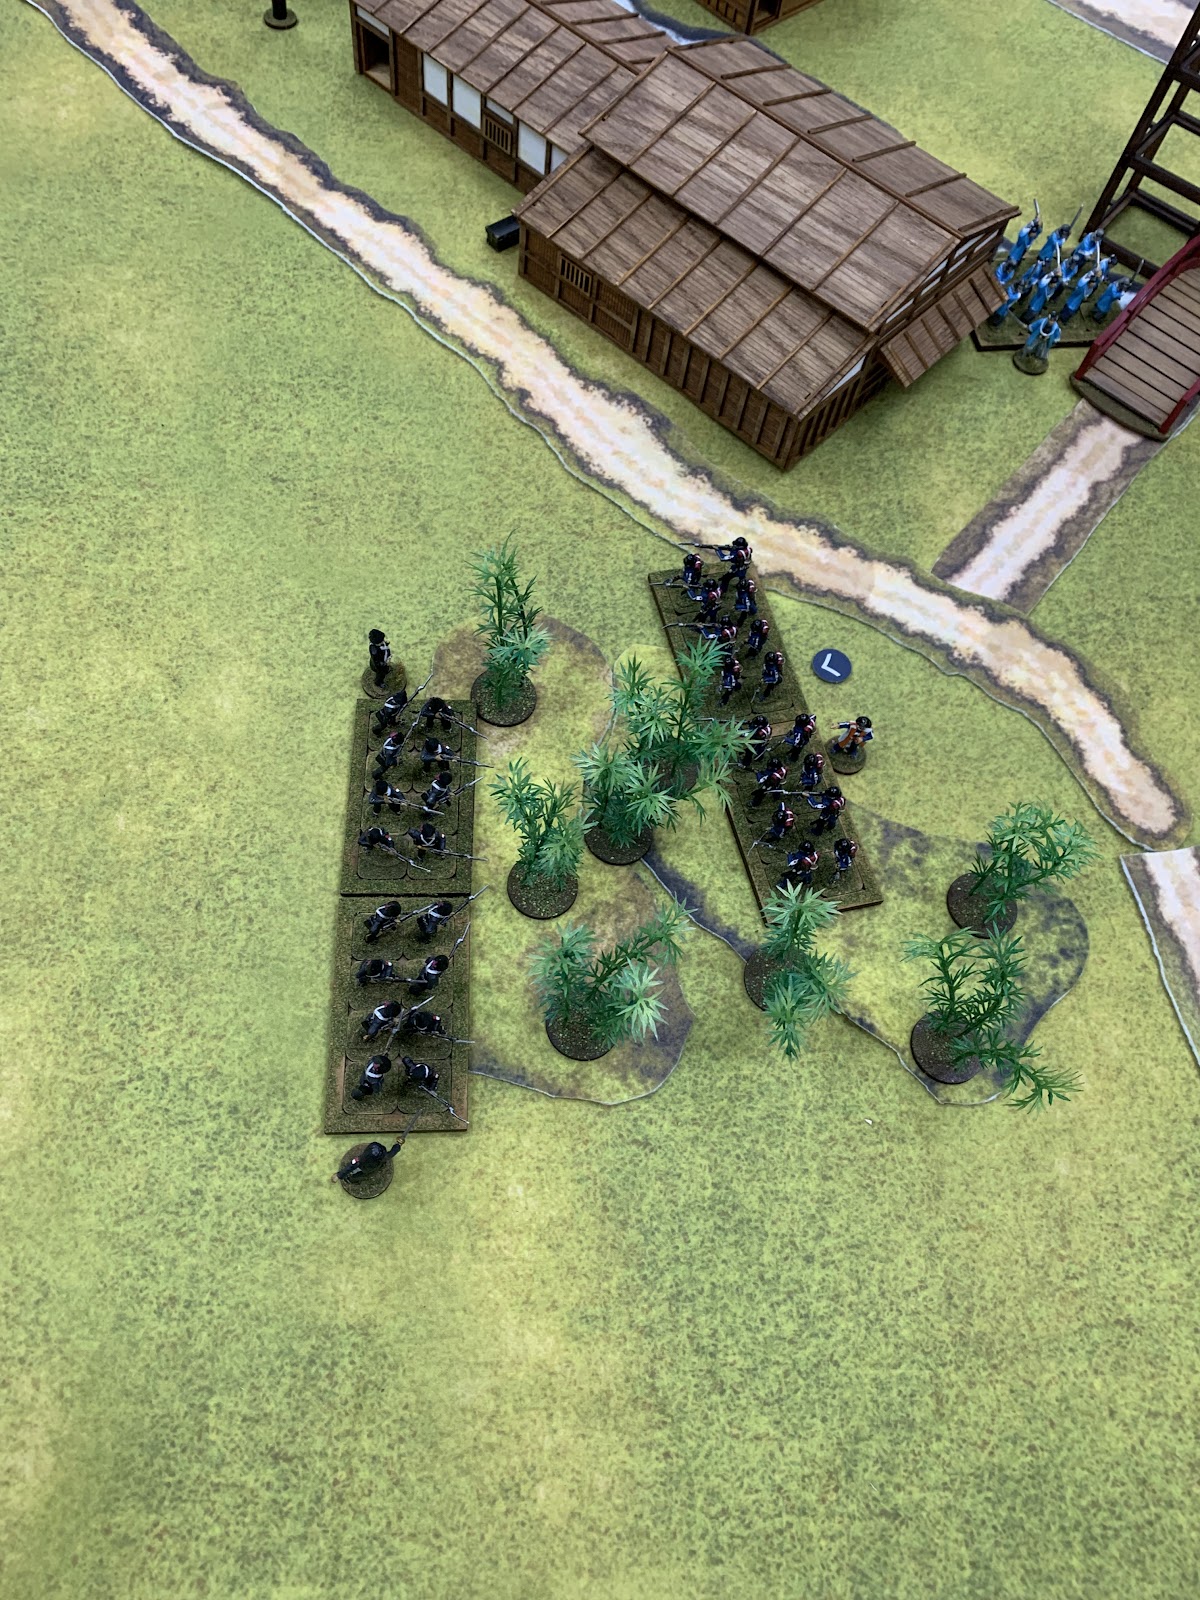
Game 1 saw me take some pretty bad losses on my skirmishers, but a strong first volley from my main body led Albert to concede before things got worse for him. James had arrived at this point and suggested we could go again, but he took the Imperial force this time as Albert had to leave soon and would just observe until his cutoff time.


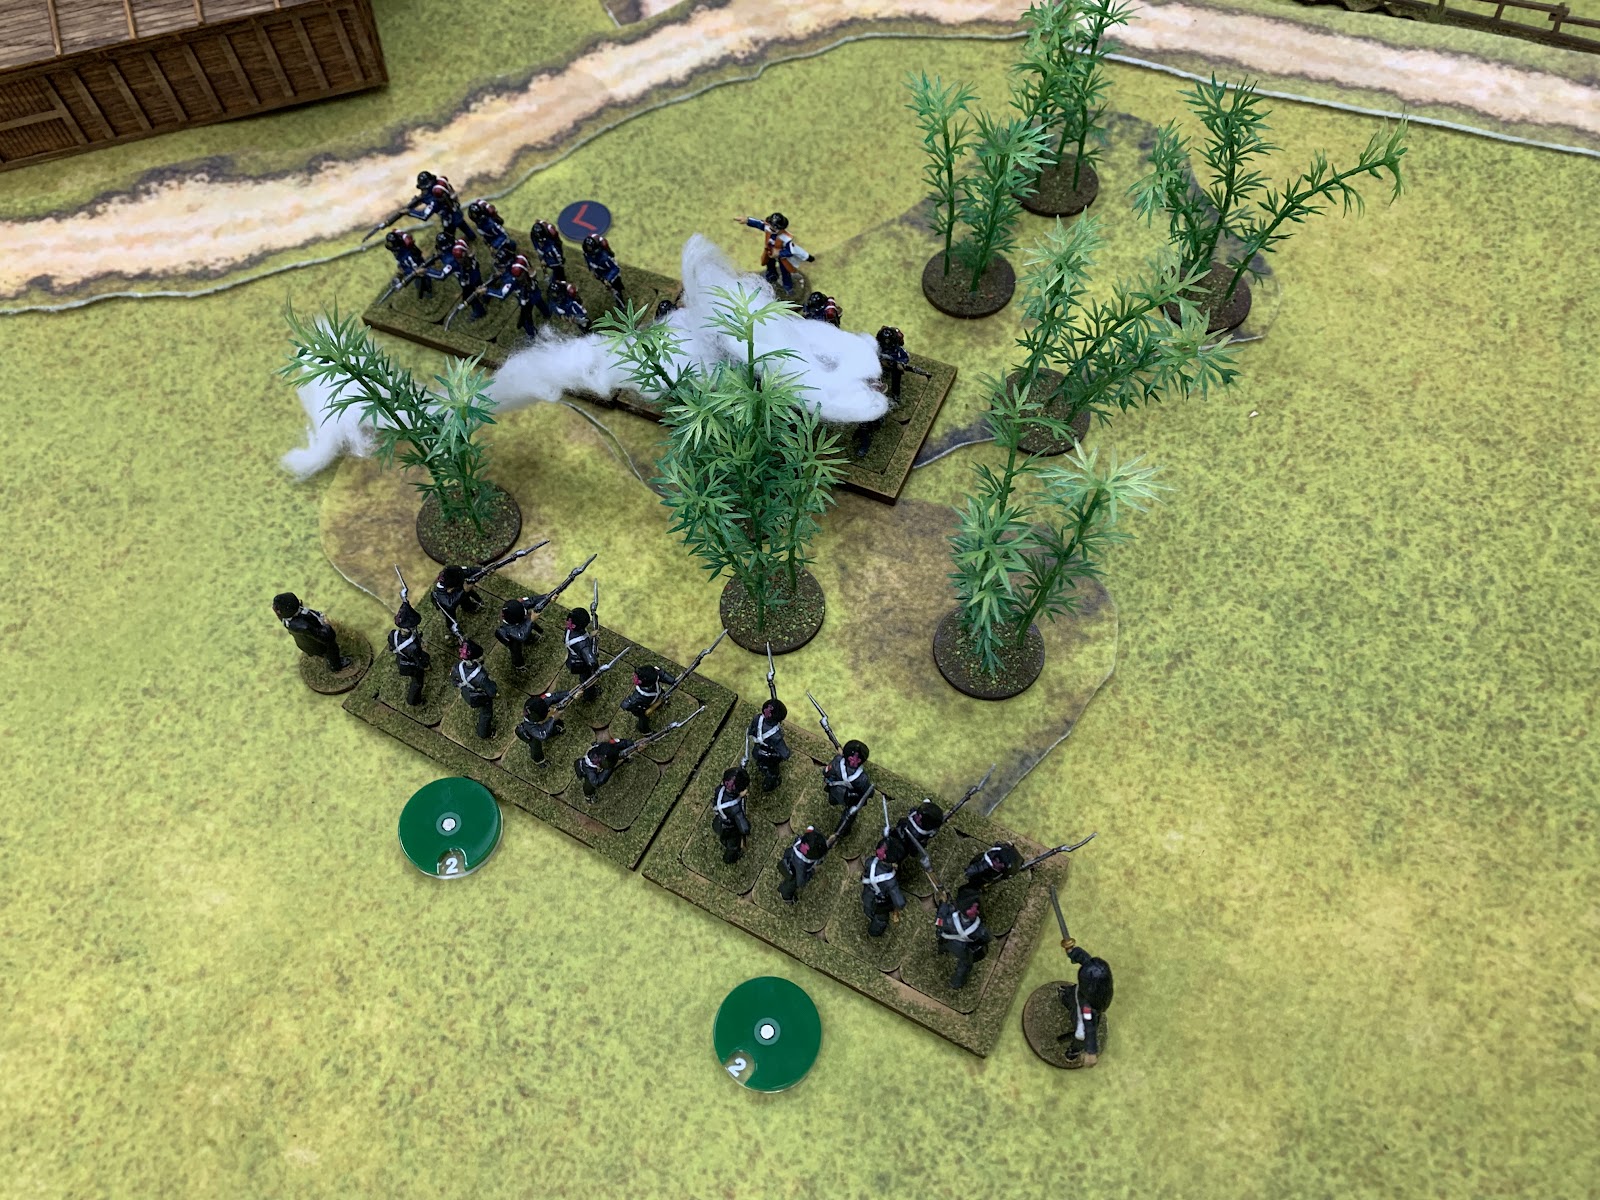
This time the result was a bit more even, as both of us took morale losses as our respective left flanks overcame the enemy's right. Both of us lost our skirmishers early, and my hoped-for decisive blow with my Shingsengumi shock troops was not so much blunted as completely swatted aside by a volley from James' riflemen. However, the duel between my main body and his smaller line had started earlier, and a couple of good rounds of fire at effective range broke both of his Groups and wounded his force commander, causing his morale to collapse from 6 to 0 in a single turn.

Summary

I won't lie, fifteen games in just over three weeks does take a toll on you, and grateful as I am that my summer has been open enough to allow that to happen, I sort of want a break...

Friday, 30 May 2025

Some Practice Runs

Skipping rapidly ahead to the mid-19th century, last Friday saw James and Timmy of the Hong Kong Society of Wargamers come over for a go at Sharp Practice. The HKSW has picked up Sharp Practice recently (at my recommendation, as it turns out), but mainly for the Napoleonic Wars, to which the Boshin War offers a rather different setting, with its longer-ranged, and in some cases faster-firing weapons. Although I've been toying with some house rules (the ideas for which mostly originate with others), the aim for this game was to build more familiarity with the rules as written, so that's what we did.

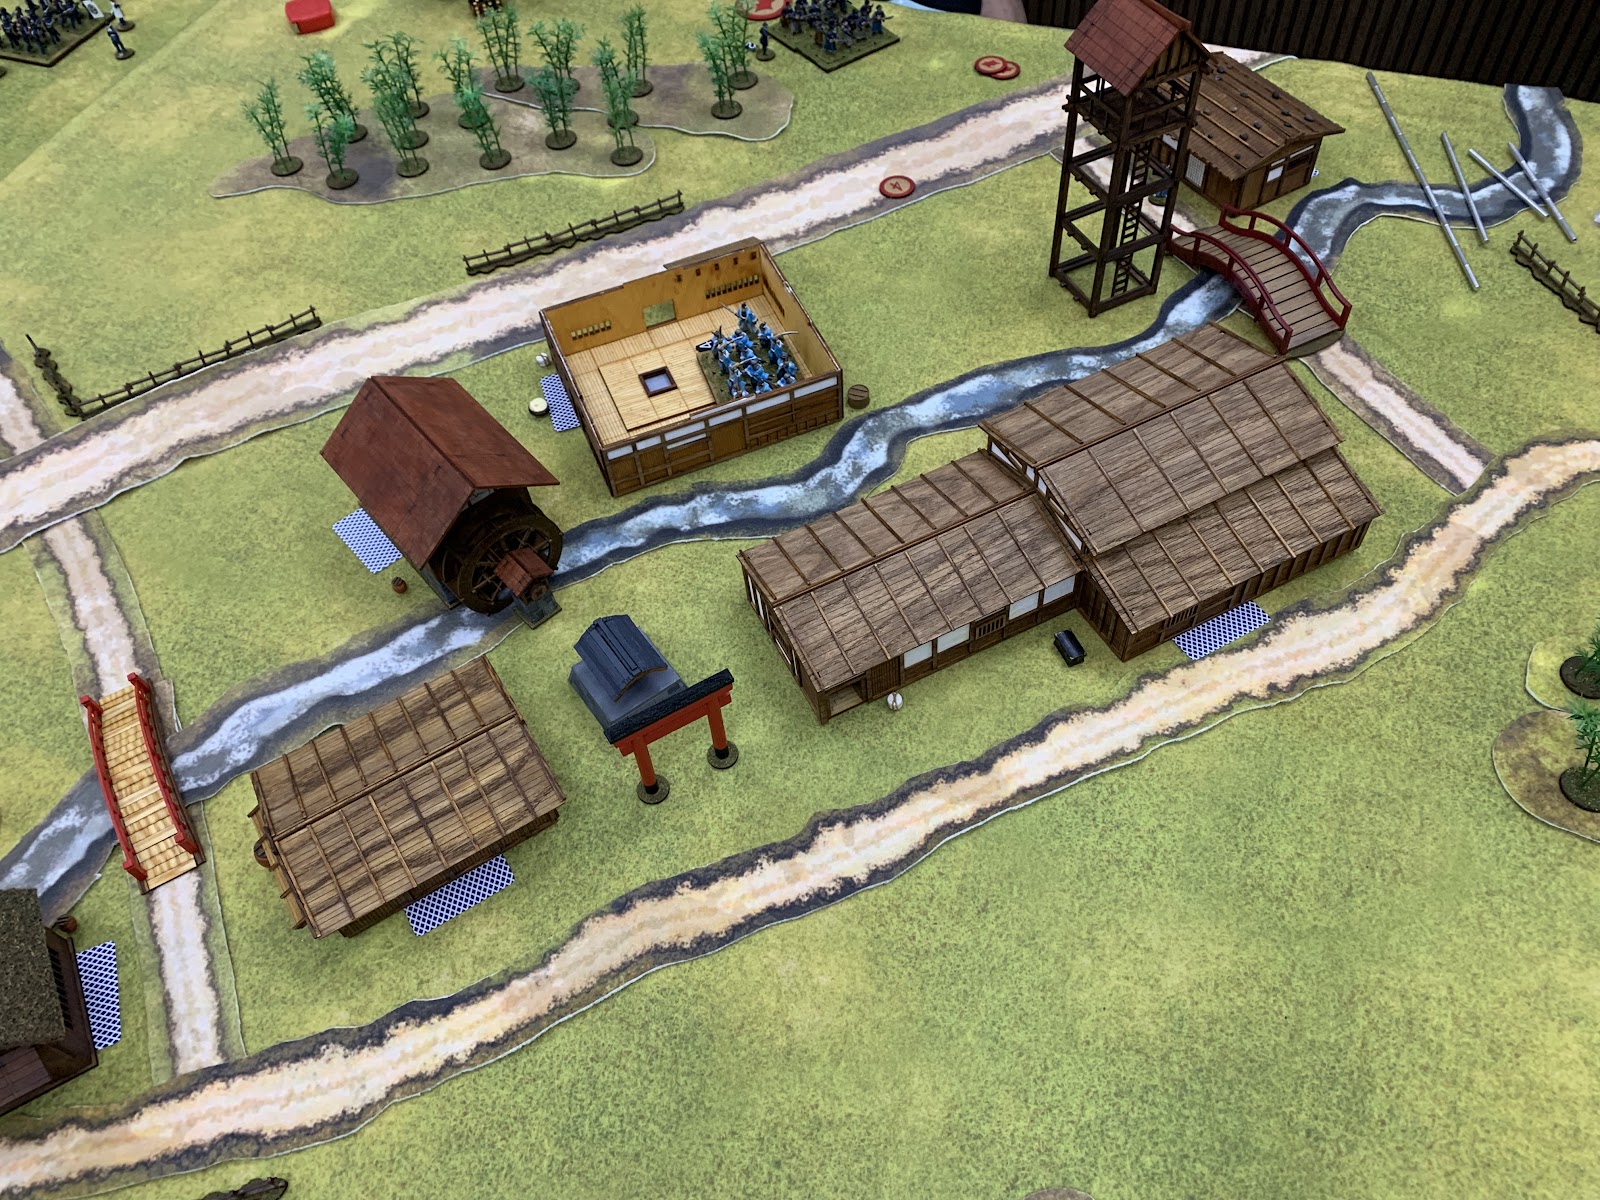
I set up the table with a stream running down the middle and buildings either side, with woods sprinkled liberally about. The idea was to avoid giving either side a wide, uninterrupted field of fire. Each of the six buildings concealed a playing card, one of which (the Joker) represented a spy whom the Shogunate force had to make off with. 10 Task points were needed to search each building. The Imperial force simply had to prevent the Shogunate from achieving their objective, but there is a mechanism for delaying their deployment so that the Shogunate player effectively gets two to four free turns.

The table as initially set up. Rather than going down the length of the table, I opted to instead let players place deployment points up to 2' in from the corners. On reflection this may have given the attackers too much proximity to the village.

Early moves: the Shinsengumi quickly occupied the inn, with no success.

Shogunate skirmishers search the warehouse across the river and find nothing, while one of their musketeer units behind finds itself similarly out of luck next to the watchtower. Note the Imperial skirmishers creeping up on the right.

The Shinsengumi get lucky and find the spy in the watermill, but the pressure is now on as the main body of the imperial force (just out of frame) begins trading volleys with the Shogunate line.

On the right, the Imperial skirmishers get a clean shot against an exposed Shogunate musketeer group and score some very good hits.

The Shogunate skirmishers then file out of the warehouse and get a shot off against the Imperials, killing one.

But the return fire from the Imperials proves devastating, killing five of the Shogunate skirmishers and wounding their Leader. Shogunate morale was becoming precipitously low.

Could the Shinsengumi make off with the spy before morale collapsed?

Tragically, no. A final round of fire by the Imperial skirmishers broke the Shogunate army's resolve, and although the spy was technically under their control, they had fled the field in disgrace.

After a convincing result on Friday, I kept the entire setup the same and replayed it with Gareth on Tuesday. As shall be seen, Gareth would move much more aggressively than James and Timmy had done, but would it pay off for him?

Shogunate riflemen in open column approach the bridge while the Shinsengumi prepare to ford across next to them.

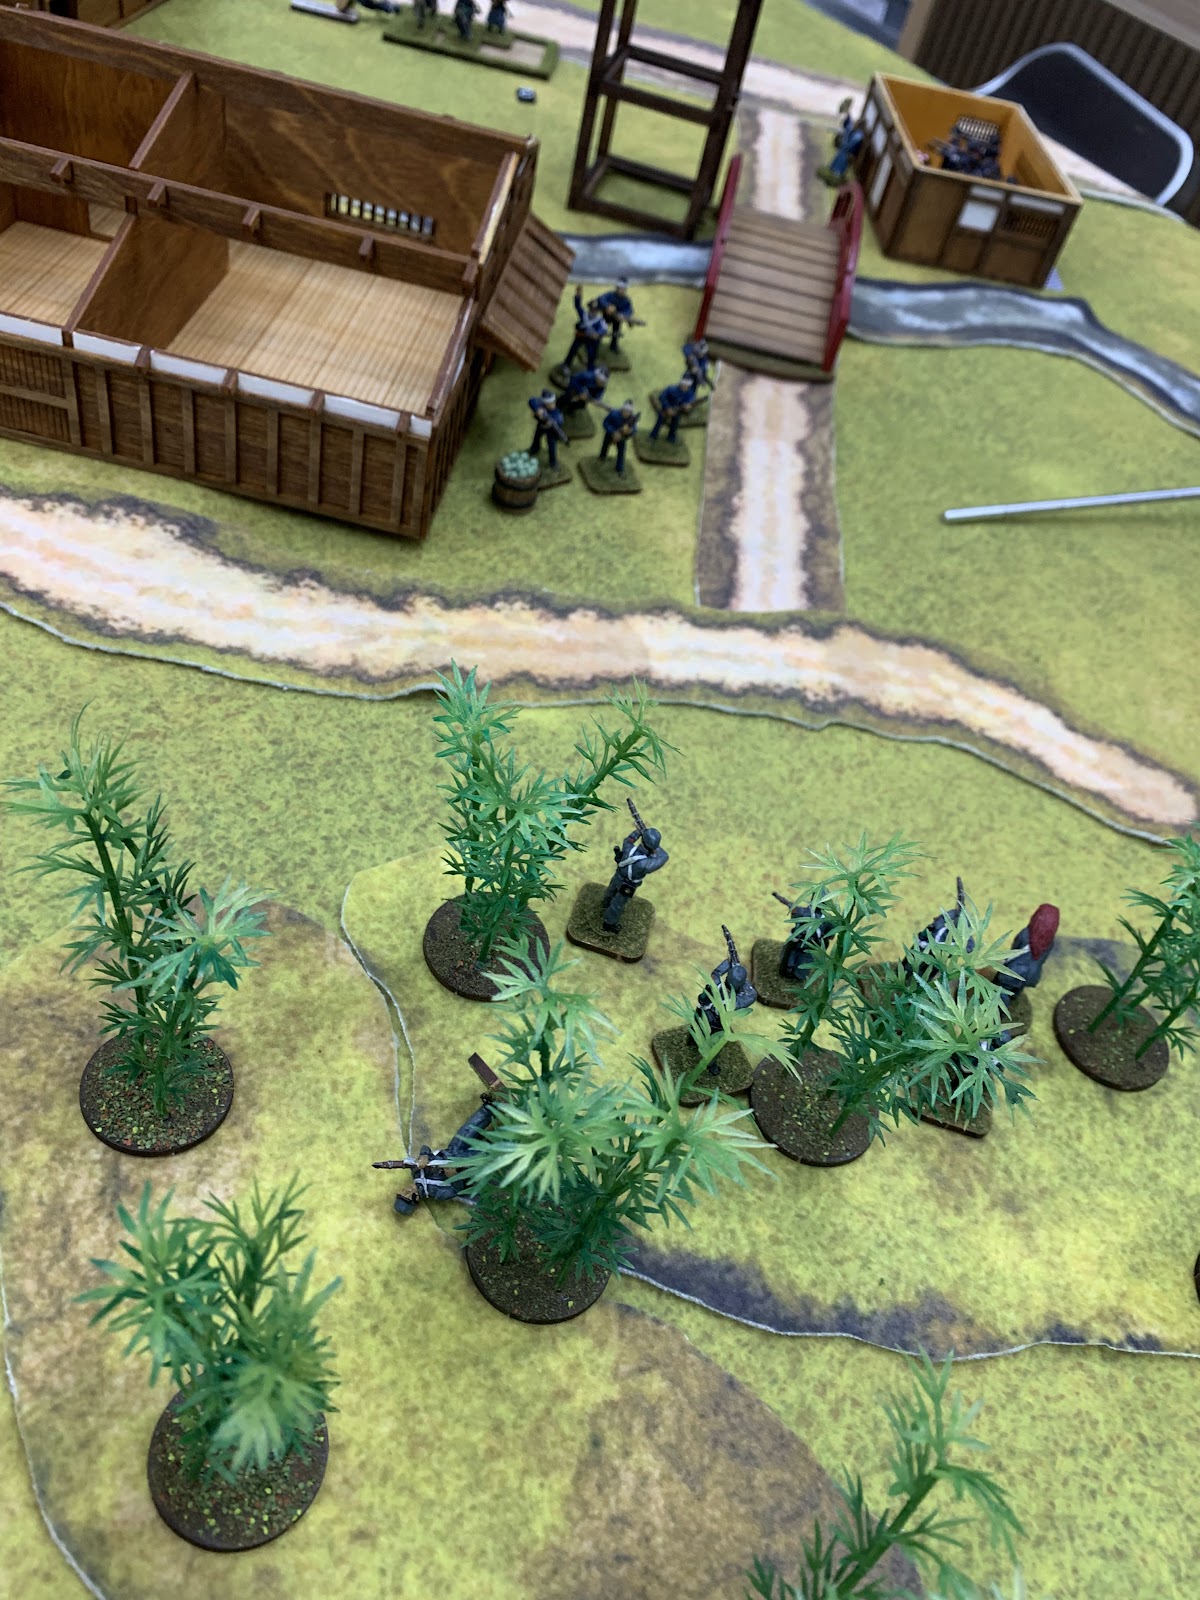
The riflemen surge further forwards, seeking cover in the woods before their Imperial counterparts can position themselves to oppose them.


An interesting game of chicken. With visibility in the wood limited to 4", one side or another had to advance before firing, but doing so (without a command card bonus) would mean giving up the ability to aim before firing for a +1 modifier to hit. Who would go first?

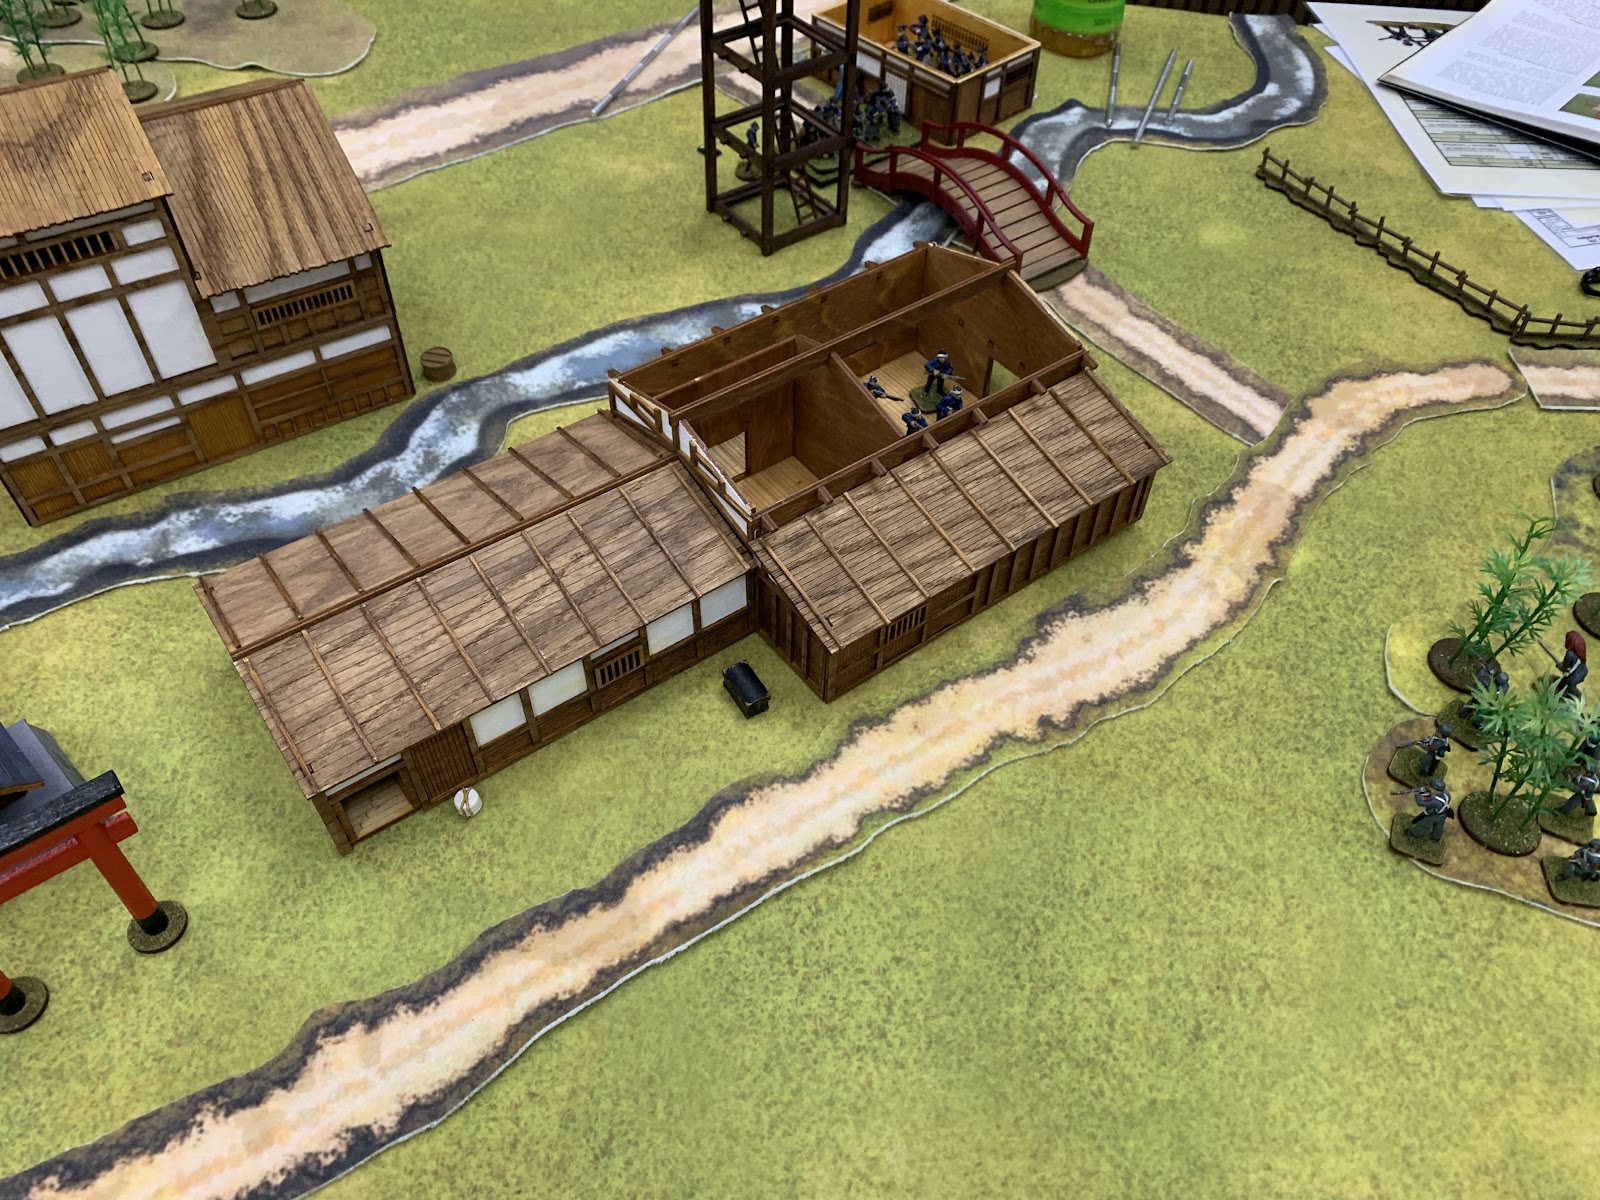
Worse still, the Shogunate skirmishers had set themselves up on the upper storey of the inn, with a wide field of fire from the extended window. With the Imperials so far failing to deploy any of their other units, things seemed dire.

For a moment, fortune seemed to smile upon me, as Gareth (who decided he would make the first move) inflicted only four points of Shock and no casualties from his first volley.

But then, a Random Event struck, which saw the Shogunate riflemen, energised by their own fire, surge forwards 2D6" into melée contact, getting +2D6 per unit to boot!

Remarkably, Gareth only won the melée by 2 hits, but that still meant I was down 9 men while he lost 7, and I had to withdraw and take additional Shock on top of the 4 inflicted in the combat.

Worse still, those 9 casualties for me included both of my Leaders, substantially worsening my morale. Gareth's big man was injured as well, but remained in control of his faculties, while my own had passed out, leaving command to his NCO, himself too injured to issue orders without Command Cards.

Two successive rounds of pinpoint-accurate fire from Gareth's skirmishers saw off the rest of my line infantry. Was there anything else I could do?

In a stroke of luck, I was able to bring out my skirmishers on the flank of his riflemen, routing the already-weakened group on the left.

Naturally, seeing what had worked for Gareth, I followed up with a valiant charge that drove off the other half of his riflemen, only for my Leader to be the sole casualty in the encounter, suffering a minor injury but still taking enough off my force morale to break my army's resolve.

On the whole, an interesting pair of engagements. What's clear is that the amount of losses you need to take before collapse can be very low indeed, and that a concentrated push against a single vulnerable element can be enough to take it over the edge. Game 1 certainly had more of a swing to it thanks to the race for me to take down the Shogunate force morale before they achieved their objective, whereas I think my delayed deployment in Game 2 more or less precluded any chance of a decisive win. Gareth moving aggressively was a risky approach (especially as his musketeers hung back to search the houses), but my inability to bring out my full force in response, combined with the shortage of good cover on my side, and his skirmishers up in the attic of the inn, all tipped things in his favour. The skirmishers made a good effort, so I can claim a small moral victory there.

This was also a bit of an opportunity to show off some of the kits from TRE Games I've done up over the last couple of years, four of which (the warehouse, the inn, and the two shops with the wooden roofs) formed the centrepiece of the table. These have some quite interesting layouts to have to work around, especially given the limitations that Sharp Practice places on firing from windows and doorways.

After this foray down to the 1860s, it's back to the Sengoku for a while...

General Roundup for Early August

It's been a fairly hectic period with a lot of games for me, so rather than spending lots of time writing lots of detailed battle report...