Despite having played The Men Who Would be Kings for a couple of years now, it struck me that I had never got round to trying its much-vaunted solo rules. With my normal sparring partners unavailable and some bad weather rolling in, I thought it would be a good chance to have a go, and also to break in some of my Anglo-Indian forces. The game lasted a whopping 29 turns so I'll try not to do a complete blow-by-blow; instead I'll try to give a relatively general summary of what happened, and my thoughts on the Mr Babbage system.
To get a criticism out of the way early on, how exactly to set up is not as clearly communicated as it might have been. That you should ideally just be playing a pure combat encounter rather than a scored scenario is the last of Mr Babbage's ten instructions, and when you are told to 'line your chaps up' you are not told whether to do so lengthways or widthways. Taking a cue from this solo game by Neil of the blog Toy Soldiers and Dining Room Battles, played admittedly using the half-unit-sized Skirmish Kings variant, I decided to play down the length of a roughly 6' by 5' area, deploying along a short edge.
As my self-imposed scenario objective, to give myself some reason to advance, I decided that my 1864 Anglo-Indian force had been tasked with securing a crossroads just over a bridge. The crossroads would be 4 feet away from my deployment, and the stream 2 feet in, counting as a fordable Obstacle for infantry and cavalry but impassable to artillery. There would be an inn at the crossroads (handled using the rules for buildings in the Satsuma Rebellion scenario book), and various obstructions scattered about – two hills (they're hard to spot in most of the photos, as they were formed using layered cardboard templates underneath the mat), three areas of woodland, and some rocky ground on the right opposite bank of the stream.
 |
The terrain setup with the British deployment.
|
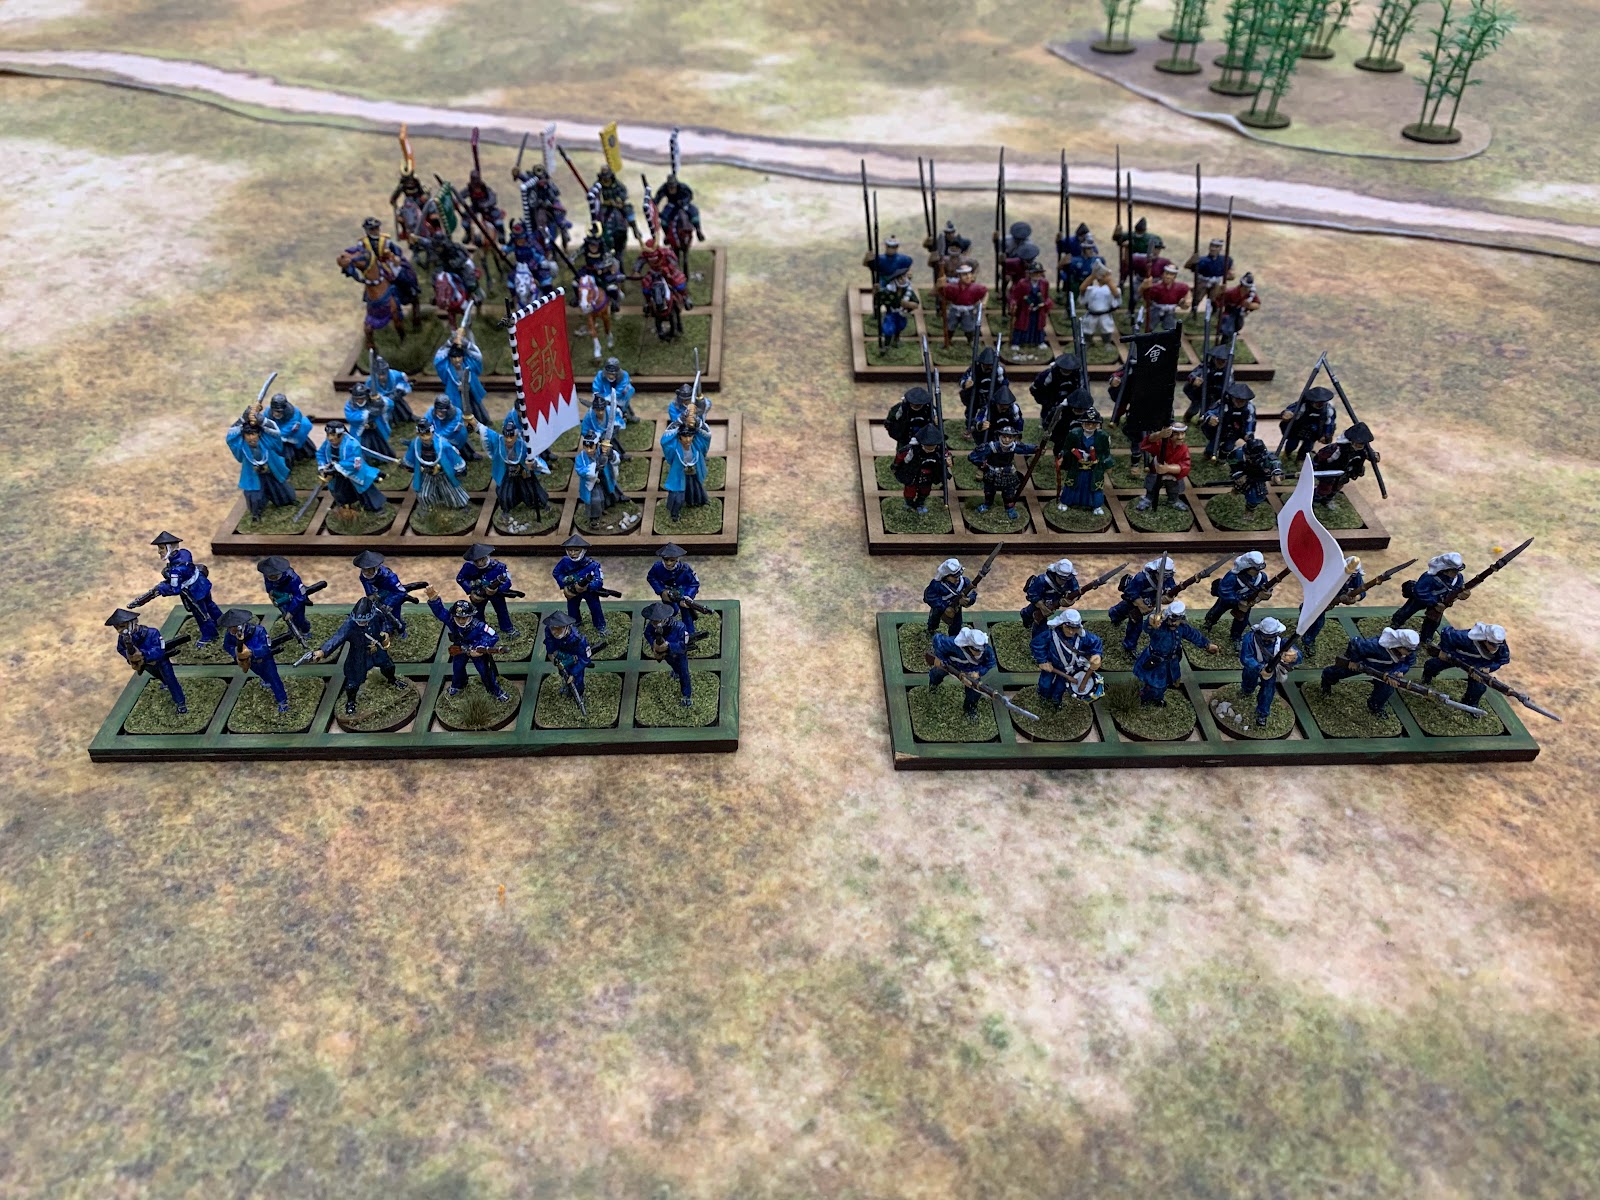 |
| The Japanese force: Two unmodified Tribal Infantry, one Fierce Veteran Tribal Infantry (these being the Shinsengumi in blue coats), one Tribal Cavalry, one Irregular Infantry, and one Regular Infantry (the ones with the flag). |
 |
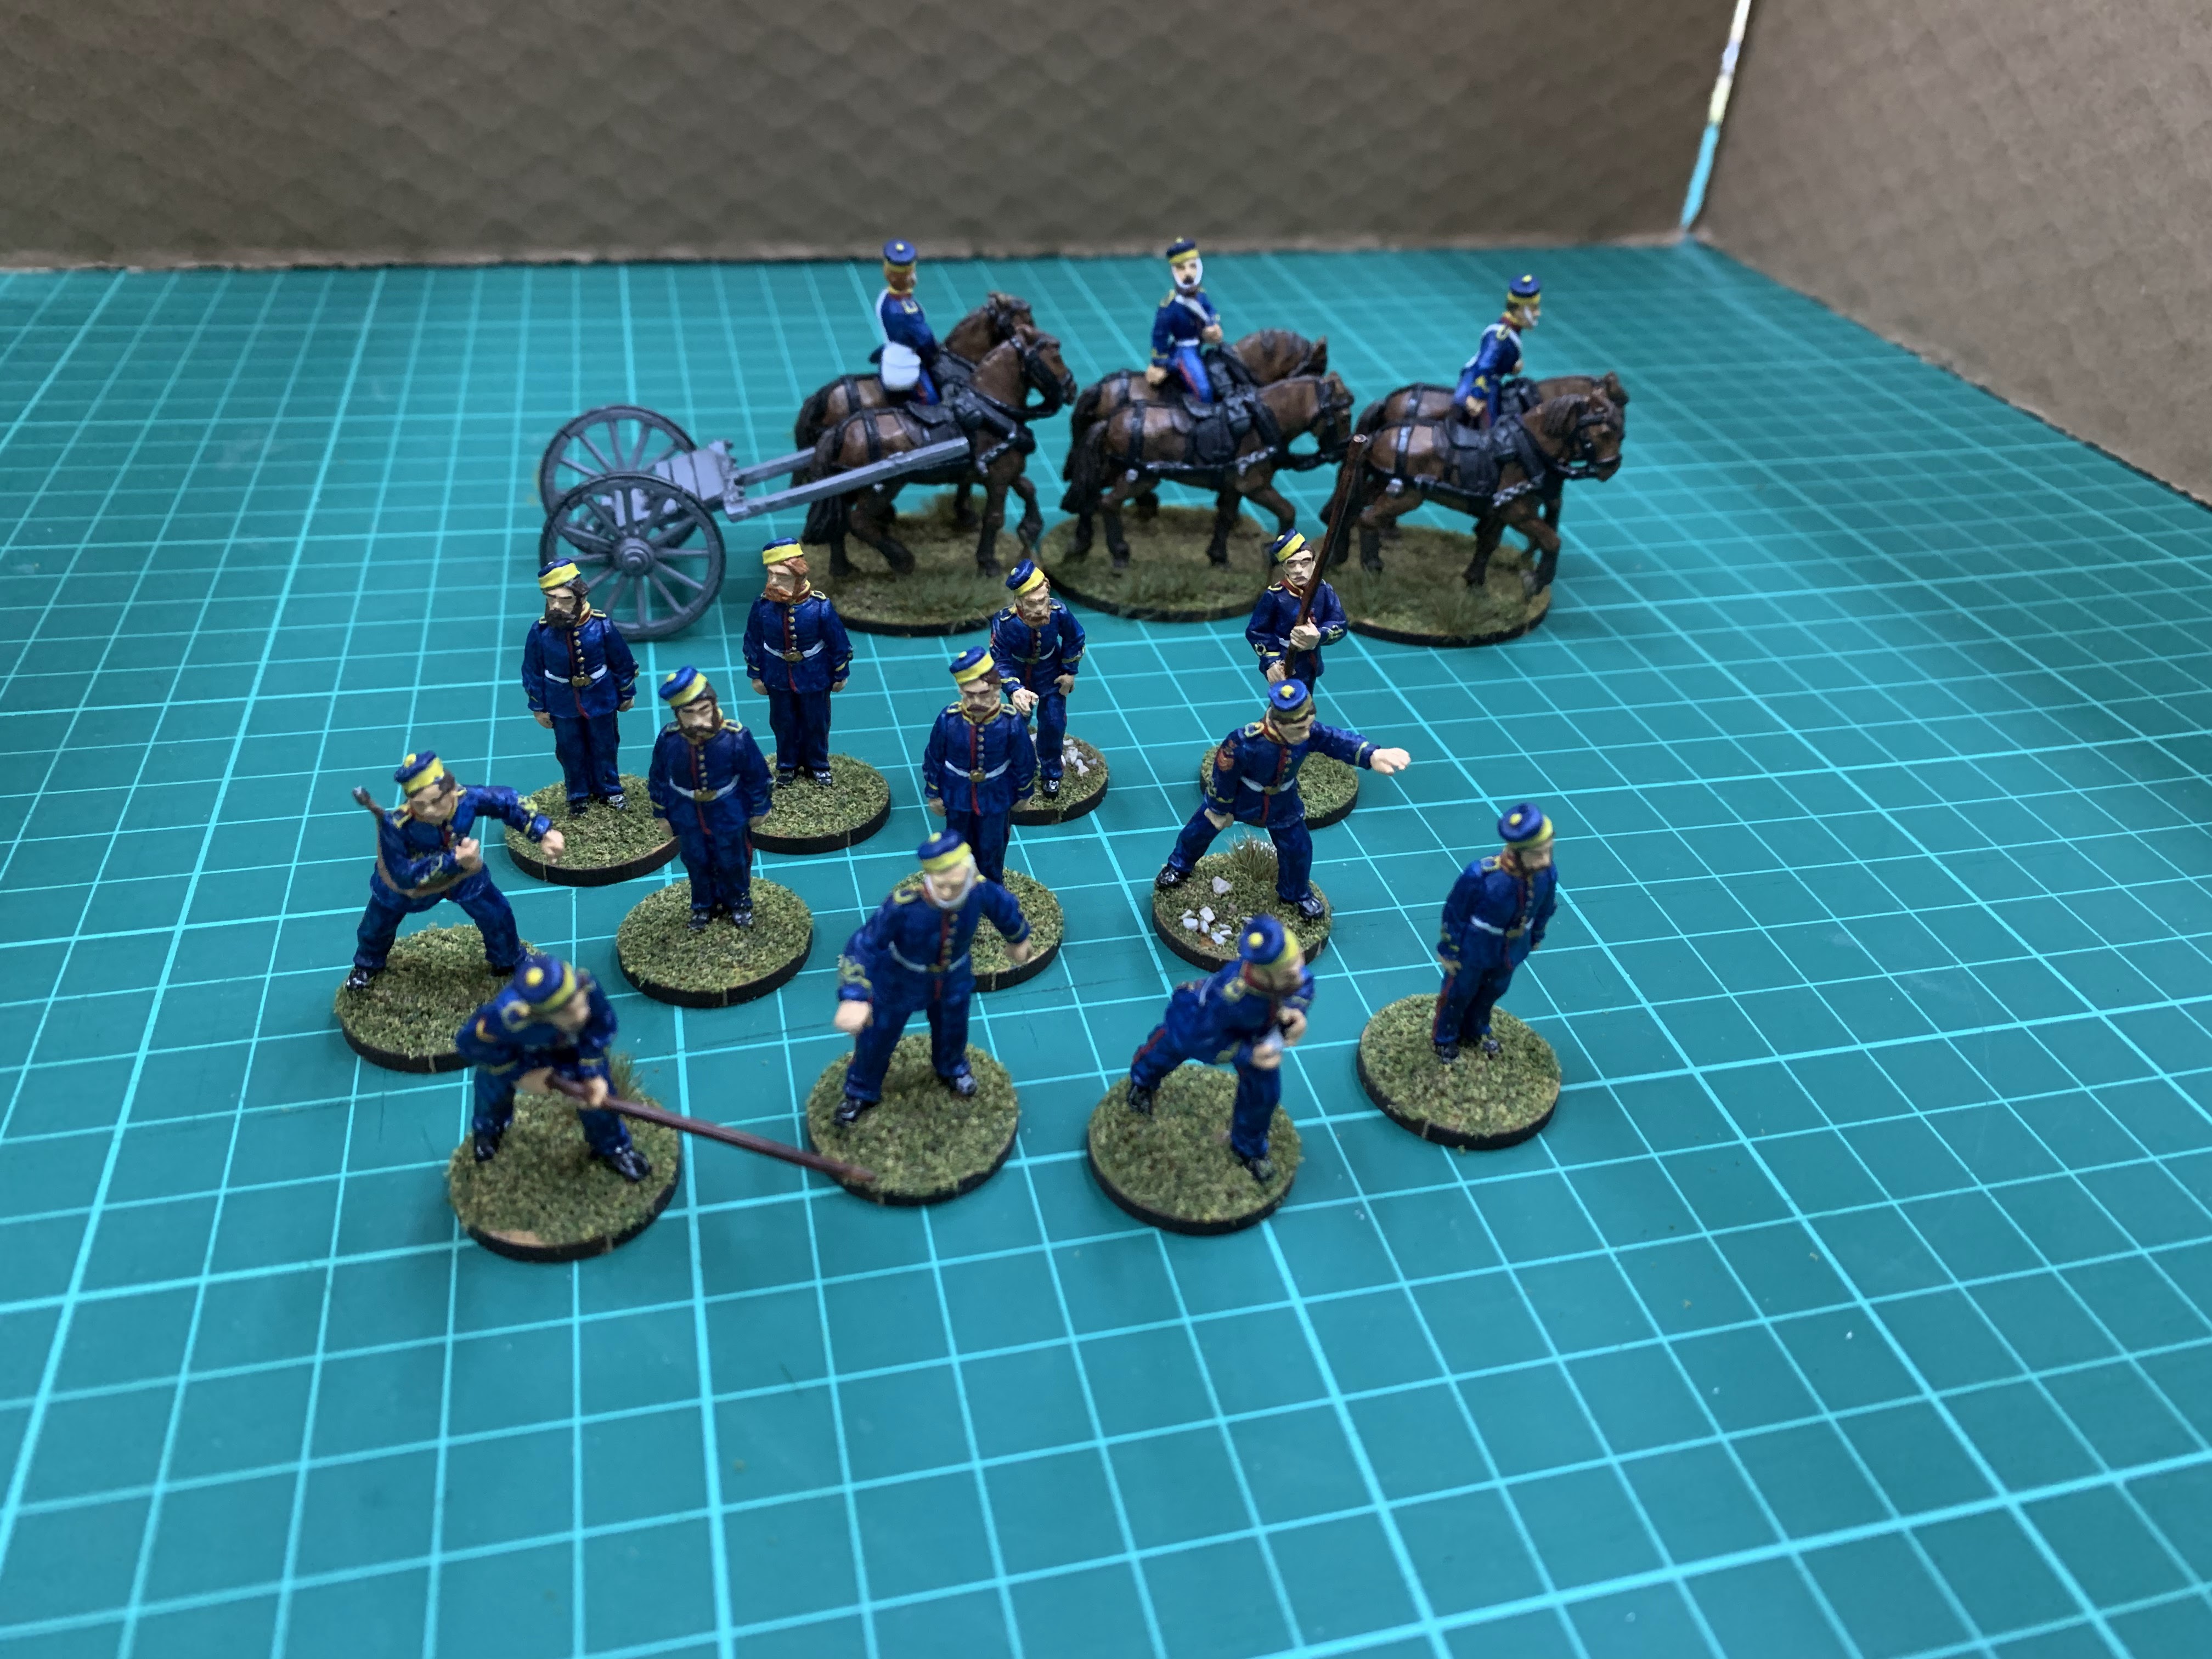
| The British force: Two unmodified Regular Infantry (elements of the Royal Marines and the 20th Regiment of Foot), one Poorly-Armed Regular Infantry (Baluchis) and one Well-Drilled Field Gun with a Limber. |
The rolls for Leadership quality and Leader Traits produced a decently middling lot. The British got two 5+ Leaders for the Marines and Baluchis, a 6+ for the gun, and a 7+ for the 20th Foot. The 20th Foot's officer was Unlucky (he could die on a roll of 3 on a Leader Casualty test as well as the normal roll of 2), while the Baluchis' officer was a Terrible Planner and would have to test each time his unit fired to see if they ran out of ammo. The leaders for the other two had traits with no other effect.
The Japanese had slightly worse leadership overall, and some worse traits too, and here again I ran into the rules not quite explicitly covering all the bases. Most of the Leader Traits work just fine – Weakling, Unlucky, Brutal, Cad, and The Major-General's Favourite Nephew all have effects that are exactly the same with automated command. But what about Shirker, which says that you cannot fire or attack until your unit has itself been fired on or attacked? Does 'attacking if possible' on the orders table include the Shirker effect? And if the unit were to be recycled and come back, would it need to be shot at again or would it count as having unshirked itself? Now, I decided to make it easy for myself and ignored the effect of Shirker, reckoning that it was bad enough that the best melee unit on the Japanese side was saddled with a 7+ leader, but I can certainly see the case for treating the trait as gospel.
 |
| On the left, my Mr Babbage QRS; on the right, my army lists for the afternoon. I reckoned that I was familiar enough with the rules that I'd remember unit stats off the top of my head without needing them spelled out. |
Part I: The Cautious Advance (Turns 1-4)
Having realised early on that I hadn't set myself a time limit, I decided that speed was not going to be of the essence, and so my first goal would be to try and see if I could ford my infantry across the river in order to get the artillery across. I got lucky on my first turn as no enemies deployed, but on turn 2 all three of the Tribal Infantry emerged on the opposite bank. And here is where the third vagary of the rules came up: newly-deployed enemies appear at either long or short 'rifle range' from the unit that triggered their appearance. But what exactly is 'rifle range' for units not equipped with Modern or Obsolete Rifles? Now, for Antiquated Muskets/Foot Bows I can get it easily enough. But if, say, it's a unit of cavalry with Obsolete Carbines, is 'long rifle range' 12" as per their carbine range, or 18" per the range of Obsolete Rifles? If it's Tribal Infantry or Cavalry with a 6" short range and no long range, do all enemies appear at 6" distance or do you double it to 12" for long range? And critically, for my purposes, for Field Guns, am I deploying units at 16"/32" per the gun's range, or 12"/24" per literal rifle range? Now, I decided on the former, but I can see that being gamed by moving your artillery early to deliberately get enemy units to spawn relatively further away.
 |
| Midway through turn 2: The Japanese melee troops reveal themselves on the opposite bank. |
What then happened was down to luck of the dice: the unarmoured spearmen at the crossroads Went to Ground, the Shinsengumi next to them decided to slink away, and the armoured spearmen also slunk away, only to get the result that meant they immediately reappeared again!
After a turn of indecisive fire and movement, I got a round of fire off across the line which successfully pinned both the armoured spearmen and the Shinsengumi, and killed the Unlucky leader of the unarmoured spearmen! (Though this failed to pin them.) The unarmoured spearmen rather wisely decided to Go to Ground again, while their friends failed to rally and withdrew.
 |
| End of turn 4: The beleaguered left wing falls back towards the road while the right hunkers down. |
Part II: Crossing the Rubicon (Turns 5-9)
With the situation improving, I decided at this juncture to move my left up, re-limbering the gun and moving the Baluchis across the river. The core rules fail to tell you if units can cross Obstacles in Close Order, so I chose to let myself do that because I wanted to. The next turn, the Baluchis fired a devastating volley at the unarmoured spearmen and pinned them down. The armoured spearmen continued moving forwards, but the Shinsengumi routed and were again returned to the pool.
 |
| End of turn 6: Two increasingly bedraggled spear units now facing the brunt of the Anglo-Indian assault. |
Turns 7 and 8 would be quiet on the left, but harrowing on the right. As the 20th Foot forded the river, they triggered the return of the Shinsengumi, and so now they faced the prospect of two successive waves of melee troops bearing down on them.
 |
| End of turn 7: Things look dicey for the East Devonshires... |
The next turn, with the enemy just shy of them, they were ordered to form Close Order... and failed! Reckoning that my best chance was to try and get the Shinsengumi Pinned and to simply hope for the best against the armoured spearmen, I had the Marines fire at close range, managing to inflict four casualties and the much-hoped-for Pinned result! With the bigger threat to the 20th dealt with, the Baluchis advanced again. And so came the fight with the spearmen.
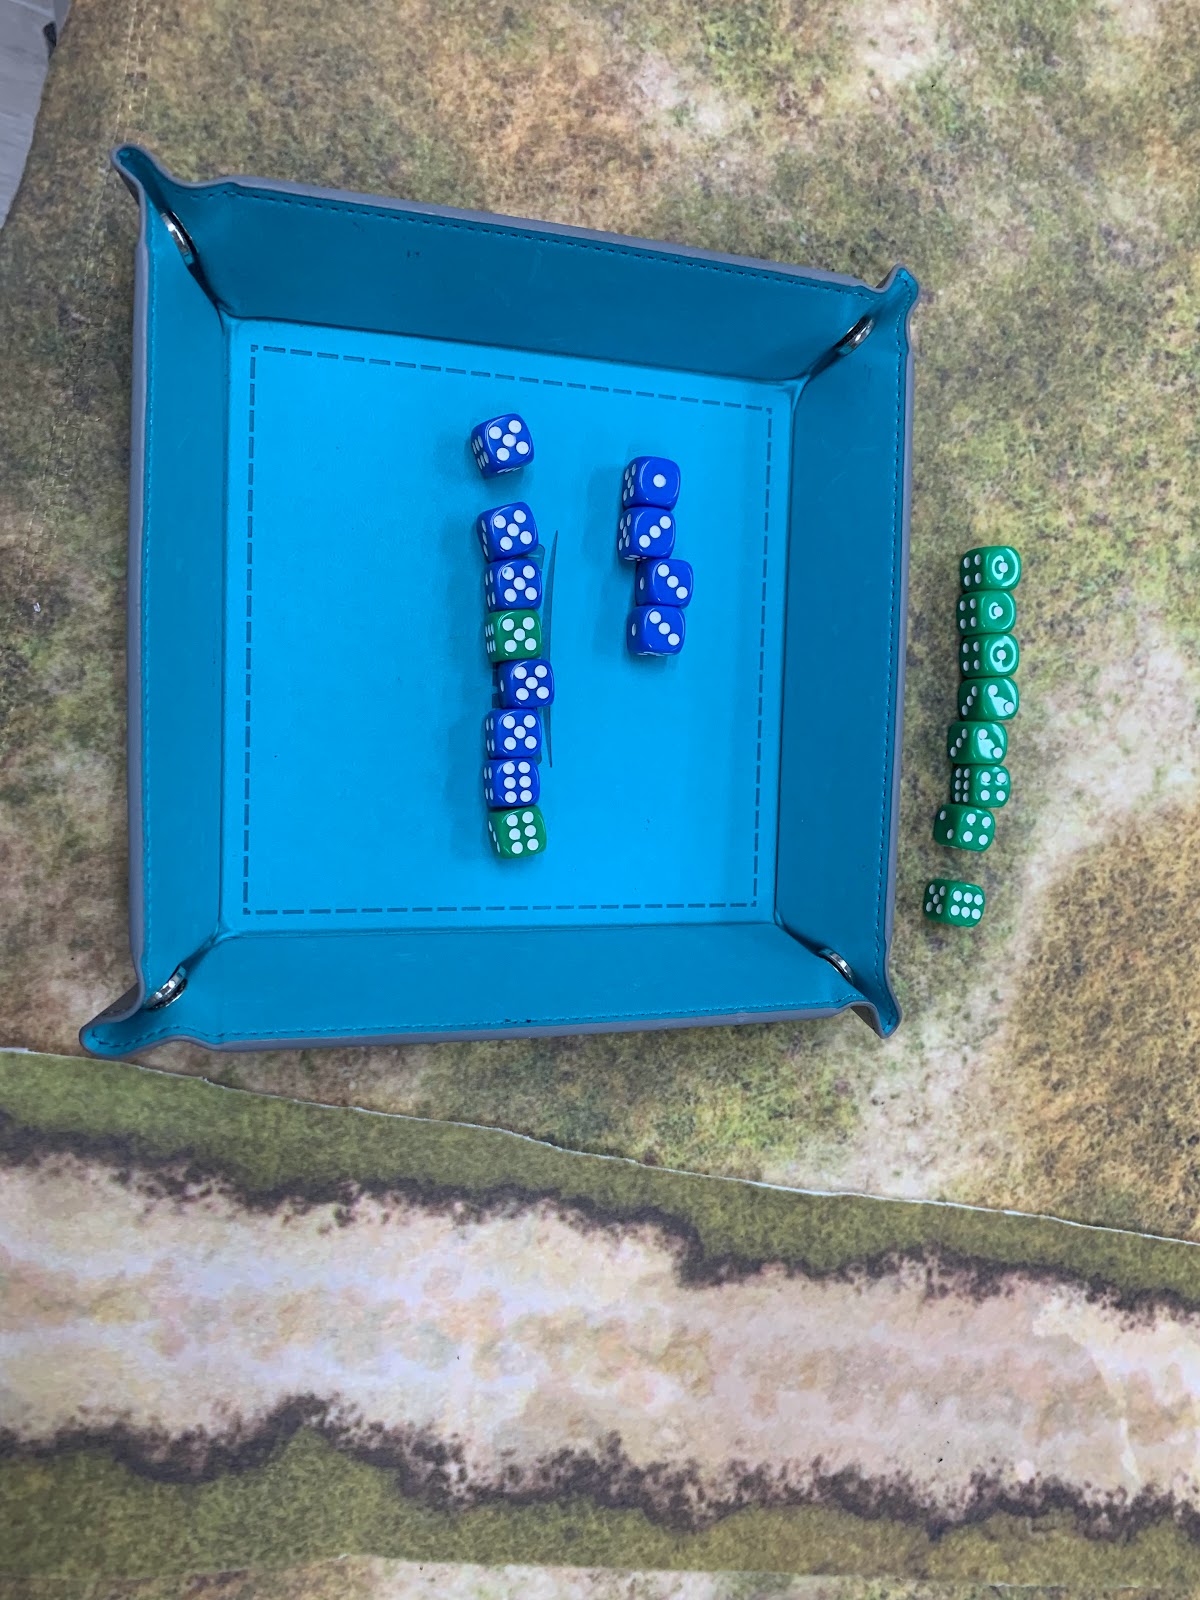 |
The expected attack from the armoured spearmen, but not quite the expected result: the dice for the 20th are in the tray, the ones for the spearmen outside. |
Miraculously, the 20th managed to inflict 8 casualties on 12 dice, wiping out the spearmen, while the spearmen rolled only a single hit on 8 dice! Better yet, they rolled low enough that they said 'bye bye' and were permanently removed from the game – which would make subsequent units more likely to do the same.
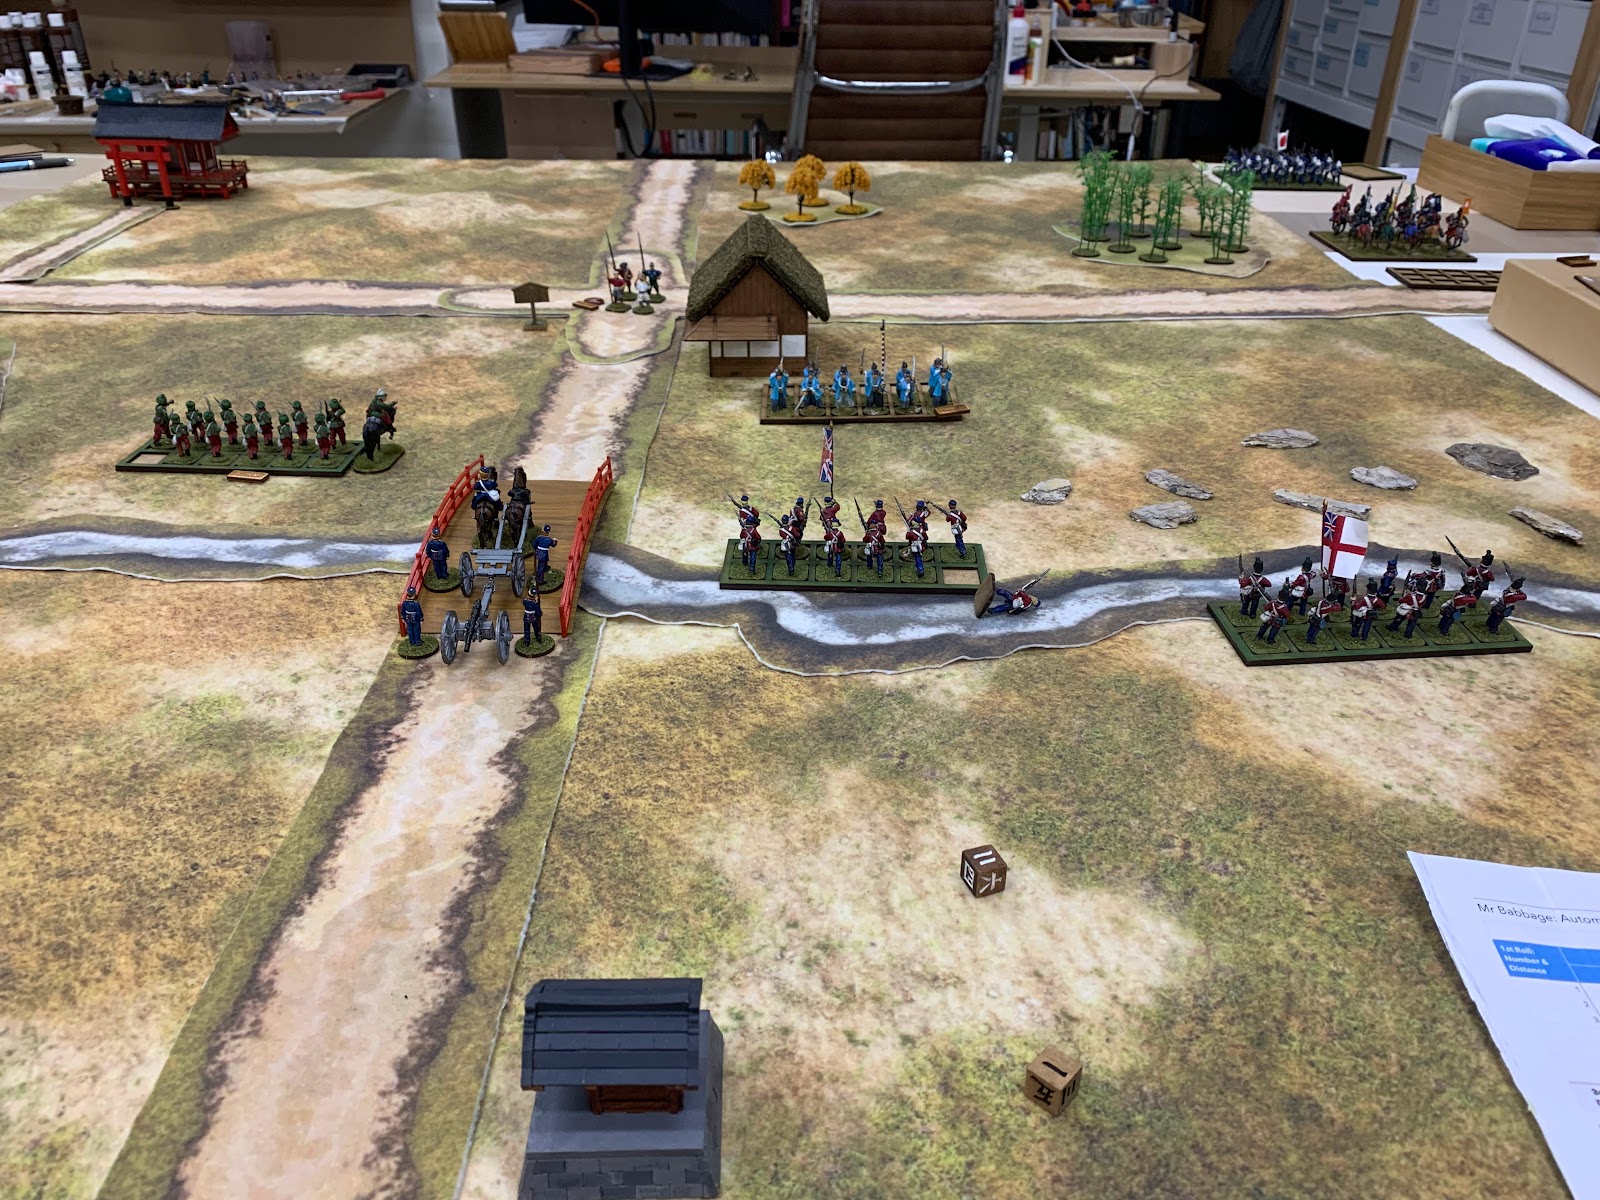 |
| End of turn 8: The spearmen vanish from the field. |
And with that, it seemed safe to press onward. Turn 9 was mostly static, with the 20th getting a couple of kills on the Shinsengumi while the artillery and Marines failed to activate. But for the Baluchis, their luck was about to run out. While advancing in close order, in front of them appeared the Japanese regular infantry, who let off a devastating volley that killed four and left the unit Pinned. With the rest of the British force still moving into position – and likely to trigger yet more enemy movement in doing so – things suddenly took a turn for the worse.
 |
| End of turn 9: The Japanese regulars have just wreaked havoc on the Baluchis opposite. |
Part III: Rescuing the Left (Turns 10-14)
The priority now became trying to suppress and ideally destroy the Japanese regulars without poking the hornet's nest too much by triggering too many enemy deployments. This again led to a bit of an uncertainty, although not an enormously severe one: the rules say that you check for automated deployment when you complete a Move or At the Double. Now, presumably Skirmish and Attack do not count, by dint of omission, but the rules don't say that you need to have a valid firing target to still Skirmish. So, in theory, perhaps you could use the Skirmish action to perform half-moves without triggering enemy deployments. This seems like very little reward for what it is, but I can imagine an edge case or two where it's worth deciding on how you'd like to deal with it.
I decided that I would follow the letter of the rules and not trigger enemy deployments on Skirmish. How fortuitous for me, as although the 20th Foot was in no position to try and get a shot off against the regulars, it could still fire at the Shinsengumi and be in position to Skirmish against the regulars on the next turn. The artillery unlimbered again to fire at the regulars, and the Baluchis successfully rallied. Although the regulars got another two of them, they failed to pin them down. Now the tide might just turn.
Turn 11, the moment of truth. The 20th Foot prepare to Skirmish against the regulars... and fail to activate. The Marines managed to cross the river without triggering any enemy deployments. The Baluchis managed to get a casualty on the regulars but not pin them... but the artillery got three and did! The unarmoured spearmen rather wisely chose to slink away and come back again later, the Shinsengumi continued to retreat... and the regulars rolled a double one and routed! Hurrah! And on the recycling table they rolled, er, a six, meaning they reappeared at full strength at long rifle range in front of the unit that destroyed them. Blast!
This, incidentally, led to another ambiguity: if a unit slinks away or routs, who counts as having destroyed it? I interpreted it as meaning simply the nearest enemy unit, but again, you may wish to alter that in your own games.
 |
| End of turn 11: Shinsengumi continue retreating but the regulars reappeared immediately. |
The next round of fire was a bit disappointing. Two more Shinsengumi were downed and two regulars, but no pin was caused. This seemed to spell disaster for the already-beleaguered Baluchis... only for the regulars to roll a 1 and slink away! Only for them to then roll a 6 and reappear exactly where they had disappeared from!
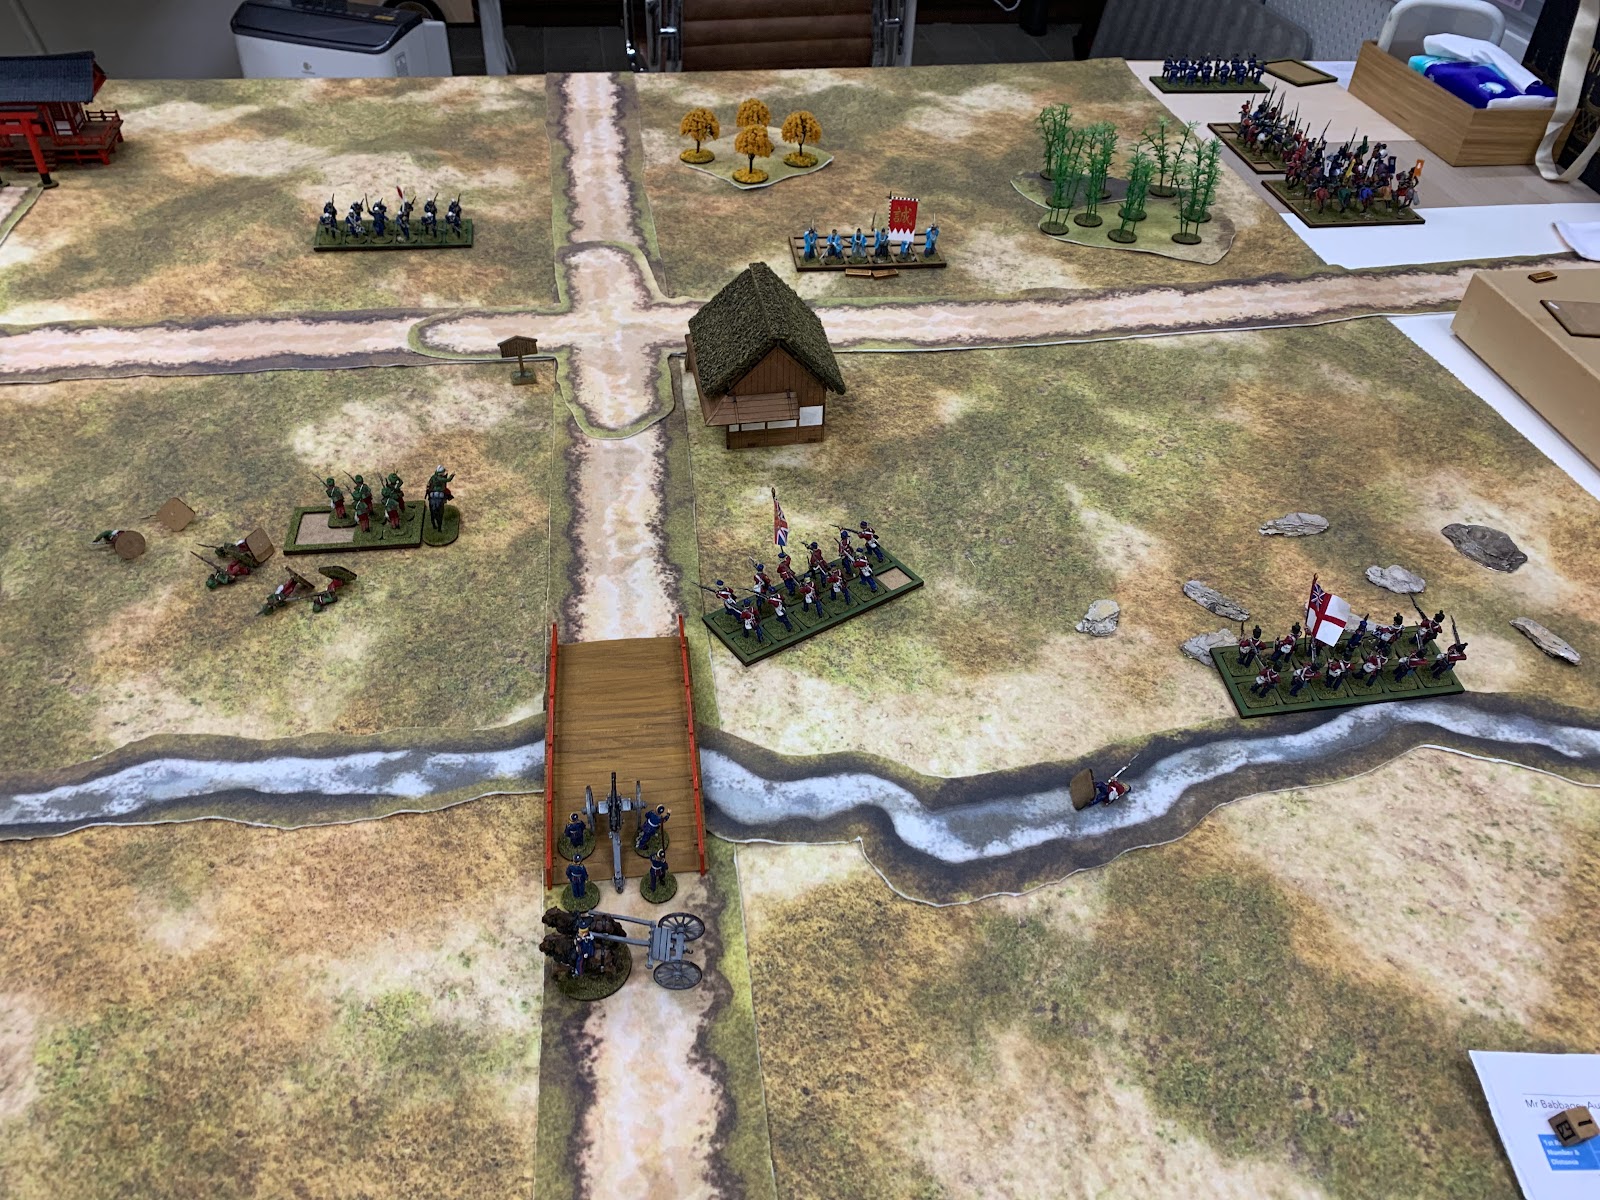 |
| End of turn 12: Notice any difference? Good – there basically wasn't one. |
I was getting a little irked by these blue-jacketed fellows at this stage, but at least the 20th Foot were in position to start firing at full effect, and the combined weight of fire was enough to get a pin on the regulars. Unfortunately, the Marines on the right managed to bring the unarmoured spear unit back into the fight again, as well as the Japanese irregulars. (Note again a point of uncertainty: if one of Mr Babbage's units loses its leader, does it return Leaderless? I decided yes.) These broadly did very little except move slightly menacingly towards me, and frustratingly the Shinsengumi rallied and lost their two Pinned markers.
Turn 14 went well during the British phase. The 20th Foot switched tack towards the unarmoured spearmen and Pinned them; the Marines failed to cause a pin on the irregulars but they were still outside Obsolete Rifle range so that was less of a worry. The Baluchis and artillery together managed to cause four casualties and a pin on the regulars, a nice reverse from earlier. Unfortunately, the Japanese actions caused some problems. The irregulars were to Act with Caution (which, based on my read of the rules, seems to mean they ought to either Stand To or fall back towards cover if there are no enemies in range), but the regulars rallied, and worse still, the Shinsengumi again slunk away only to then roll a 6 and immediately reappear!
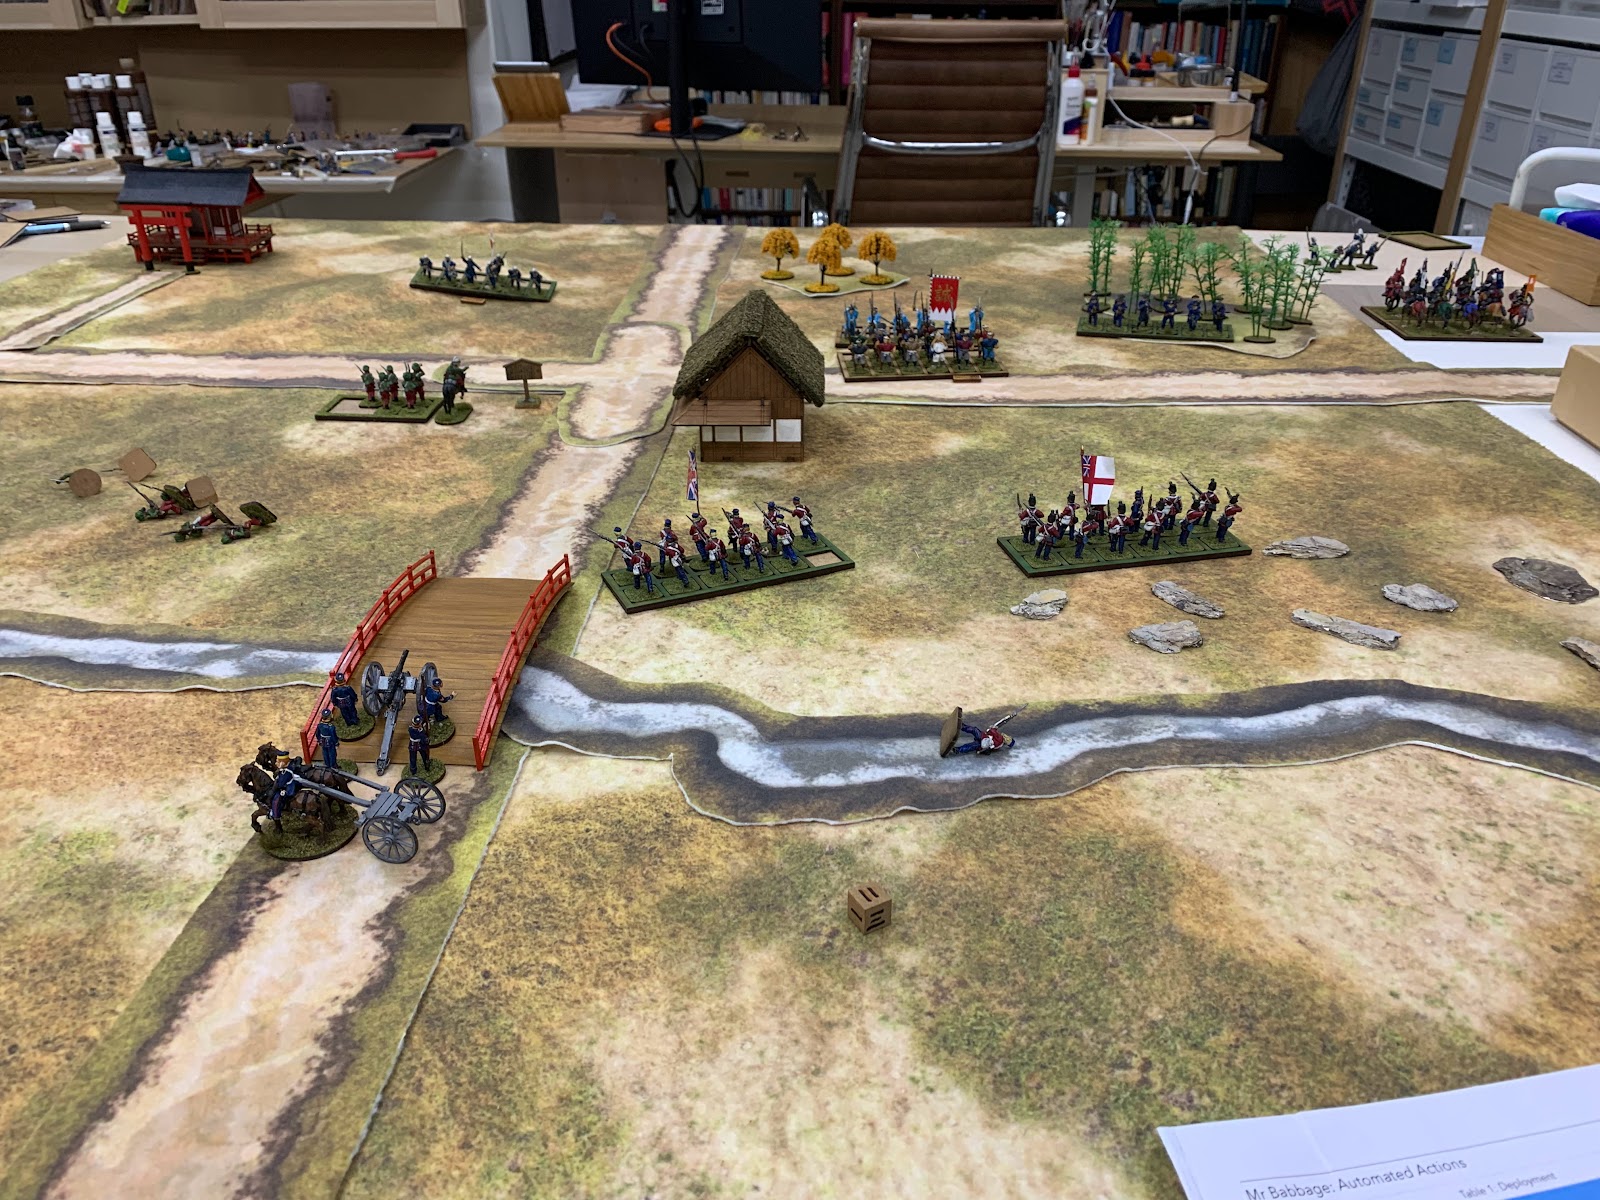 |
| End of turn 14: The regulars are now badly damaged but there is a new threat forming on the British right. |
Part IV: Weathering the Storm (Turns 15-21)
Things definitively tipped in my favour at this point. To begin with, most of the Japanese force was successfully suppressed, but it began pulling itself together. The first half of 17 nearly spelled disaster for the left again, as the Baluchis fired at the regulars, causing one casualty, but failed to pin, and worse still, finally ran out of ammunition! On the other hand, the irregulars were very much worse for wear after three turns of fire.
 |
| Middle of turn 17: The Baluchis now in a tight spot, having run out of ammunition and now stuck in close order in full view of the remaining regulars; on the other hand the Japanese irregulars have dwindled considerably. |
But then the Japanese turn happened, and things were mixed for them. The unarmoured spearmen routed and said 'bye bye', taking yet another unit off the list. The Shinsengumi managed to rally, but out of position and within firing range of the Marines. The irregulars rallied, all two of them. And then the regulars fired... and missed the Baluchis completely! Thanking Allah for their good fortune, they withdrew in good order the next turn. The irregulars slunk away but remained in the pool, while the Shinsengumi were again Pinned for a turn before rallying. The trained infantry, however, would slink away, saying 'bye bye' as well. Three down, three to go.
Unfortunately, a succession of bad activation rolls meant that on turn 21, the last seven Shinsengumi managed to catch the 20th Foot out in the open. With six casualties a side, the sole surviving Shinsengumi was obliged to withdraw, but that one move had wiped out half an infantry unit – casualties I could at this point afford to take but which I was nevertheless not happy to have done.
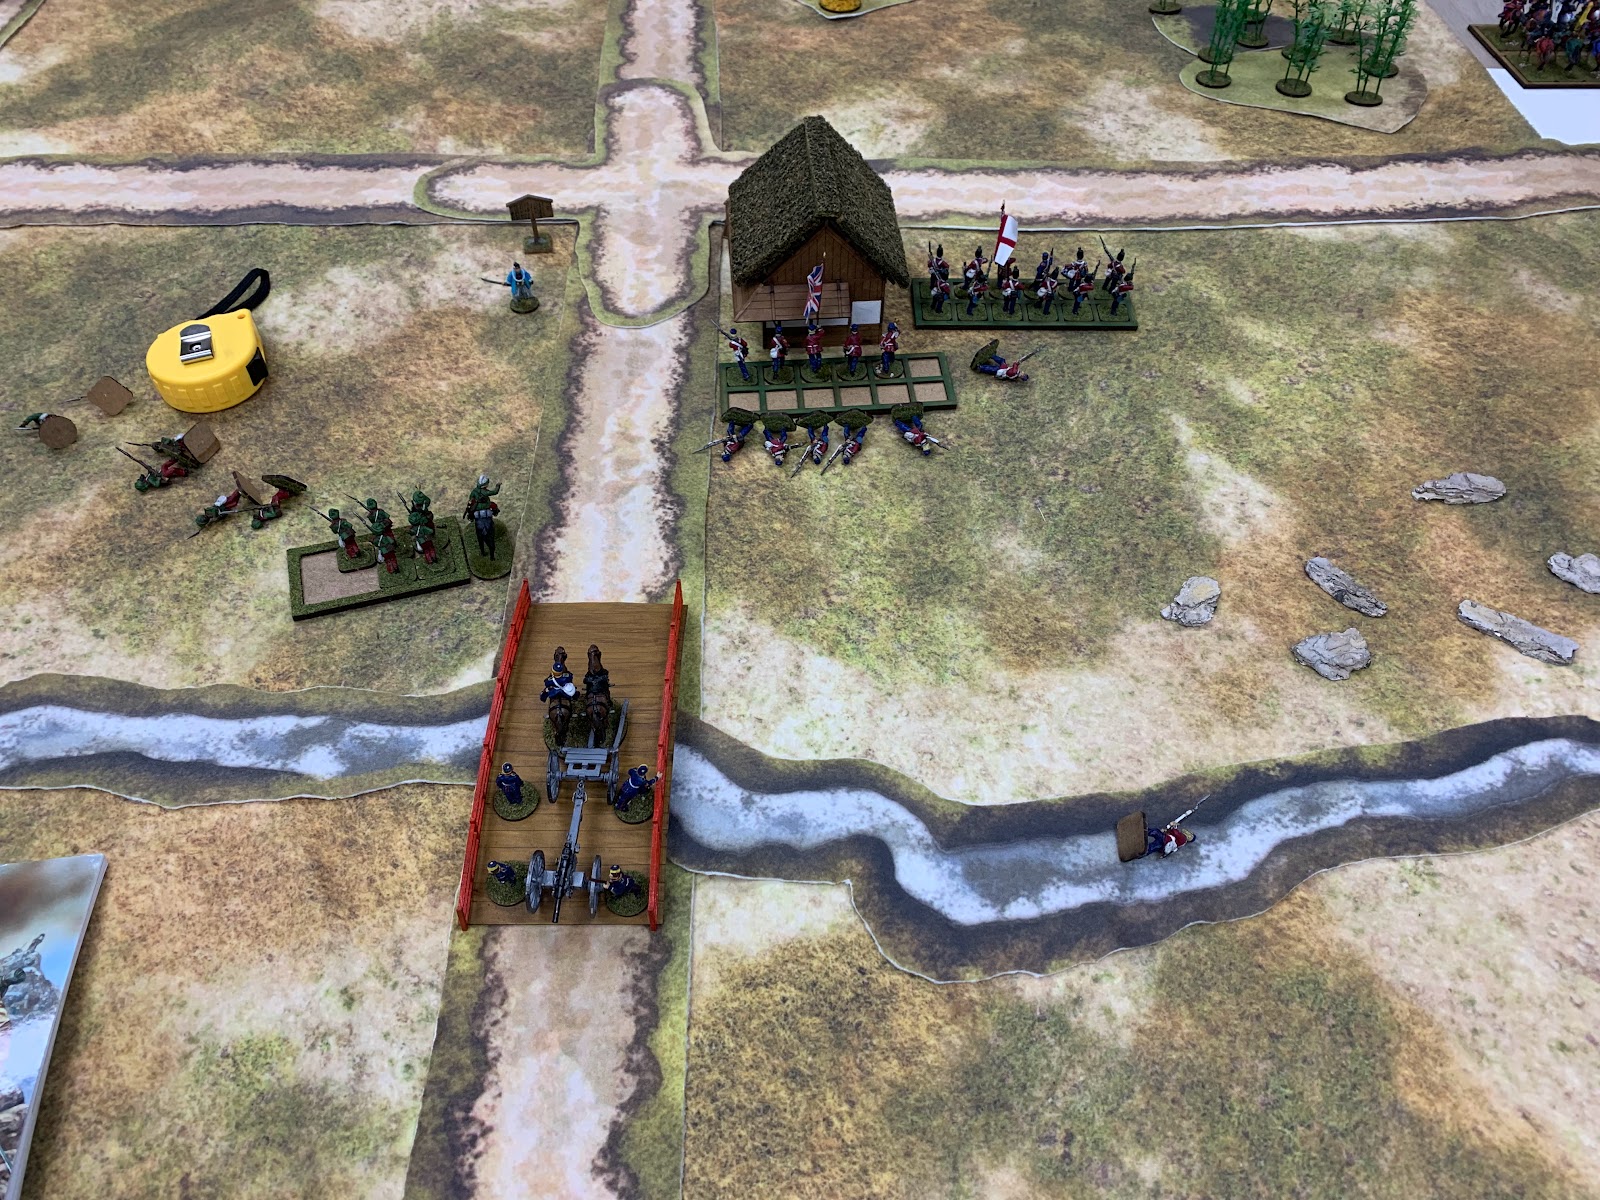 |
| End of turn 21: The last Shinsengumi surveys the carnage his fallen comrades inflicted upon the British line. |
Part V: Mopping Up (Turns 21-29)
I decided near the end to fudge things and bring back the irregulars and, after a couple of turns, to also bring in the cavalry, just to see what would happen. The irregulars did little and just got shot to pieces at range, although they got very lucky and rallied on Turn 29 despite having lost their leader and being laden with four Pinned results. The cavalry, despite a turn of failing to activate which resulted in their suffering seven losses due to fire, still got a charge off and slew three Marines for two of their own.
 |
| Turn 29: The last Japanese cavalry charge home against the Royal Marines. |
It was at this juncture that I encountered the final ambiguity in the rules: do cavalry under automated command automatically perform Follow-Up Attacks? I said 'yes' and had the cavalry officer hurl himself at the Marines, who took him down at no further loss to themselves. They got very lucky and were technically Gone but not Forgotten, but I decided it wasn't worth continuing as the day was getting long, and called it a pretty definitive Anglo-Indian victory.
Final Tally
The Anglo-Indian force inflicted 111 casualties: 17 in melée and 94 by fire. It suffered 16 losses out of a starting force of 40 (36 infantry and 4 artillery crew), which I thought was pretty good under the circumstances and could have been considerably worse. I don't think the die rolling was that dramatic on the whole – the spearmen completely collapsing against the 20th Foot at the river notwithstanding – although the probabilities this game evened out in odd ways, where units tended to return with great frequency, but not to do very much when actually in the field. Still, the automated Japanese made a good showing.
Initial Thoughts
Despite the litany of minor complaints, I really had fun with this. I was already a big fan of the friction-heavy mechanics of the Kings base rules, and the solo rules just added layer upon layer to that. The chaotic and unpredictable deployment of enemy units, the ruthlessly – and recklessly – aggressive posture that the automated actions prescribe for them, and the theoretically infinite reserves until the first couple of units call it quits, all added up to a fantastically frictional game that kept me on edge from the moment the first enemies popped up. I went in with an open mind and came out an eager convert.
What struck me was the way in which the asymmetry of the system manifested. Mr. Babbage has a considerable advantage in absolute numbers, but the player gets to exercise a lot of influence over how much of Babbage's force actually comes into play, because they can choose to simply stop moving and deal with the enemies already in the field. What this seems to lead to is that the player will fight a succession of advantageous engagements but take attrition each time. The question then becomes which side reaches its tipping point first: do Mr. Babbage's men start calling it quits and melt away first, or does the player's force get worn down to the point at which it can no longer reliably stand up to each successive wave of attacks? Neither side is really able to force a truly decisive engagement: the player can stop Babbage from bringing a decisive force to bear, but neither can the player be sure how much damage they are causing to Babbage's army.
Points to Consider
It is because I liked this system so much that I mentioned so many of my minor issues with ambiguities, because I think they are easy to resolve with some thought, but still require thinking about.
- Can you play this along the length of the table rather than the width? Yes, but it seems to make it tricky if an enemy unit is supposed to deploy 24" to the side or rear of yours. I'll have a go on a setup bigger than 6' by 4' and see what the extra movement room does.
- Should all Leader traits apply to automated units where relevant? I personally think so. Why should only I be hampered by poor officership!?
- What is 'rifle range'? I would say that this should be defined by the firing ranges of the unit as written, and that units that only have a 6" short range fire should count as having 12" for their 'long rifle range'. Field guns therefore are also 16"/32".
- Do units that lose their leaders due to a failed Leader Casualty roll get them back if they slink away and don't say 'bye bye'? If not, do units that are wiped out altogether (and thus skip the Leader Casualty roll)? I'm inclined to say yes to the former but no to the latter.
- When told to 'act with caution', automated units are told to Go to Ground if Tribal Infantry (does this also apply to Irregulars with Fieldcraft?), to fire if there is an eligible target, or to 'move no closer to the nearest enemy' otherwise. Does a unit of Shooters with no eligible targets specifically head for cover? This seems to fit with the general Mr. Babbage instructions, so I interpreted this as a yes.
- Do cavalry Follow-Up automatically? I think they should.
- Who counts as having 'destroyed' a unit if it routs or slinks away? My preference is to say that it's the nearest unit to have successfully fired on or attacked it in the time since the 'destroyed' unit last appeared, even if the 'destroying' unit caused no casualties or Pinned results.
The above are all my personal interpretations, but they seem cromulent enough. Of course, my opinion is likely to change if, during the next game, one of these leads to some disastrous result for me, in which case clearly the correct interpretation is something else.
Final Final Thoughts
I thought this was a very engaging experience and I do heartily recommend it for anyone who's already played Kings in a more conventional two-or-more-players setup and can supply both armies for a given period. The caveat I'd offer is that it does seem to take longer to play than a normal game, precisely because Mr. Babbage's forces are both larger than they appear and committed in smaller quantities. But if my first game is anything to go by, that time will fly by.






_-_Google_Art_Project.jpg)