Tuesday, 24 June 2025

The Oyoshima Campaign, Part 2: The Peasants are Revolting! Again!

Following on from the first game, Gareth and I resumed our campaign yesterday with a run through one of the scenarios out of the Sengoku book. The premise for this encounter was that an itinerant preacher had riled up a nearby village to revolt, and the monks were sallying out to link up with them and intercept an Ōtomo attack. Of the three options I offered, Gareth took one where his troops would attempt to attack mine with the aid of some deceptive manoeuvres, leading to the Cunning Ruse scenario.

The objectives for this scenario are a standard control-type affair, with three objective markers around the middle of the table, and victory going to whoever controls the most by the end of turn 5. Both sides have equal forces, but at the beginning of the game, one half of the attacker's forces are a decoy which will disappear at the end of the first turn, or earlier if the enemy gets close enough; they then become available as reinforcements at the start of turn 2. In theory, the defender is left with the choice of either staying concentrated but ending up at somewhat of a positional disadvantage, moving to engage both forces and risking getting overwhelmed in one area, or committing to one side and hoping not to be caught out of position.

No alterations were made to the rules other than the mechanism we had already used for 'weighting' Skill and Quest decks. One thing we ought to have remembered was that each of us had one character who was Eager (i.e. the action token for their first move in Turn 1 is refunded and put back in the bag.) In the end, given that this would have been an equal advantage for both of us, it didn't make a difference. For my Quest, I had drawn 'Blood Feud', which required me to cut down the enemy Hero. This particular Quest is unique in that it is revealed at the start of the game rather than only once completed, and resulted in both of our Heroes starting off with a light wound. Gareth knew I had an incentive to go for his Hero; the question was, how would he use it to his advantage?

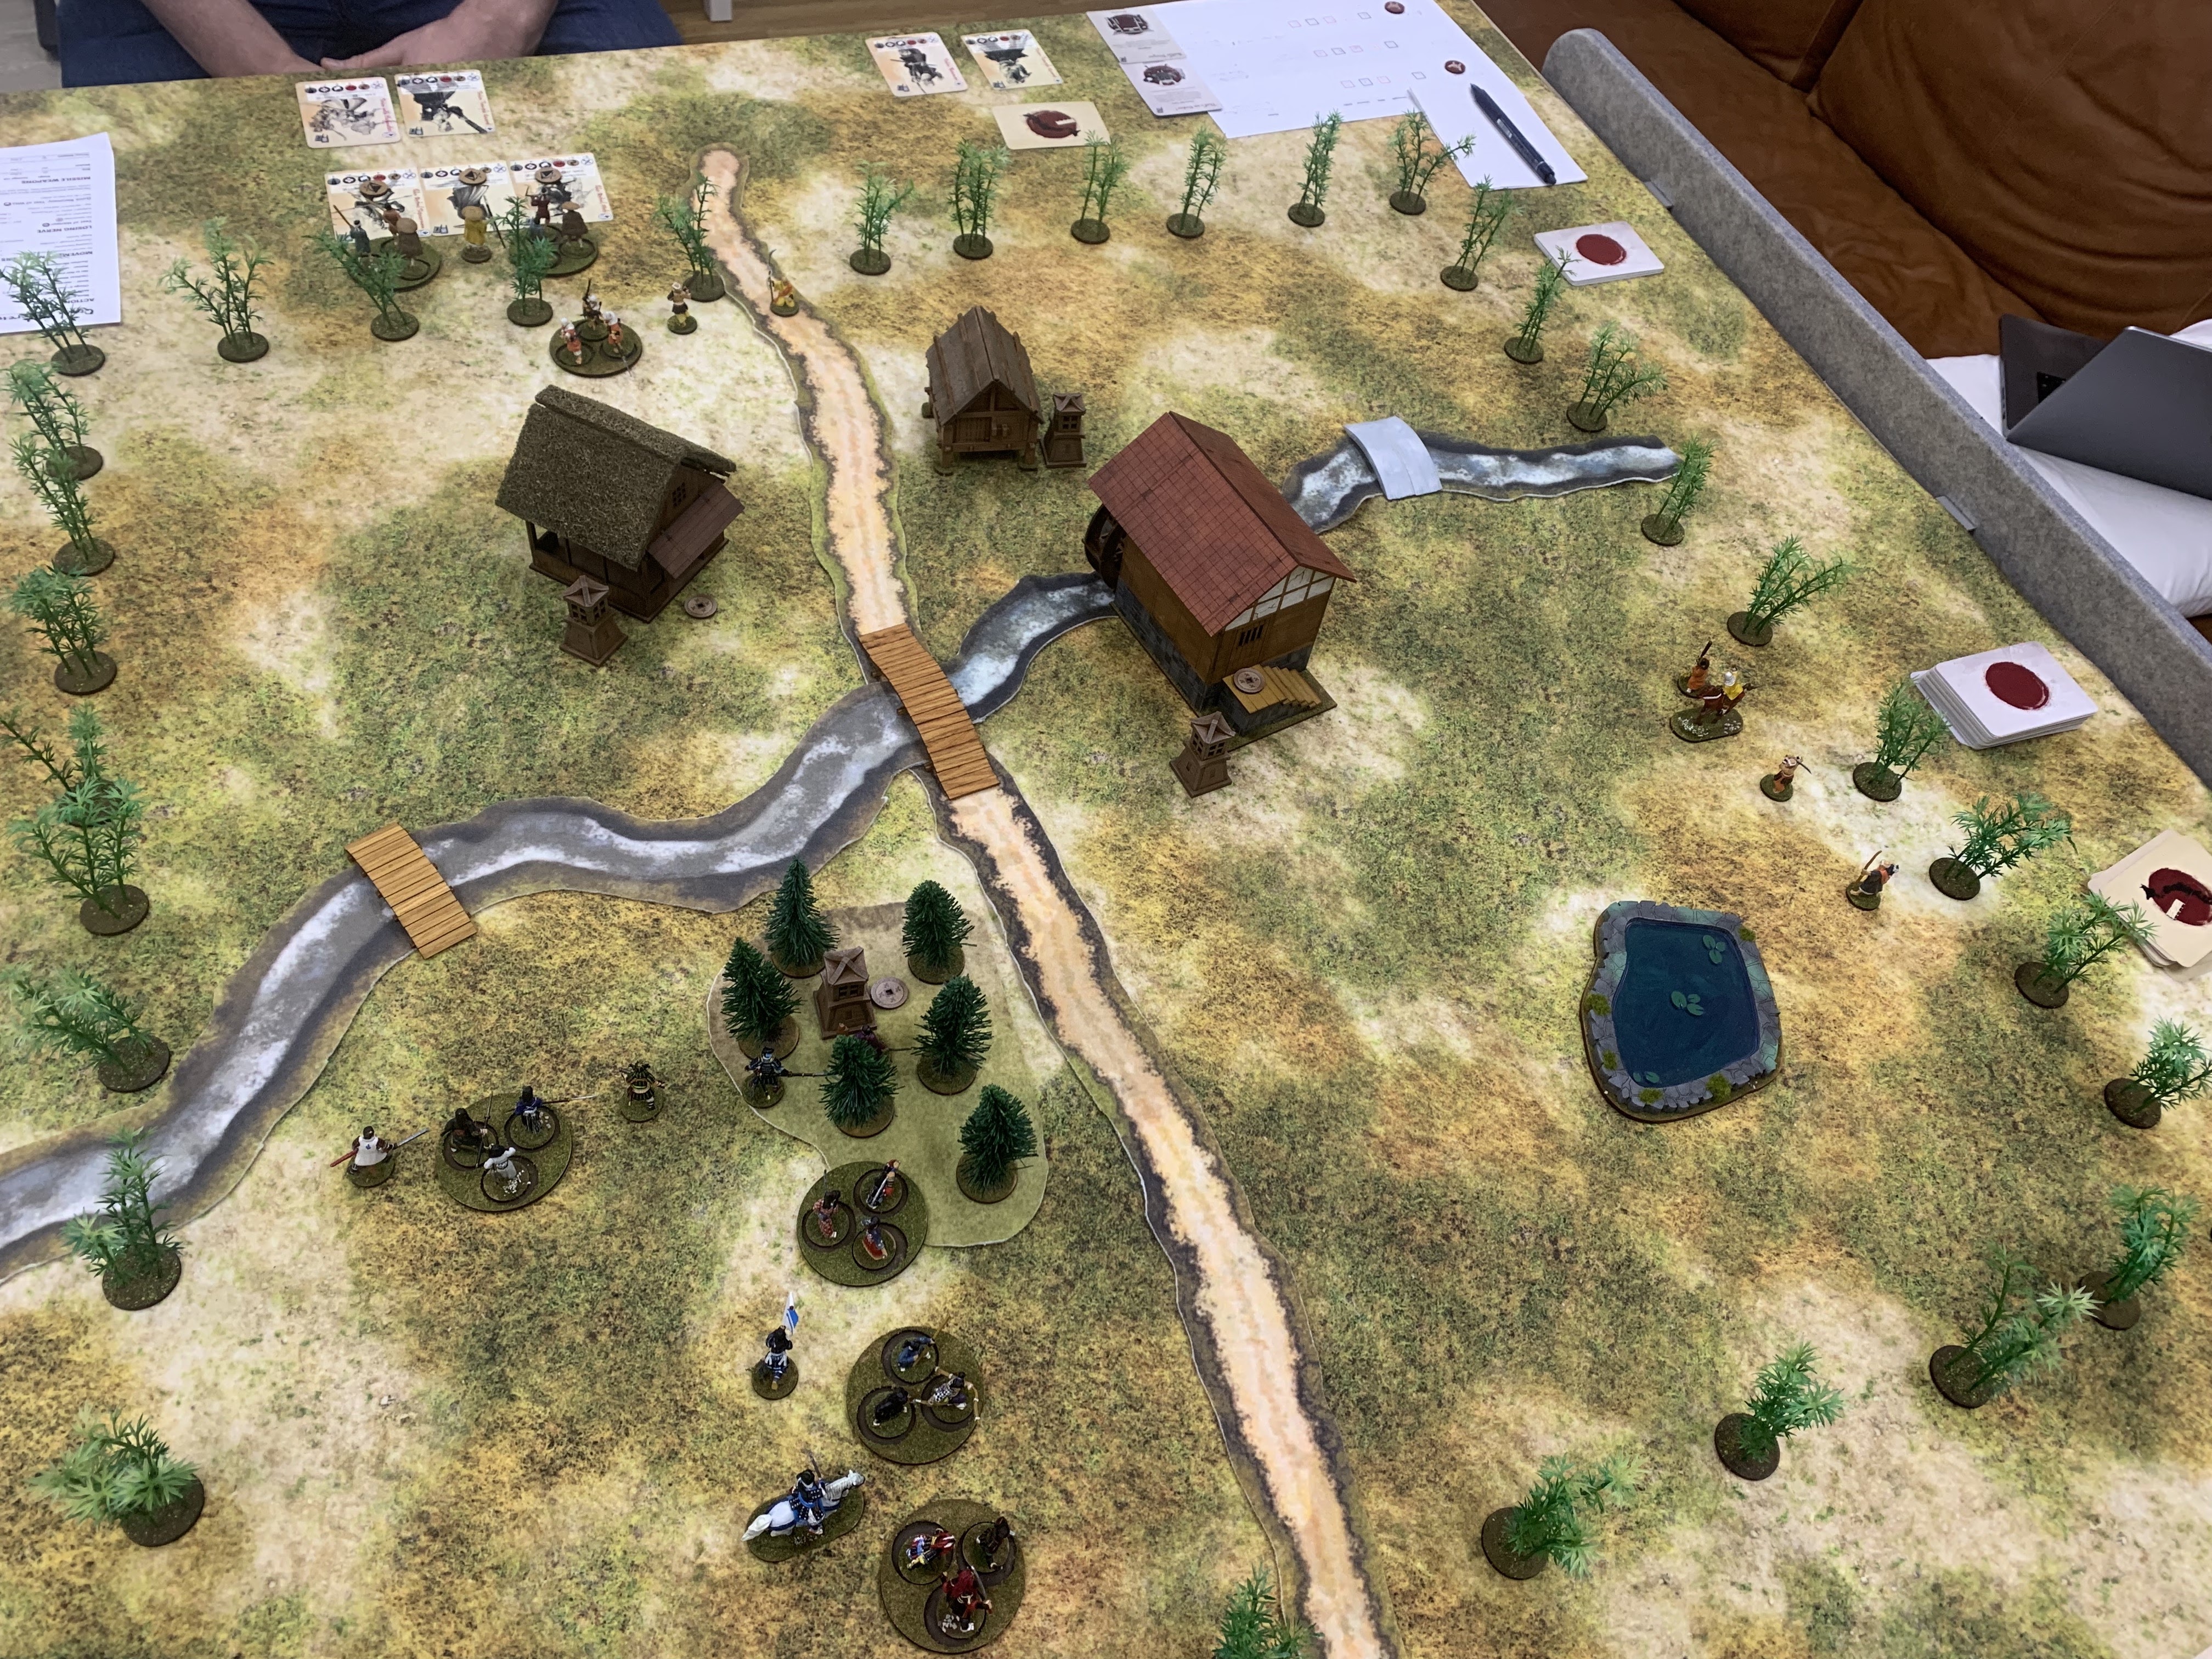
The table as set up. Objectives were in the wood, outside the hut top left, and at the top of the stairs at the watermill.

Part 1 of the Ōtomo force – the three Characters and some of what would become the Allied contingents. The single card subbed in for a Group unit.

The remainder of the Ōtomo troops, including the Falconer from the Takeda's Court set, and a converted Bad Squiddo figure with a musket, later to play a vital role!

The monks' force laid out in three neat units (unlike mine...)

Initial deployment – note that I had forgotten that my allies come on as reinforcements, so my front line looks fuller than it should be.

End of Turn 1: By this stage I had withdrawn the mistakenly-deployed forces, and forged ahead in all directions with the aim of covering as much ground as possible. Gareth revealed that the section on the other side of the river was the decoy, leading me to realise my musketeer was badly out of position.

End of Turn 2. This one ended faster than I had wanted, right as I had Gareth's Hero dead to rights. At this point things could go either way, although I felt confident I had the advantage so far. Most of Gareth's reinforcements had yet to come out, and while my objective in the wood was secure, Gareth's by the watermill could be easily contested.

Bad luck on one of Gareth's avoid rolls on Turn 3 – we ran the numbers and all blanks on six dice has a 1/729 chance of happening!

This was immediately followed up by me fumbling the damage roll, leaving him uninjured.

This turn, the Skill cards gave Gareth an unexpected boost: normally, monks' poor Wits value means they take a while to deploy from reserve, but this bonus offsets that disadvantage. Moreover, the allied contingent tests for Honour (which monks have a bonus to) rather than Wits to deploy, so this could give him a real advantage.

End of Turn 3: this came far sooner than anticipated, as we ran through the Fate tokens very early. Unfortunately, this meant reinforcements were slow to come for Gareth, the last thing he needed.

During Turn 4, my musketeer on the bridge tried to help out in the still-indecisive duel between the heroes by rushing up and getting into close combat, but failed to even arouse the abbot's attention.

By the end of yet another short turn, things looked dicey. If I took out the monk hero in the last turn I'd have the win, but otherwise we were looking at another draw.

My Deep Blue moment came when I charged my mounted Companion out towards the watermill, contesting the point and compelling Gareth's club-armed Zealot to come out swinging.

Ah.

Oh dear.

By a complete fluke, however, it was the musketeer who managed to take down Gareth's hero, scoring an unbelievably lucky succession of rolls that brought him down, achieving my Quest and securing the objective.

Turn 5 ended up being yet another short one; to add insult to injury I used my other Companion to contest the watermill objective, while my archers got a lucky kill against one of the monk followers.

A definite win this time for the Ōtomo, though some unfortunate character progression rolls mean that I will start the next game with one character wounded and having to deduct one recruitment point due to another running up a tab during her drunken revels. My hero, however, has gained a permanent +1 aim bonus, which is a very welcome addition. The monks, on the other hand, will all be figuratively licking their literal wounds for next time.

In terms of the scenario, early on we felt that the attackers are at somewhat of a disadvantage, having to bring on troops in waves down one avenue of approach. In a 5-turn game, a follower who can make one 6-inch move per turn can only realistically do so much, and the fact is that the defenders end up controlling more of the table. These issues were massively compounded by a) the fact that monks have low Wits and tend to need multiple attempts to come on, and b) the short turns, which meant that these reinforcing troops didn't even get to attempt to come on, which is hardly an ideal situation to be in. That said, it was hard to tell how much of what went wrong was scenario design versus plain bad luck, and I'd be intrigued to see if it happens again.

So, on to game 3...

Wednesday, 4 June 2025

The Oyoshima Campaign, Game 1: The Peasants are Revolting!

For this summer, I've planned to run a multiplayer, open-plan campaign pitting various forces against each other. An introductory post will, paradoxically, come later, once I have a bit more material pinned down, but with a pause in gaming time coming up due to a small trip (a reminder to me that I never rounded out the Kyushu photos from 2024), I thought it'd be best to write up the first battle report first, and then do the general introduction at a suitable juncture.

The overall setting of the campaign is a fictional island, albeit heavily inspired by real-world geography, in the Seto Inland Sea. Normally ruled by a branch lineage of the Ōtomo clan, the lord has taken his troops out to fight on Kyūshū, leaving it vulnerable to revolt and invasion. Multiple factions now vie for control of the island. To start with, I am taking control of the Ōtomo clan, centred on an Onna-Bugeisha force; opposing them is Gareth, controlling a band of warrior monks who will be the first challengers to clan authority.

To begin with, I offered Gareth three options for how to proceed, and he chose to try to foment open rebellion. That meant playing through the Control scenario, with the monks trying to take control of a village and convince the locals to join their cause, while the Ōtomo try to (re)assert their own authority. For this game, the objectives are simple: five positions are marked on the table, placed no less than 6" apart. Control of an objective requires that only your own warriors are within 3" of it. If a player takes all five at any point, they win immediately; otherwise whoever controls the most by Turn 5 wins.

While we made very few alterations to the broader rules as written, the fact that I have a rather dizzying quantity of skill and quest cards to deal with meant that there was some need to make it all a bit more manageable. Thus, rather than taking half of the generic cards (of which I have 47) and combining one half with the 24 Mysticism cards for Gareth, and the other half with the 9 Protect and Sacrifice for me, I instead said that we could each take as much as we wanted from each pack, as long as it was enough for a full hand of 10. In the event, the skill decks would not make the most enormous difference this game...

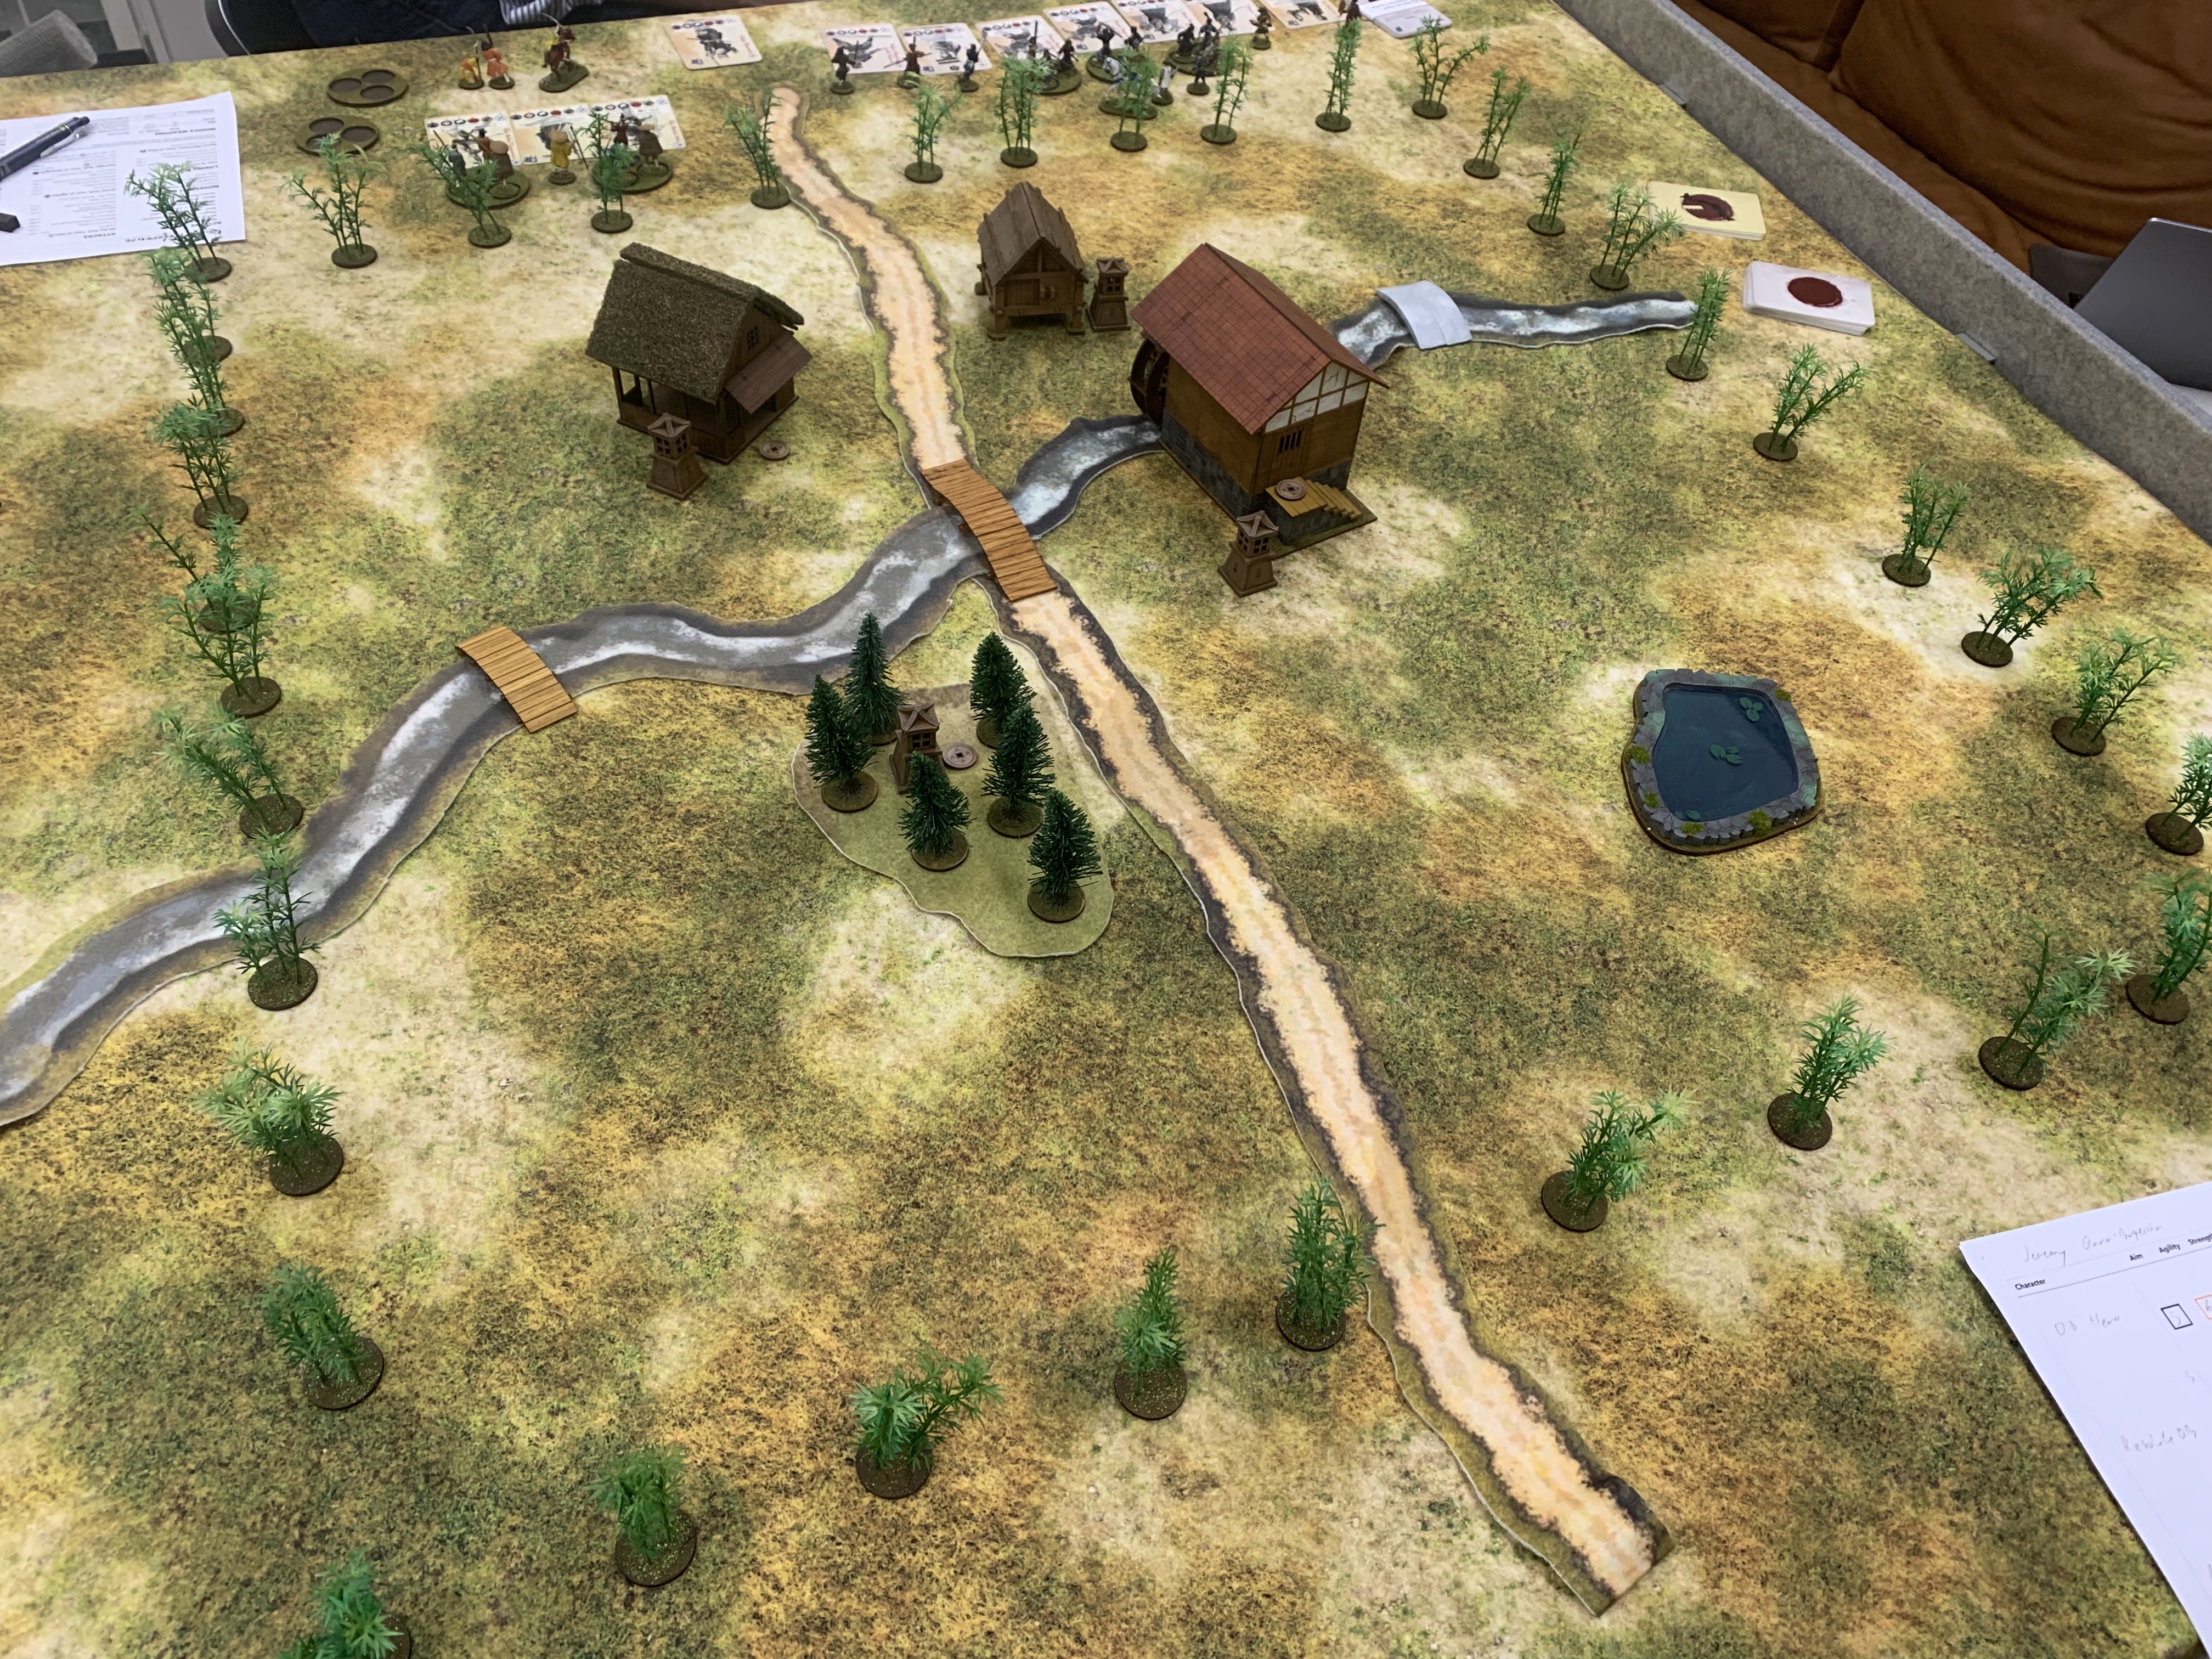
The initial setup. Each of us had 3 Characters and 4 Followers, though Gareth had taken more individuals while I went for more groups.


First blood: Gareth's hero got a run of activations and cut down my mounted noblewoman.

An interesting moment to try to use this skill, but I missed! Well then, there goes that one.

Nevertheless, with Gareth's hero out of actions, I was able to get a fatal hit in myself, evening out the playing field a bit.

End of Turn 1: slow development of both sides' positions, outside of the rather dramatic character action on the flank.

End of Turn 2: the Onna-Bugeisha forces slowly creep up. The warrior monks already have two objectives comfortably controlled by their missile troops, and just need to push the Ōtomo off a third. Can they do it?

End of Turn 3: the monks forge ahead on their right, scoring one kill and a further wound on an Onna-Bugeisha group, but not yet enough to clear the area.

Turn 4 would see the monks stall out on both flanks. On the right, a charge against an Onna-Bugeisha companion by a monk follower ended in a lethal counter-charge.

Then, one of the monks' companion characters was cut down outside the elder's house on the left.

End of Turn 4: The Onna-Bugeisha lost a swordswoman in the middle and another naginata-wielder on their left, but still control those objectives. The question for the next turn would be whether they could clear the remaining monk off the objective on the right.

As it turns out, no! The club-armed monk companion managed to hold the Onna-Bugeisha at bay, while on the monks' left, a succession of flubbed damage rolls meant that the temple guardsman on that side still contested the objective. With two objectives each, the game had ended in a draw.

While not a game of outright annihilation, the results had still been fairly bloody, especially for the character rosters. Two in each force would come away with a temporary penalty in the next game, and only one with a bonus.

Narratively, the indecisive result at the village has produced mixed results for the monks. On the one hand, they have declared their intent to challenge Ōtomo power openly, but on the other, clan leadership has shown it still has plenty of fight in it. Tune in to see how things will develop from here...
General Roundup for Early August

It's been a fairly hectic period with a lot of games for me, so rather than spending lots of time writing lots of detailed battle report...