Friday, 30 May 2025

Some Practice Runs

Skipping rapidly ahead to the mid-19th century, last Friday saw James and Timmy of the Hong Kong Society of Wargamers come over for a go at Sharp Practice. The HKSW has picked up Sharp Practice recently (at my recommendation, as it turns out), but mainly for the Napoleonic Wars, to which the Boshin War offers a rather different setting, with its longer-ranged, and in some cases faster-firing weapons. Although I've been toying with some house rules (the ideas for which mostly originate with others), the aim for this game was to build more familiarity with the rules as written, so that's what we did.

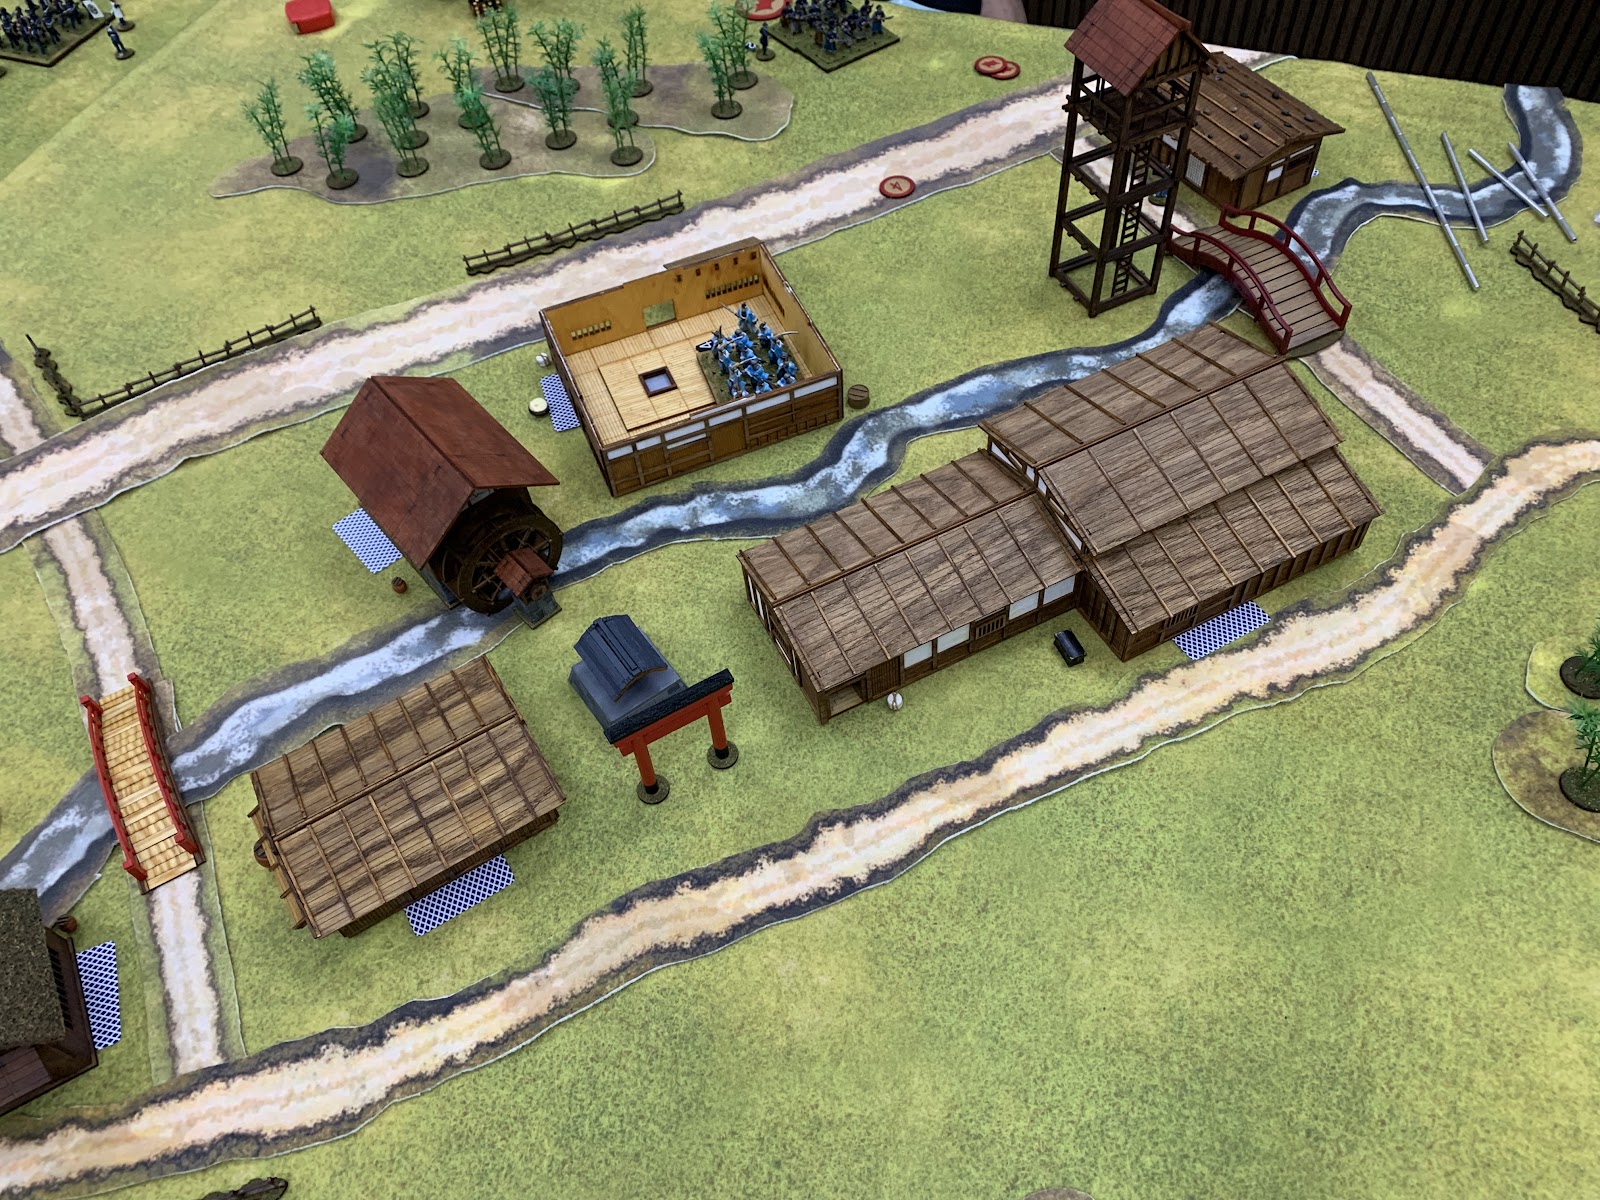
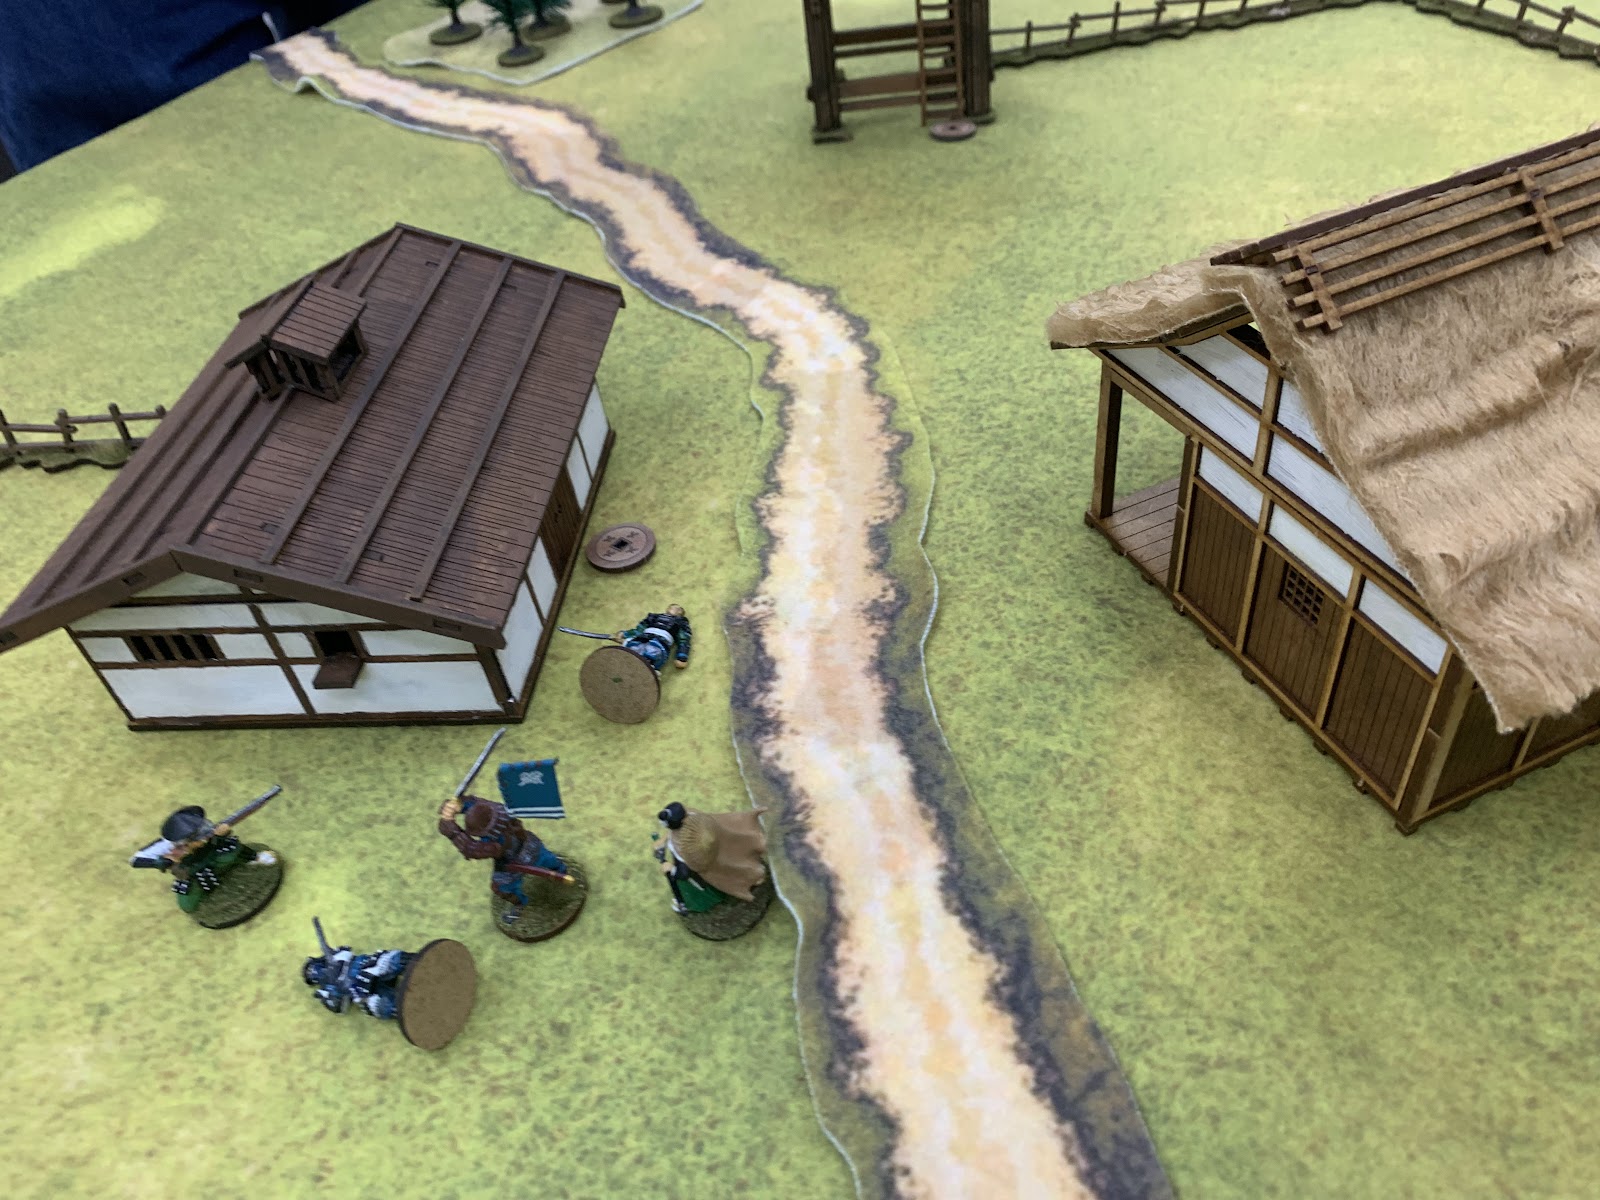
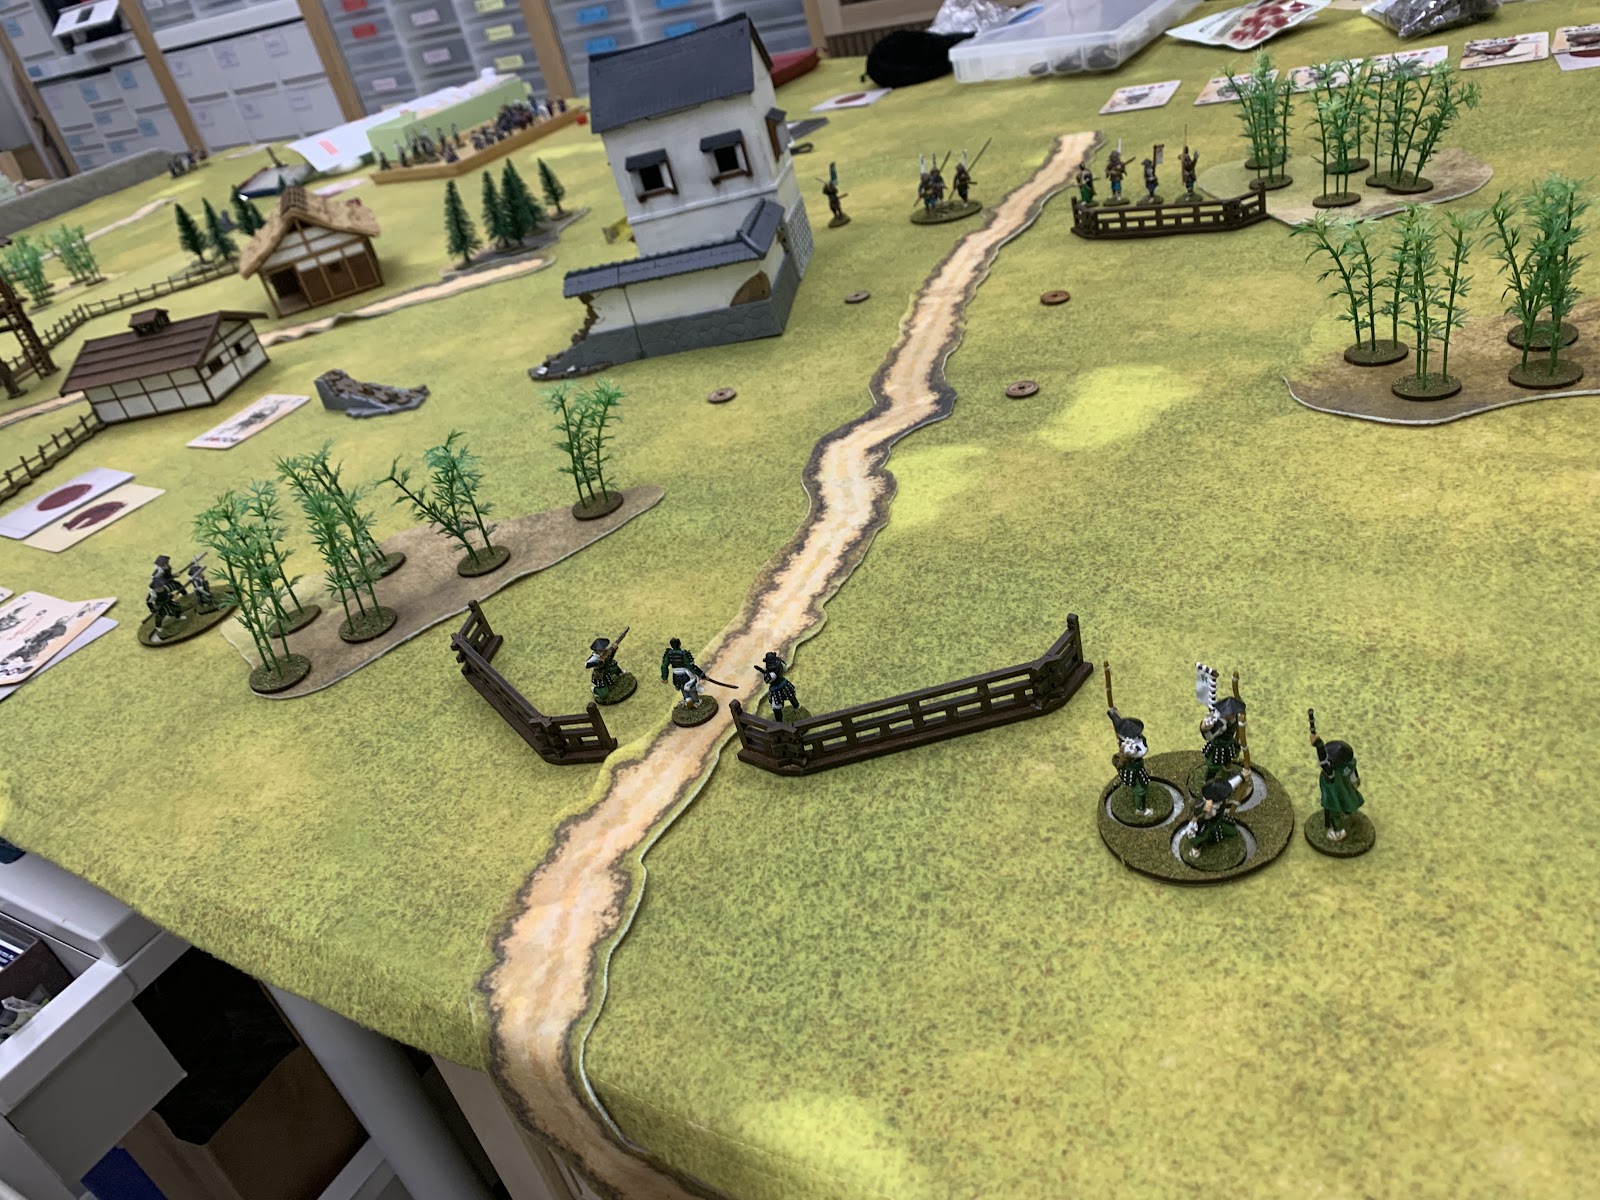
I set up the table with a stream running down the middle and buildings either side, with woods sprinkled liberally about. The idea was to avoid giving either side a wide, uninterrupted field of fire. Each of the six buildings concealed a playing card, one of which (the Joker) represented a spy whom the Shogunate force had to make off with. 10 Task points were needed to search each building. The Imperial force simply had to prevent the Shogunate from achieving their objective, but there is a mechanism for delaying their deployment so that the Shogunate player effectively gets two to four free turns.

The table as initially set up. Rather than going down the length of the table, I opted to instead let players place deployment points up to 2' in from the corners. On reflection this may have given the attackers too much proximity to the village.

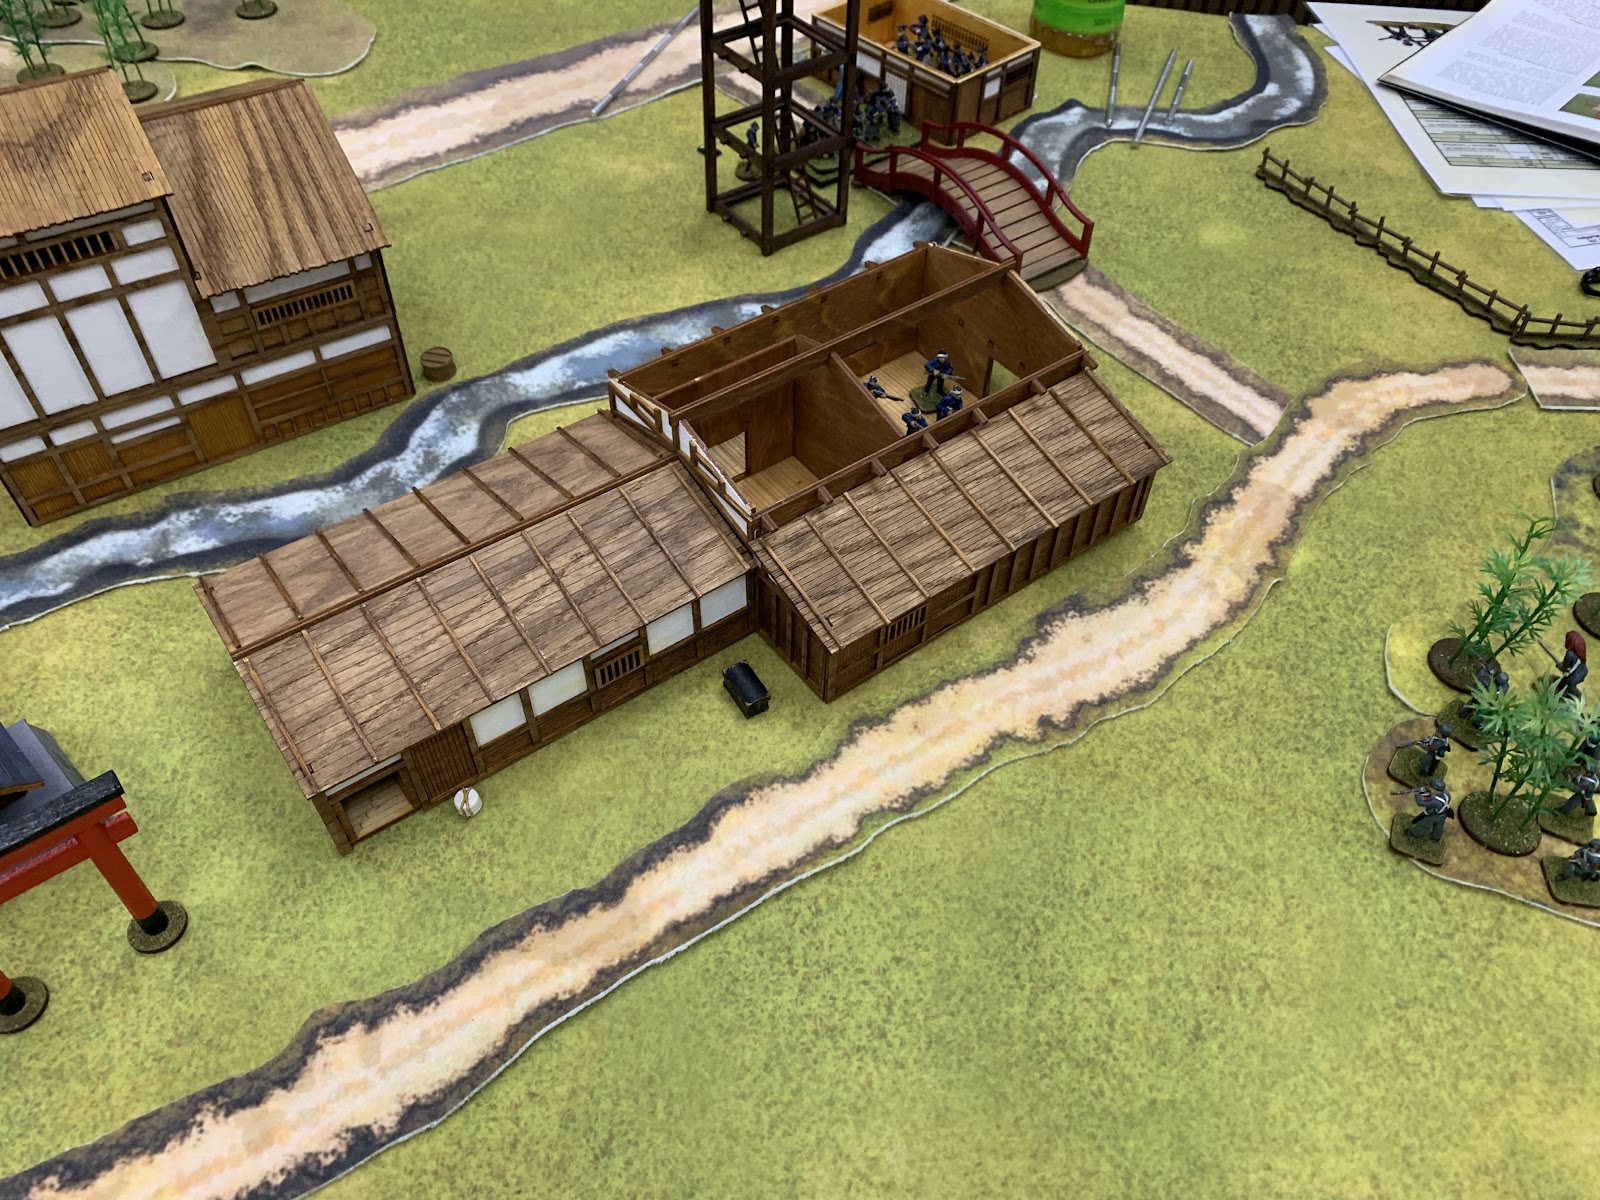
Early moves: the Shinsengumi quickly occupied the inn, with no success.

Shogunate skirmishers search the warehouse across the river and find nothing, while one of their musketeer units behind finds itself similarly out of luck next to the watchtower. Note the Imperial skirmishers creeping up on the right.

The Shinsengumi get lucky and find the spy in the watermill, but the pressure is now on as the main body of the imperial force (just out of frame) begins trading volleys with the Shogunate line.

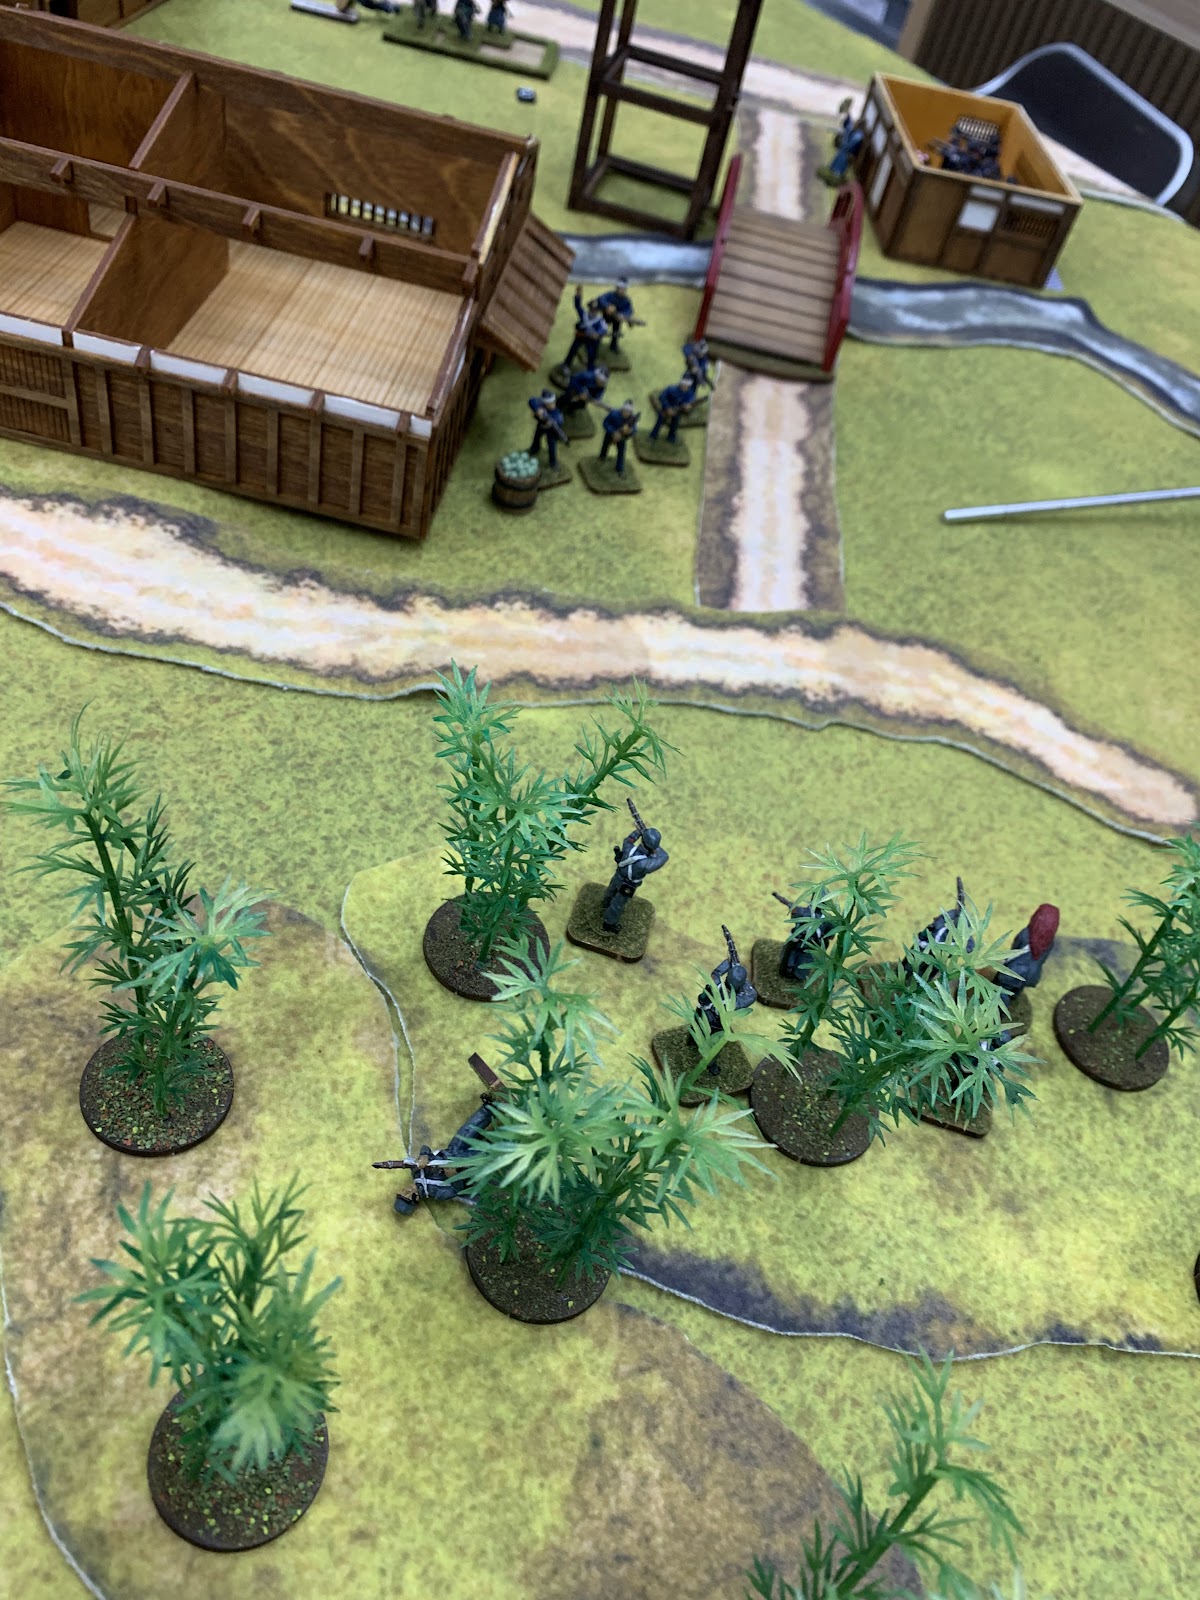
On the right, the Imperial skirmishers get a clean shot against an exposed Shogunate musketeer group and score some very good hits.

The Shogunate skirmishers then file out of the warehouse and get a shot off against the Imperials, killing one.

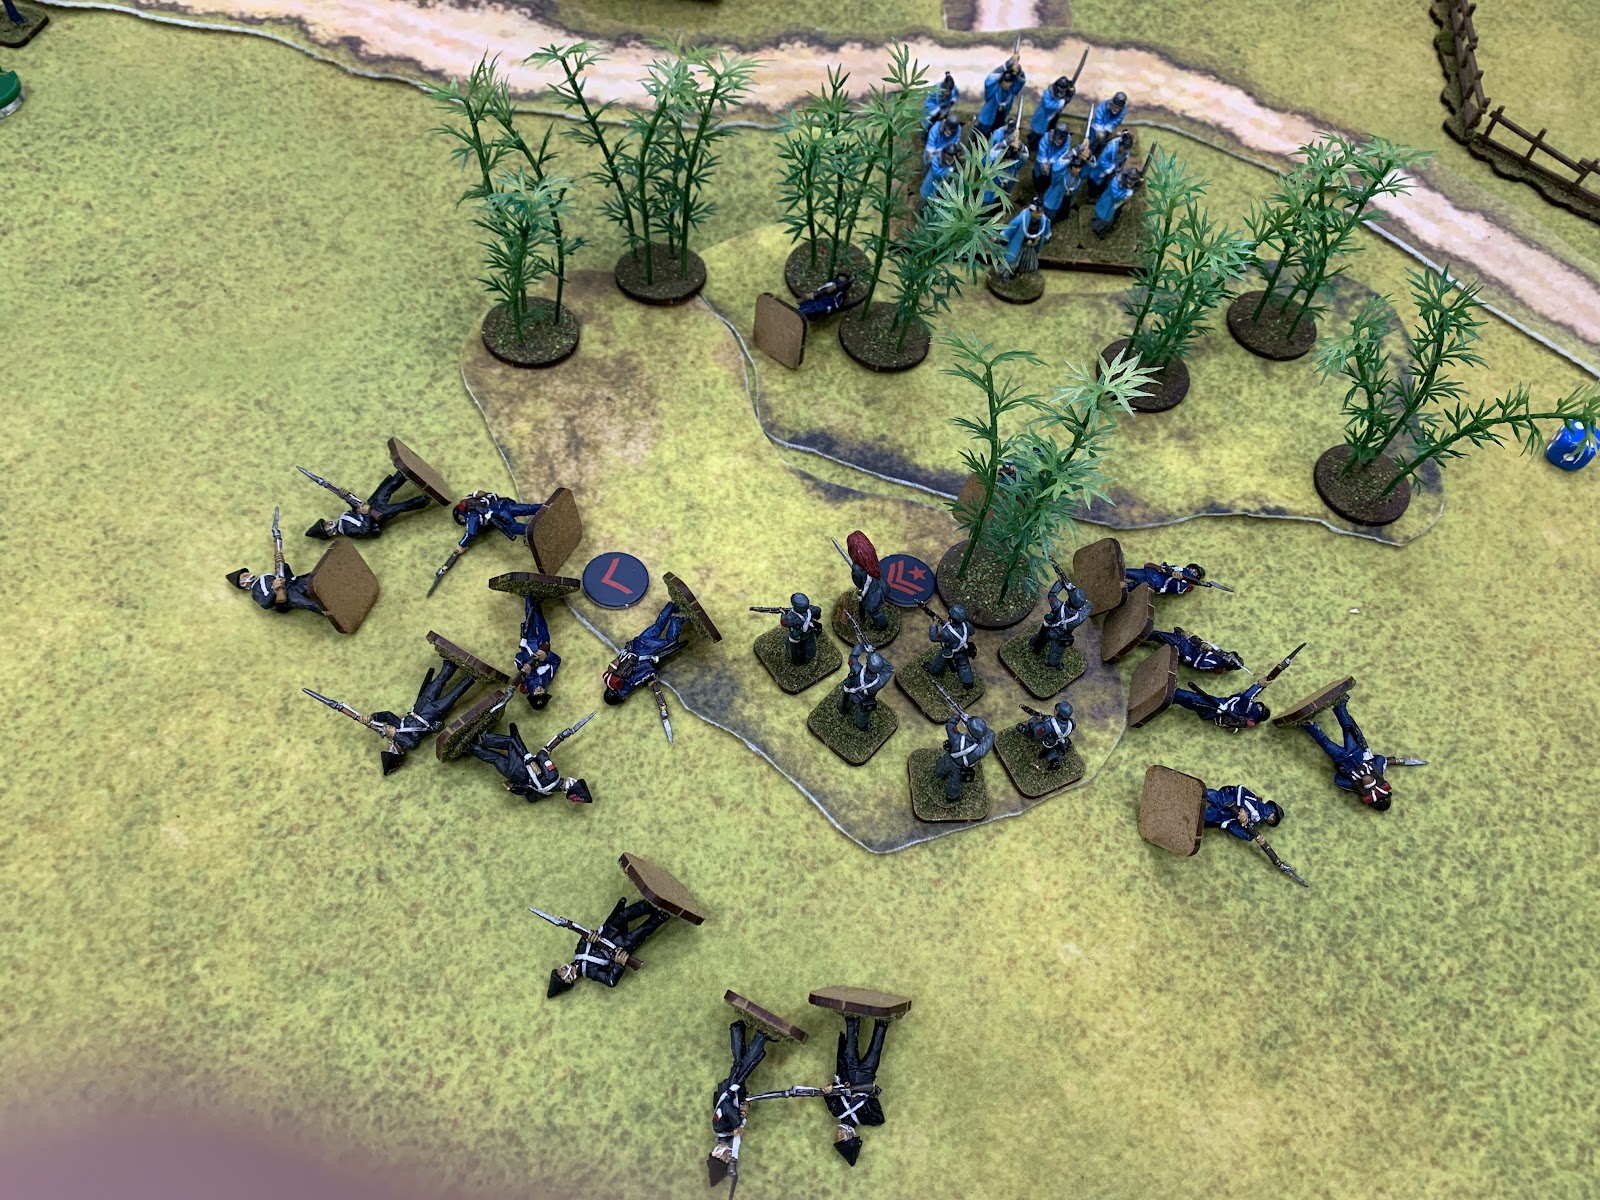
But the return fire from the Imperials proves devastating, killing five of the Shogunate skirmishers and wounding their Leader. Shogunate morale was becoming precipitously low.

Could the Shinsengumi make off with the spy before morale collapsed?

Tragically, no. A final round of fire by the Imperial skirmishers broke the Shogunate army's resolve, and although the spy was technically under their control, they had fled the field in disgrace.

After a convincing result on Friday, I kept the entire setup the same and replayed it with Gareth on Tuesday. As shall be seen, Gareth would move much more aggressively than James and Timmy had done, but would it pay off for him?

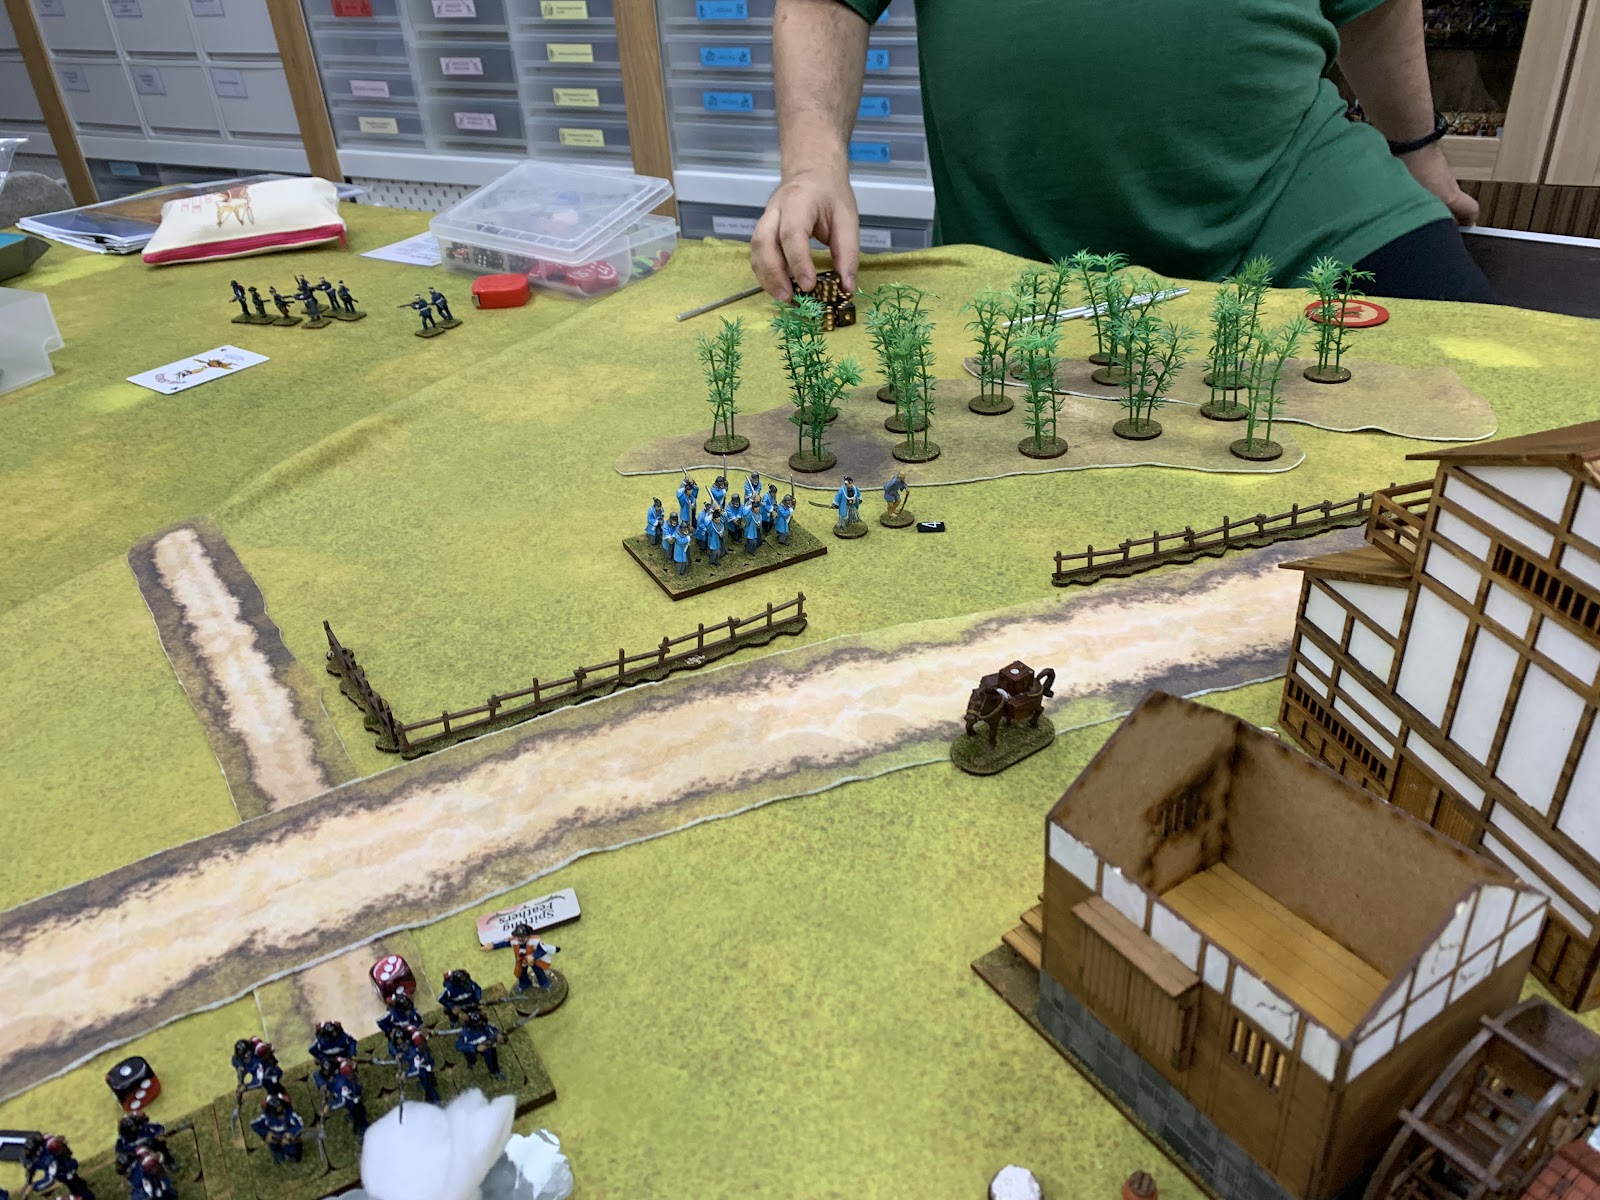
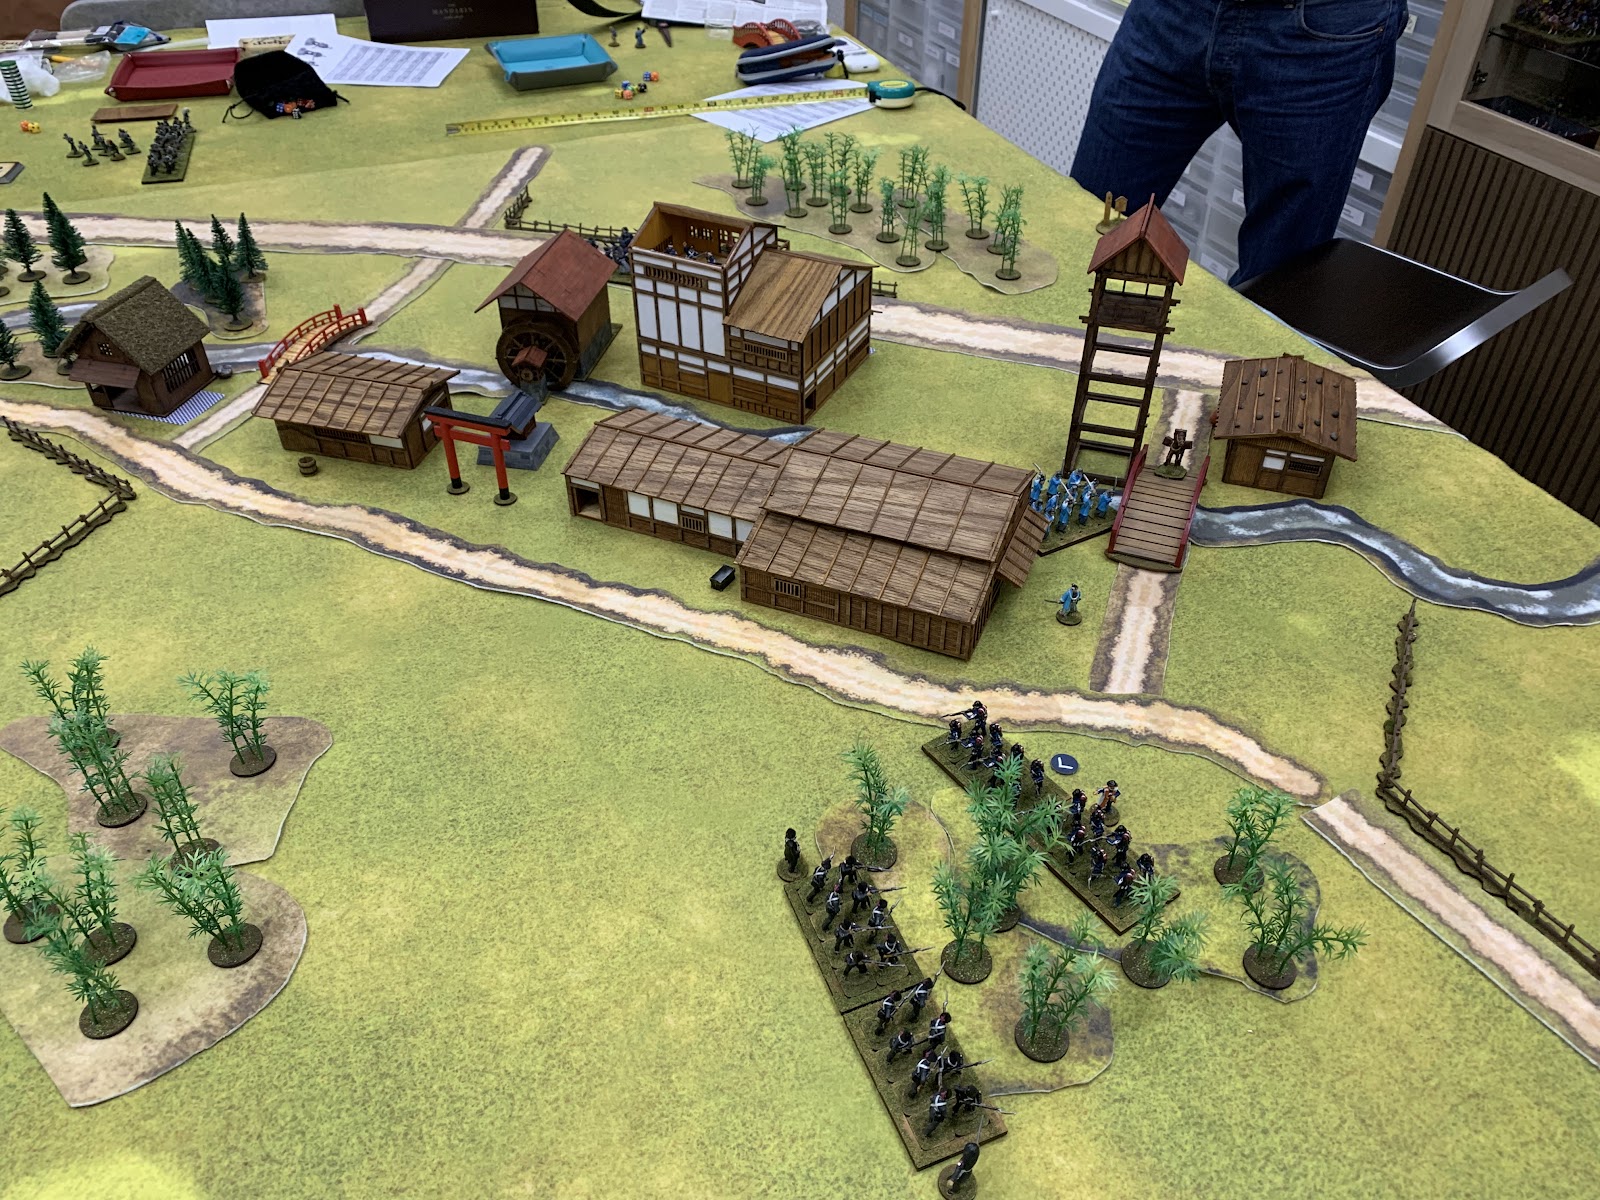
Shogunate riflemen in open column approach the bridge while the Shinsengumi prepare to ford across next to them.

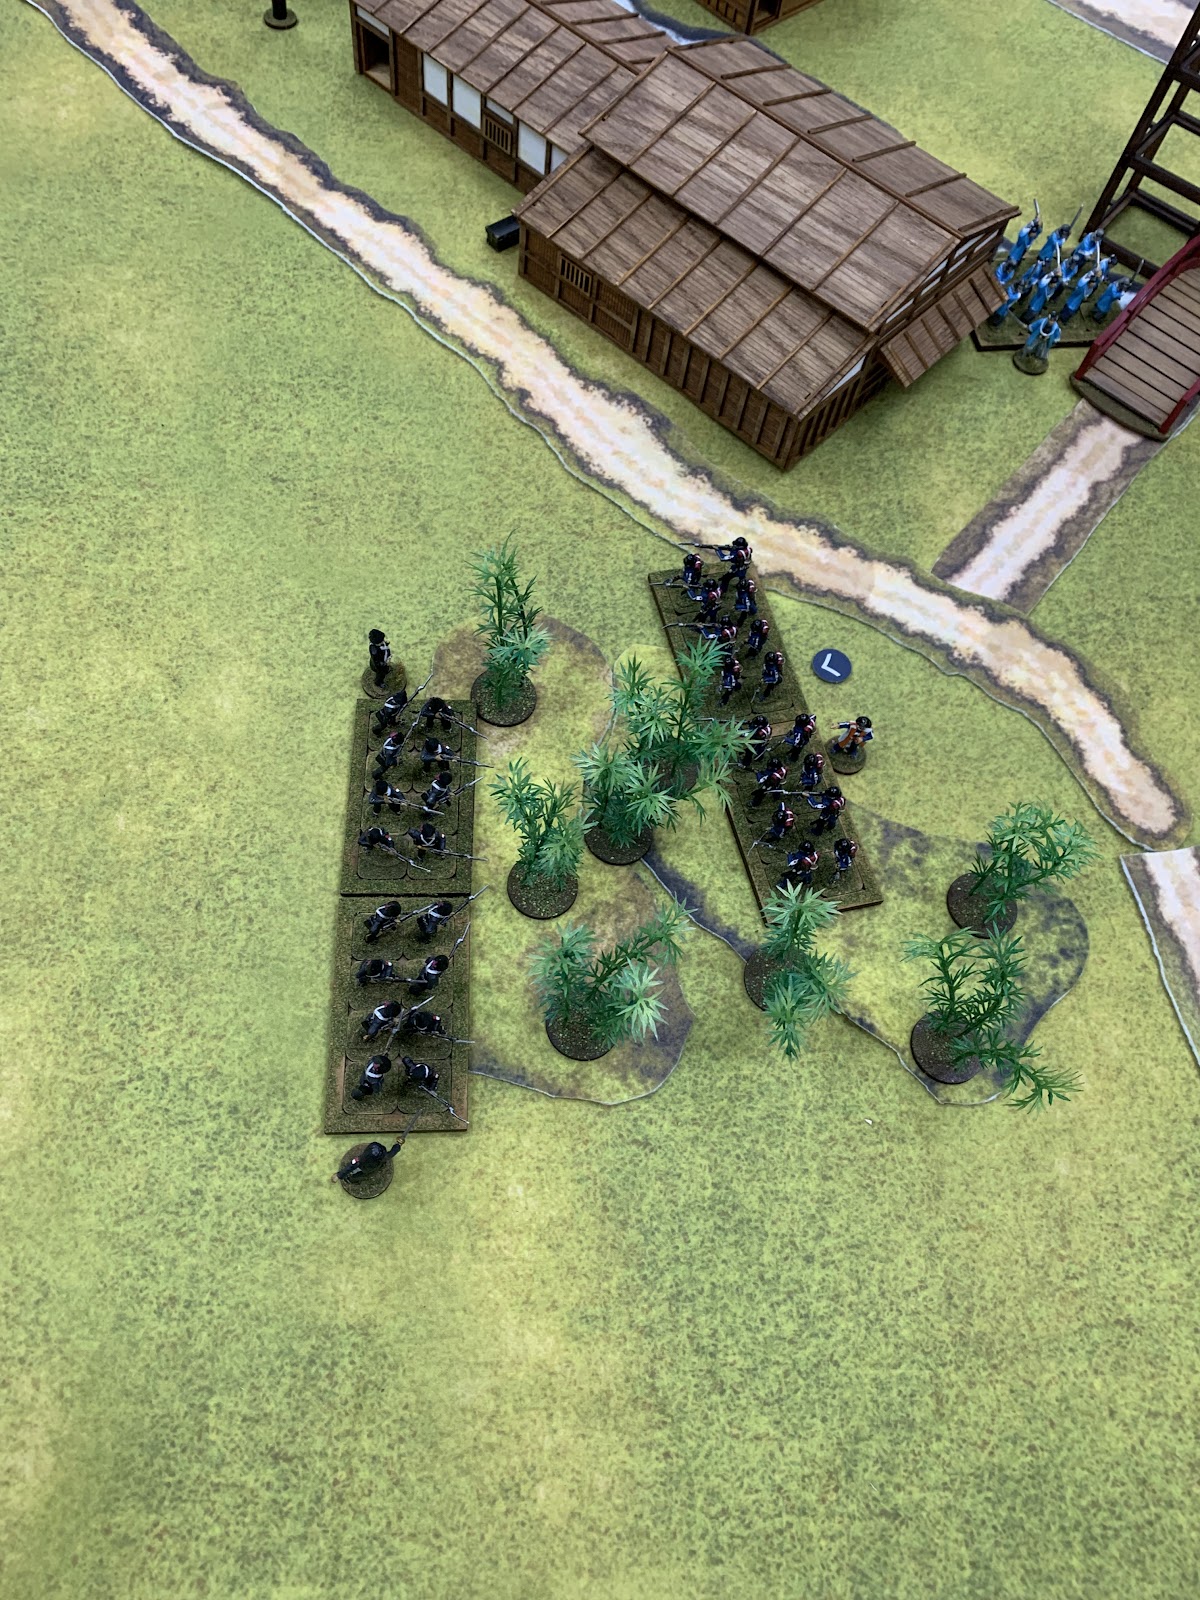
The riflemen surge further forwards, seeking cover in the woods before their Imperial counterparts can position themselves to oppose them.


An interesting game of chicken. With visibility in the wood limited to 4", one side or another had to advance before firing, but doing so (without a command card bonus) would mean giving up the ability to aim before firing for a +1 modifier to hit. Who would go first?

Worse still, the Shogunate skirmishers had set themselves up on the upper storey of the inn, with a wide field of fire from the extended window. With the Imperials so far failing to deploy any of their other units, things seemed dire.

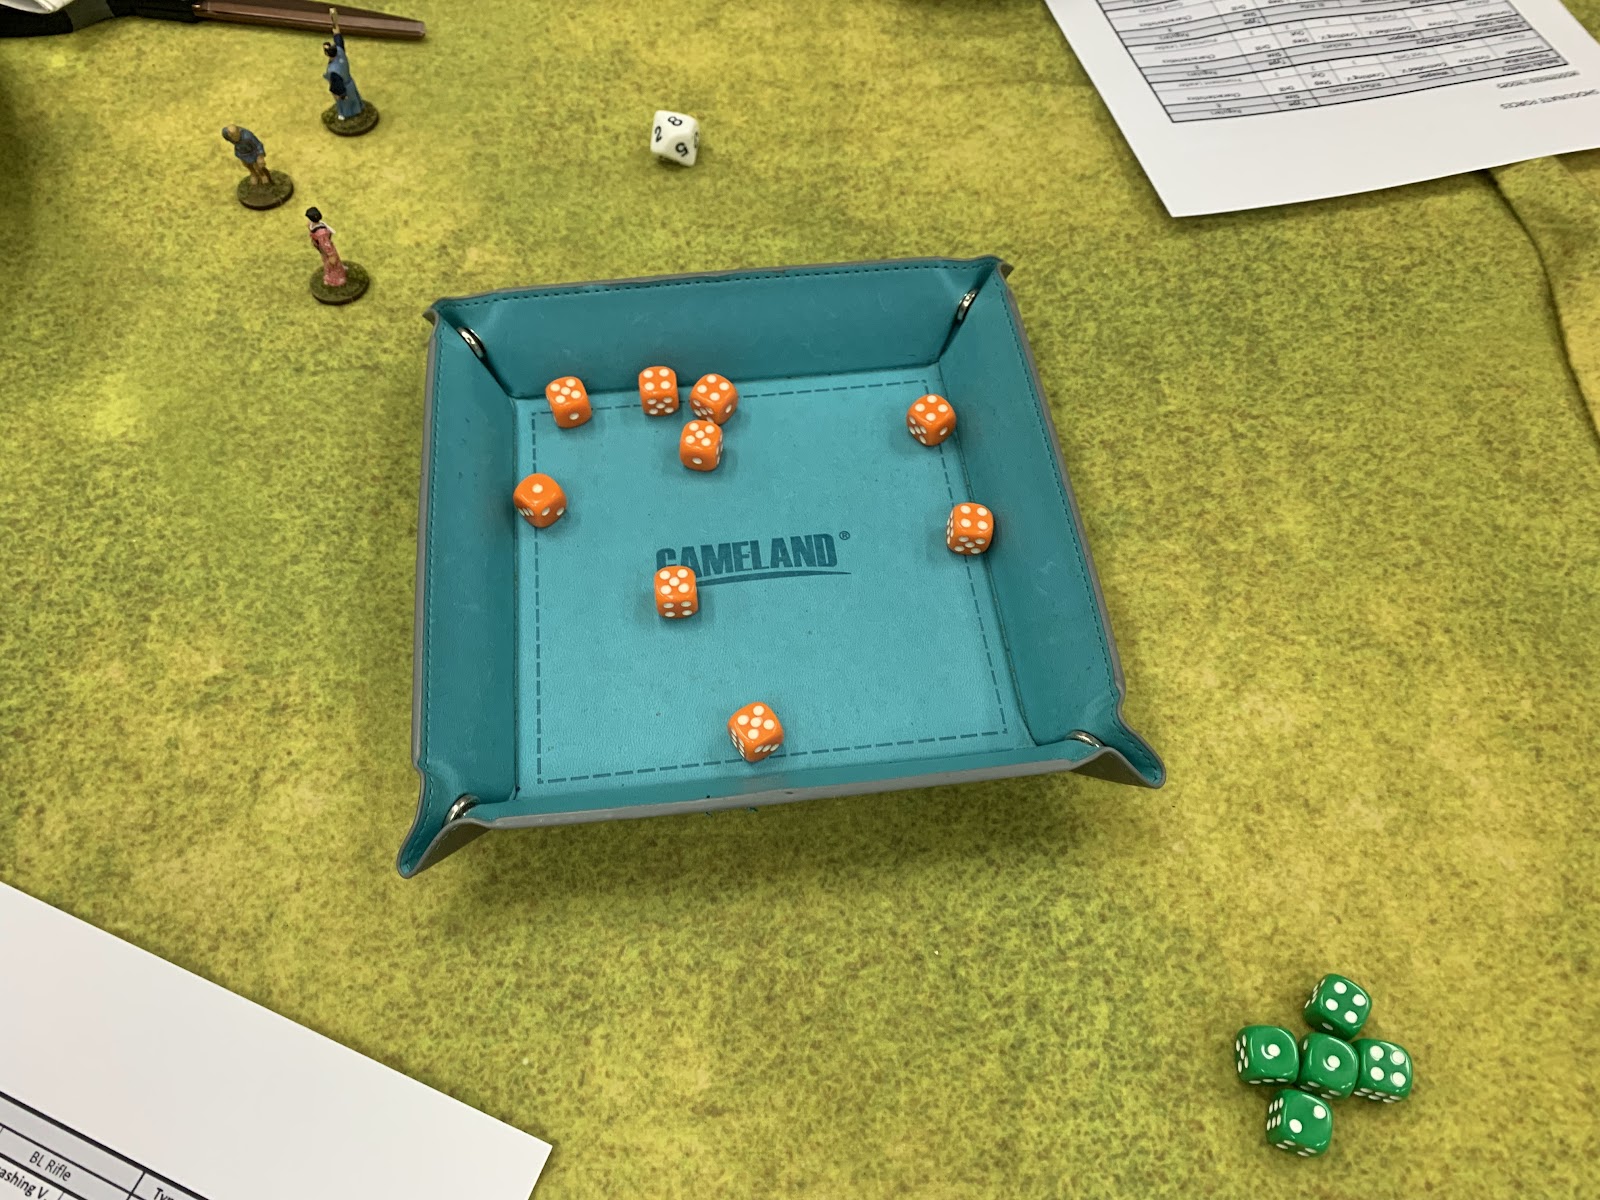
For a moment, fortune seemed to smile upon me, as Gareth (who decided he would make the first move) inflicted only four points of Shock and no casualties from his first volley.

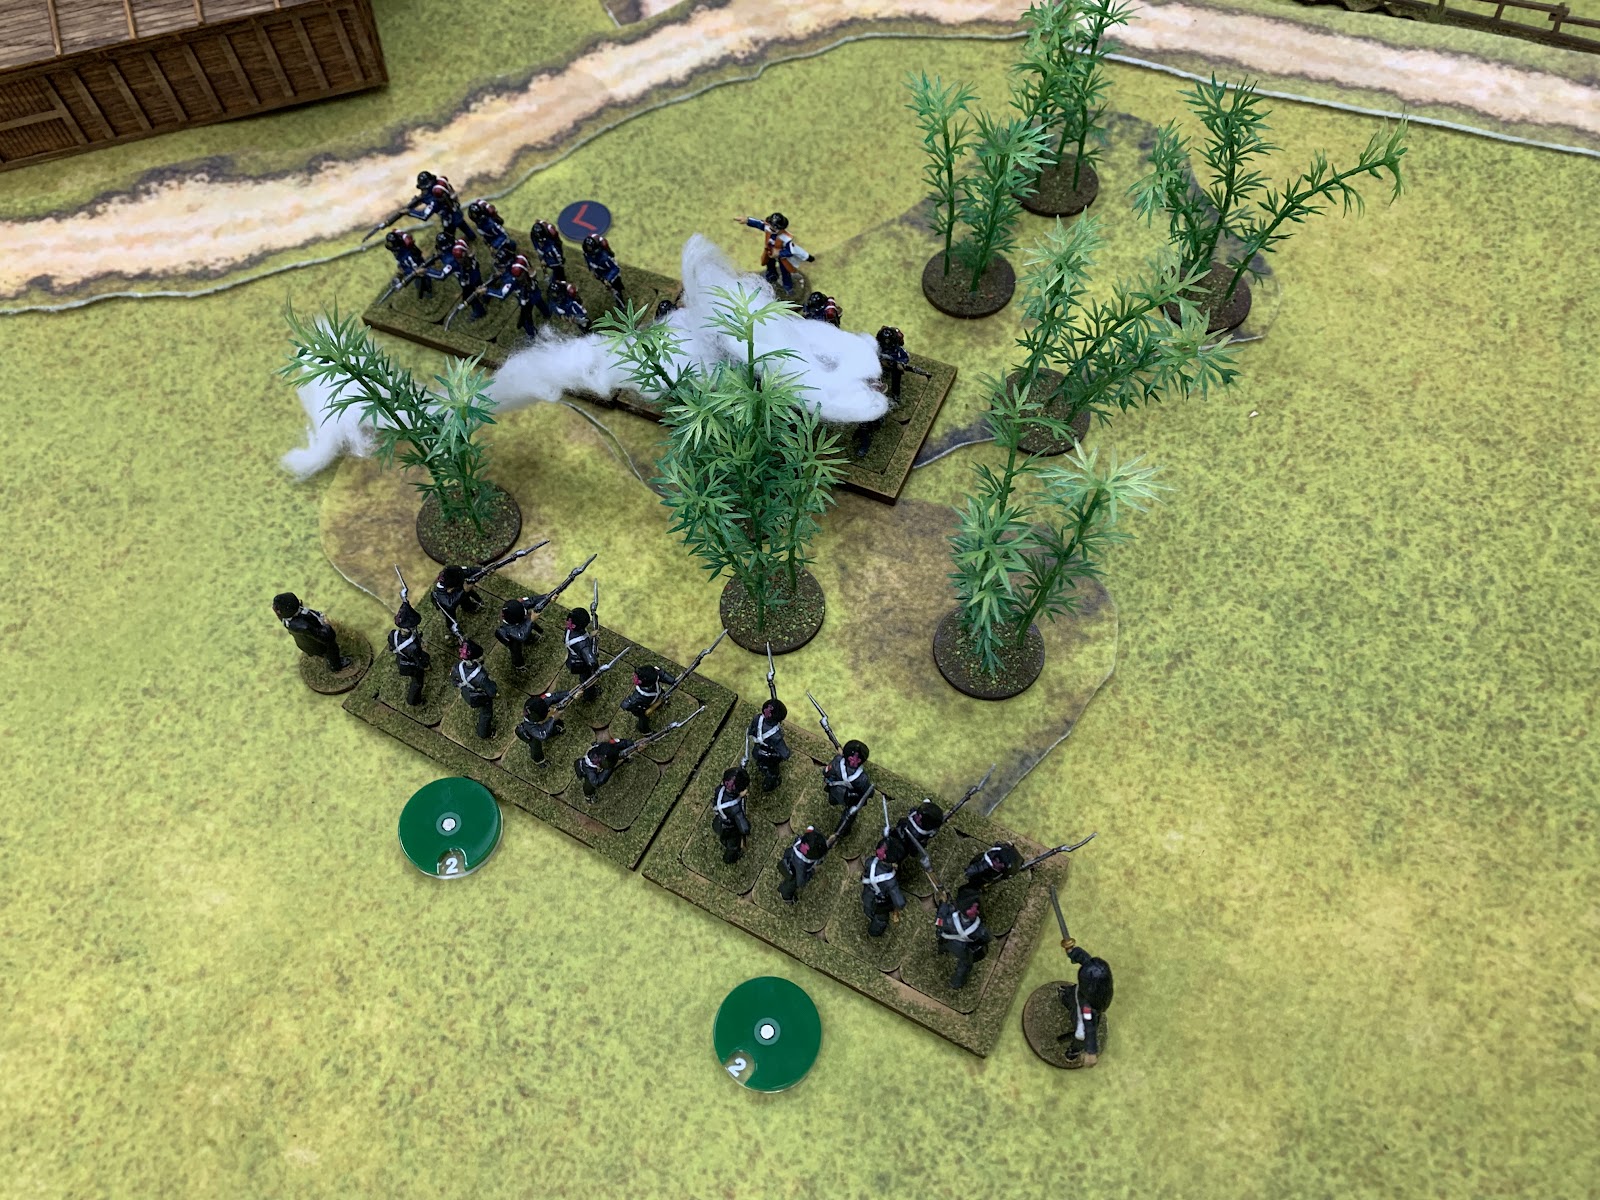
But then, a Random Event struck, which saw the Shogunate riflemen, energised by their own fire, surge forwards 2D6" into melée contact, getting +2D6 per unit to boot!

Remarkably, Gareth only won the melée by 2 hits, but that still meant I was down 9 men while he lost 7, and I had to withdraw and take additional Shock on top of the 4 inflicted in the combat.

Worse still, those 9 casualties for me included both of my Leaders, substantially worsening my morale. Gareth's big man was injured as well, but remained in control of his faculties, while my own had passed out, leaving command to his NCO, himself too injured to issue orders without Command Cards.

Two successive rounds of pinpoint-accurate fire from Gareth's skirmishers saw off the rest of my line infantry. Was there anything else I could do?

In a stroke of luck, I was able to bring out my skirmishers on the flank of his riflemen, routing the already-weakened group on the left.

Naturally, seeing what had worked for Gareth, I followed up with a valiant charge that drove off the other half of his riflemen, only for my Leader to be the sole casualty in the encounter, suffering a minor injury but still taking enough off my force morale to break my army's resolve.

On the whole, an interesting pair of engagements. What's clear is that the amount of losses you need to take before collapse can be very low indeed, and that a concentrated push against a single vulnerable element can be enough to take it over the edge. Game 1 certainly had more of a swing to it thanks to the race for me to take down the Shogunate force morale before they achieved their objective, whereas I think my delayed deployment in Game 2 more or less precluded any chance of a decisive win. Gareth moving aggressively was a risky approach (especially as his musketeers hung back to search the houses), but my inability to bring out my full force in response, combined with the shortage of good cover on my side, and his skirmishers up in the attic of the inn, all tipped things in his favour. The skirmishers made a good effort, so I can claim a small moral victory there.

This was also a bit of an opportunity to show off some of the kits from TRE Games I've done up over the last couple of years, four of which (the warehouse, the inn, and the two shops with the wooden roofs) formed the centrepiece of the table. These have some quite interesting layouts to have to work around, especially given the limitations that Sharp Practice places on firing from windows and doorways.

After this foray down to the 1860s, it's back to the Sengoku for a while...

Thursday, 22 May 2025

Restoring my Honour

At long last, reunited with my Japan collection, I decided it was high time to get the old Test of Honour engine fired up again. Gareth (whom you may recall from reports such as for this game last year) and I have agreed to do an intermittent ToH campaign during the summer months, but we decided it would be best to try and really get the mechanics under our belt again. The most straightforward option seemed to be to try to play through the first half of the six-game introductory campaign, using standard forces.


Game 1 was set up as laid out in the book: each side would have one armoured samurai, a group of three ashigaru spearmen, one archer, and one musketeer; whoever cut down the other's Hero would win. Not wanting to beat around the bush, I decided to move swiftly and aggressively.


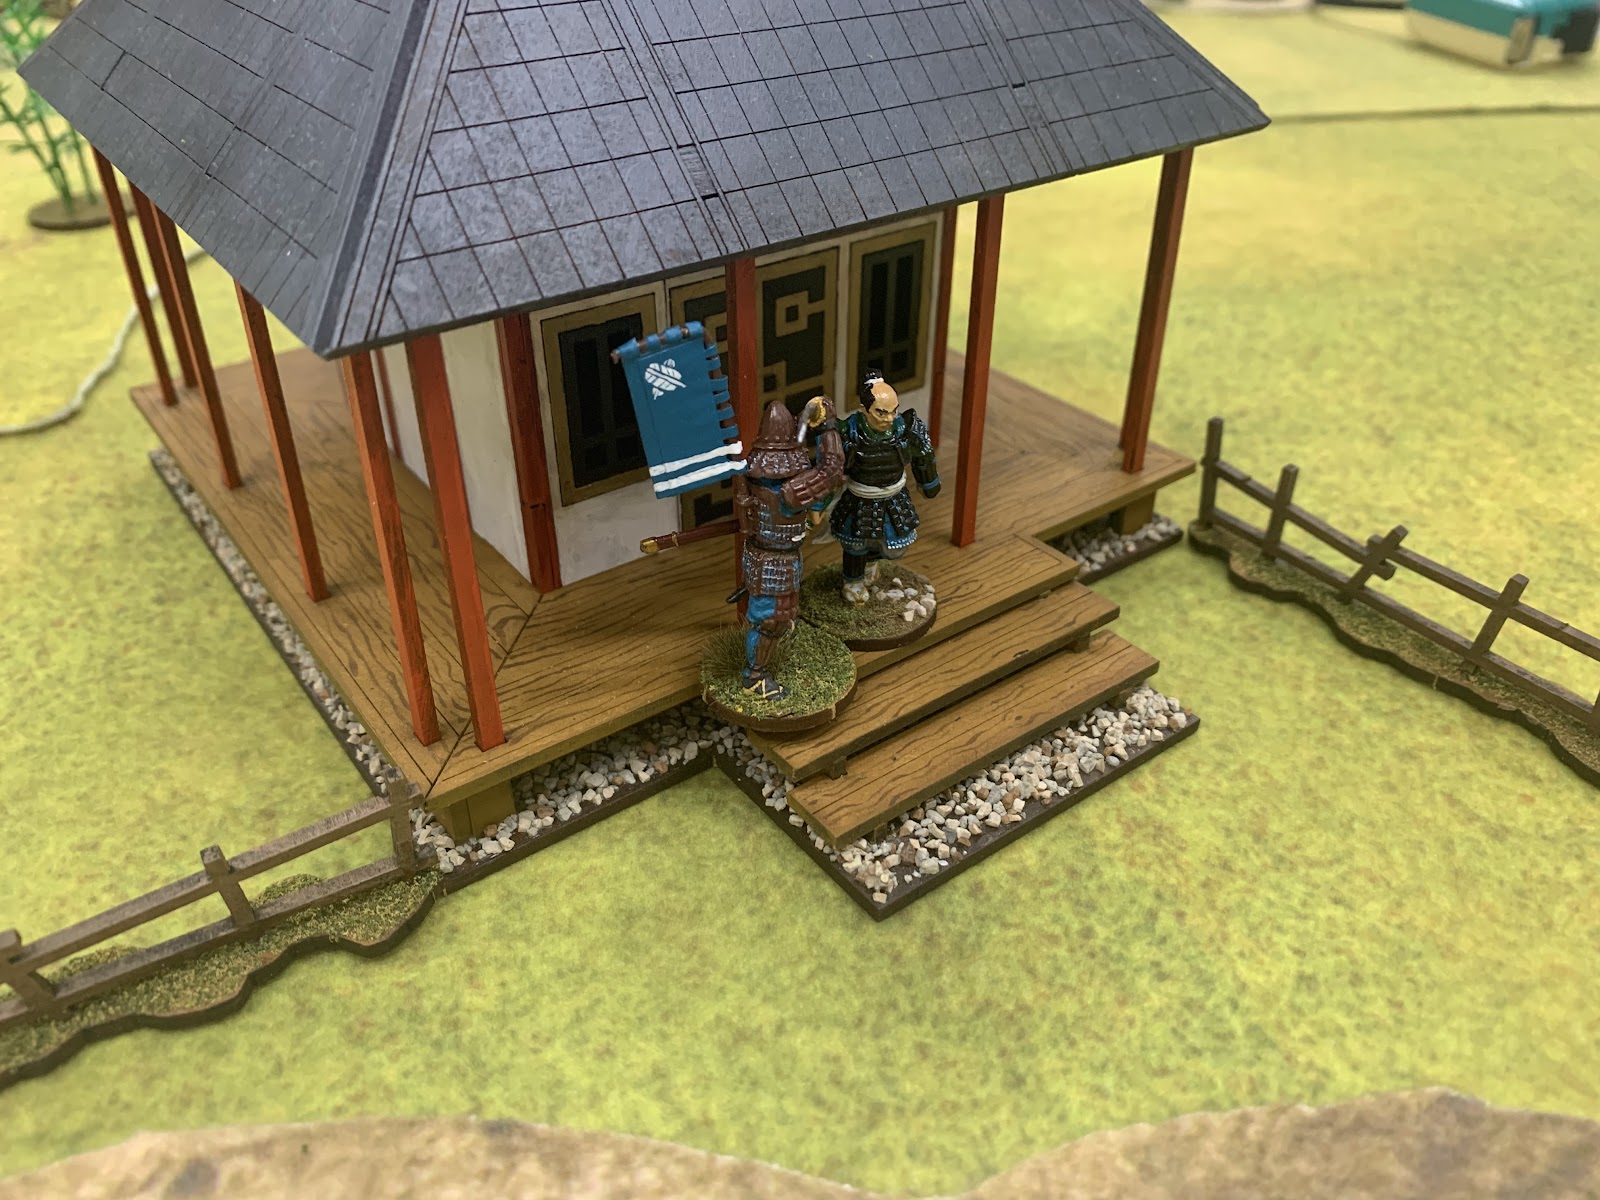
In retrospect, deciding to attack up the stairs of the shrine may have been injurious to my commander's health...


Despite some valiant efforts, Gareth's samurai struck down mine with nary a scratch on himself. The character progression rolls resulted in no effect for him, but my hero was left not only with a lingering wound taken in the course of battle, but also a light wound that would persist into game 2.
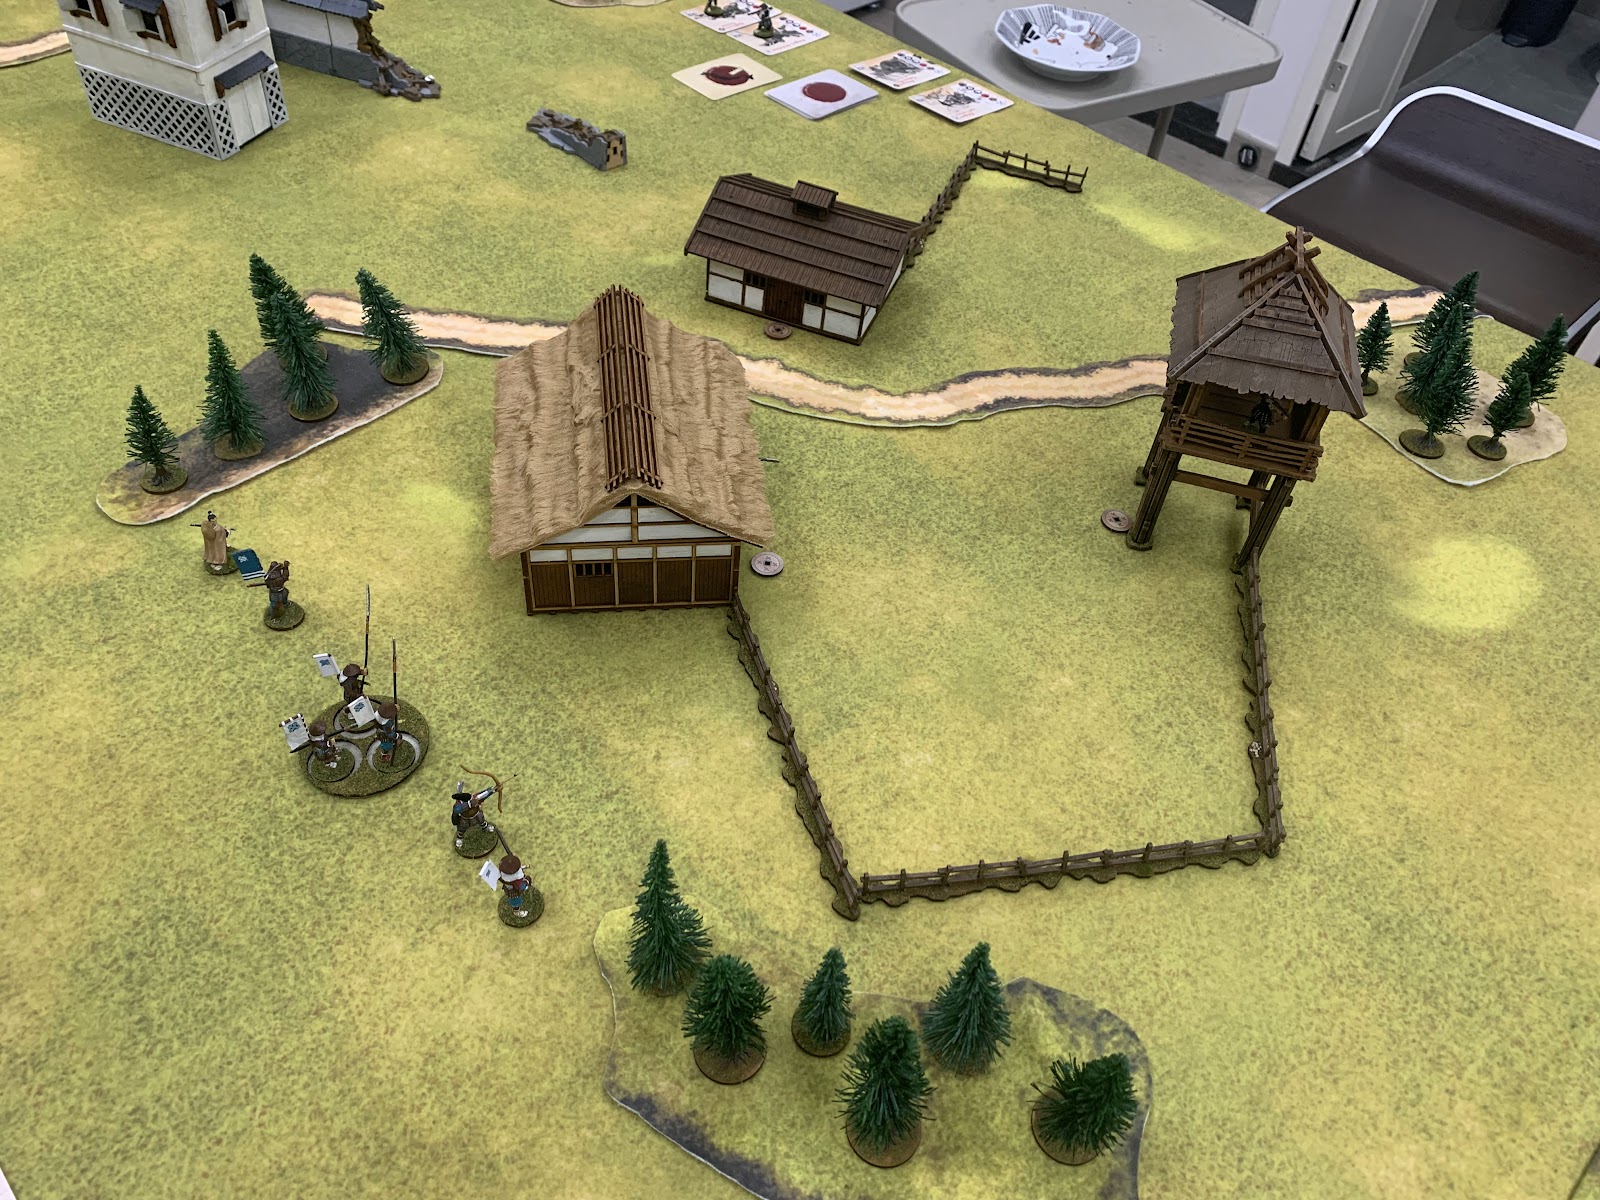

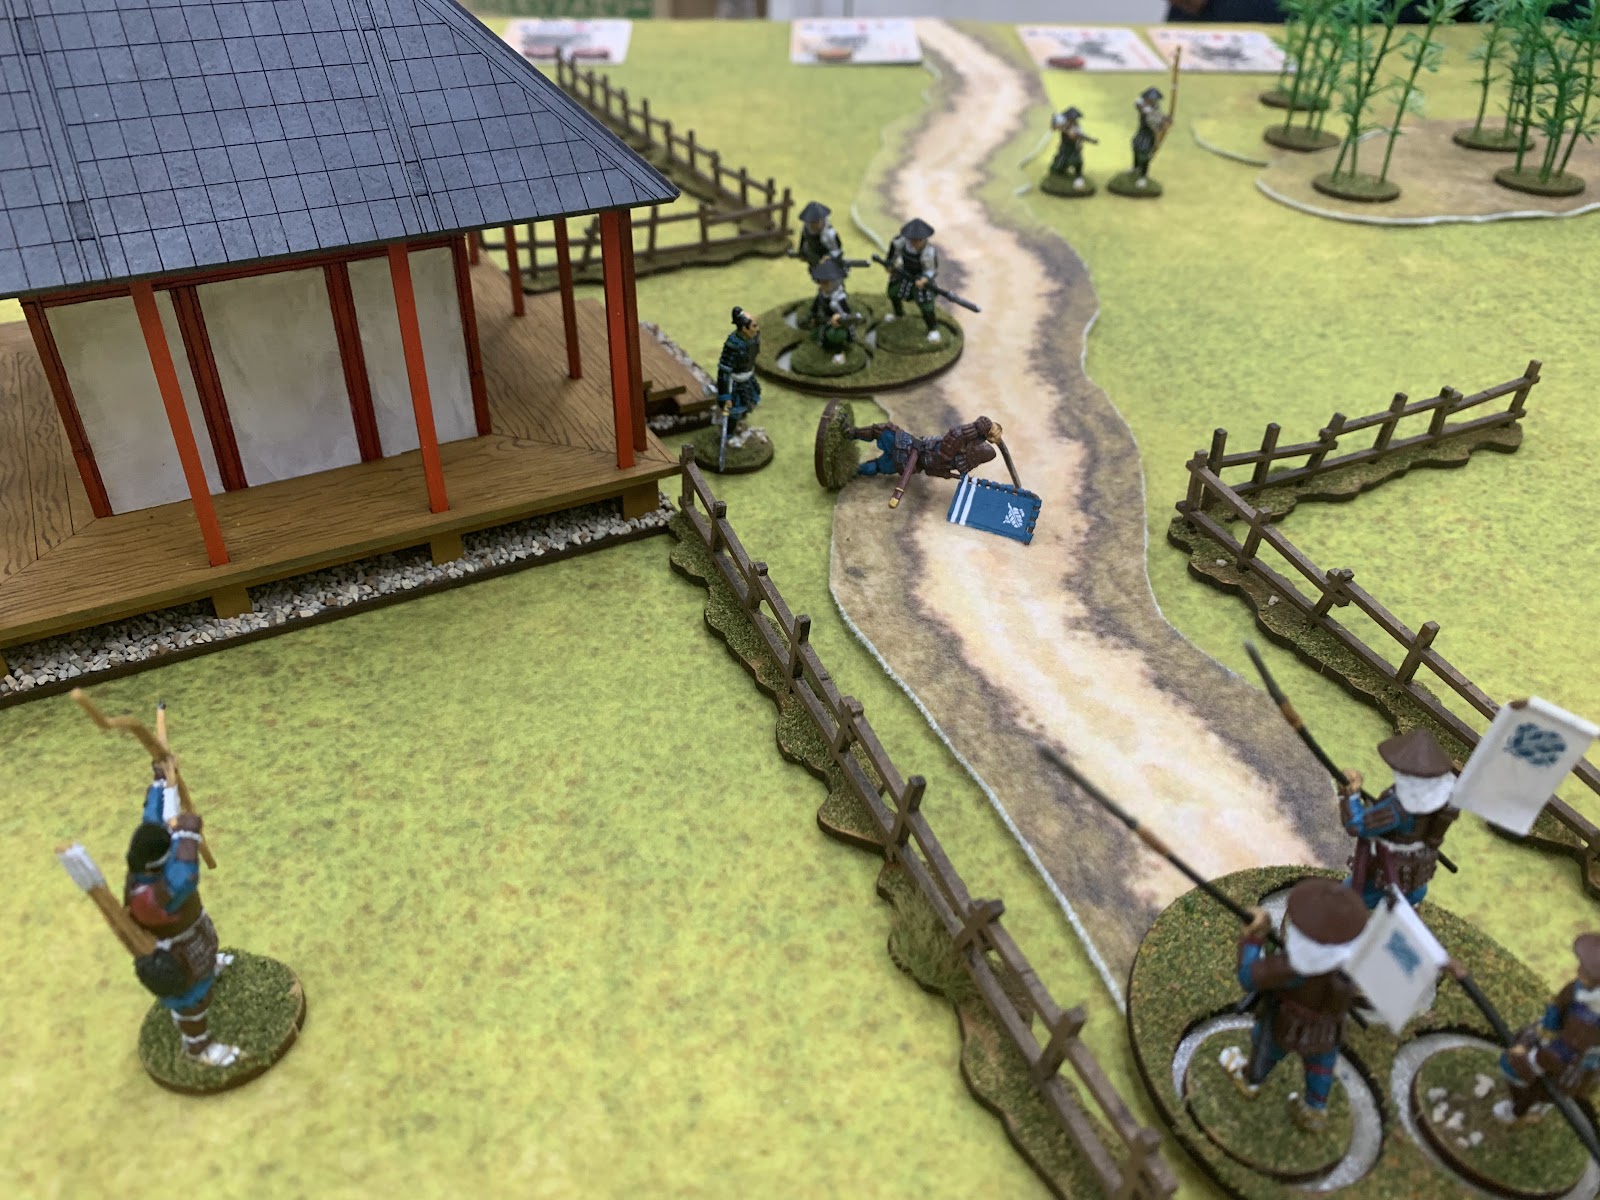
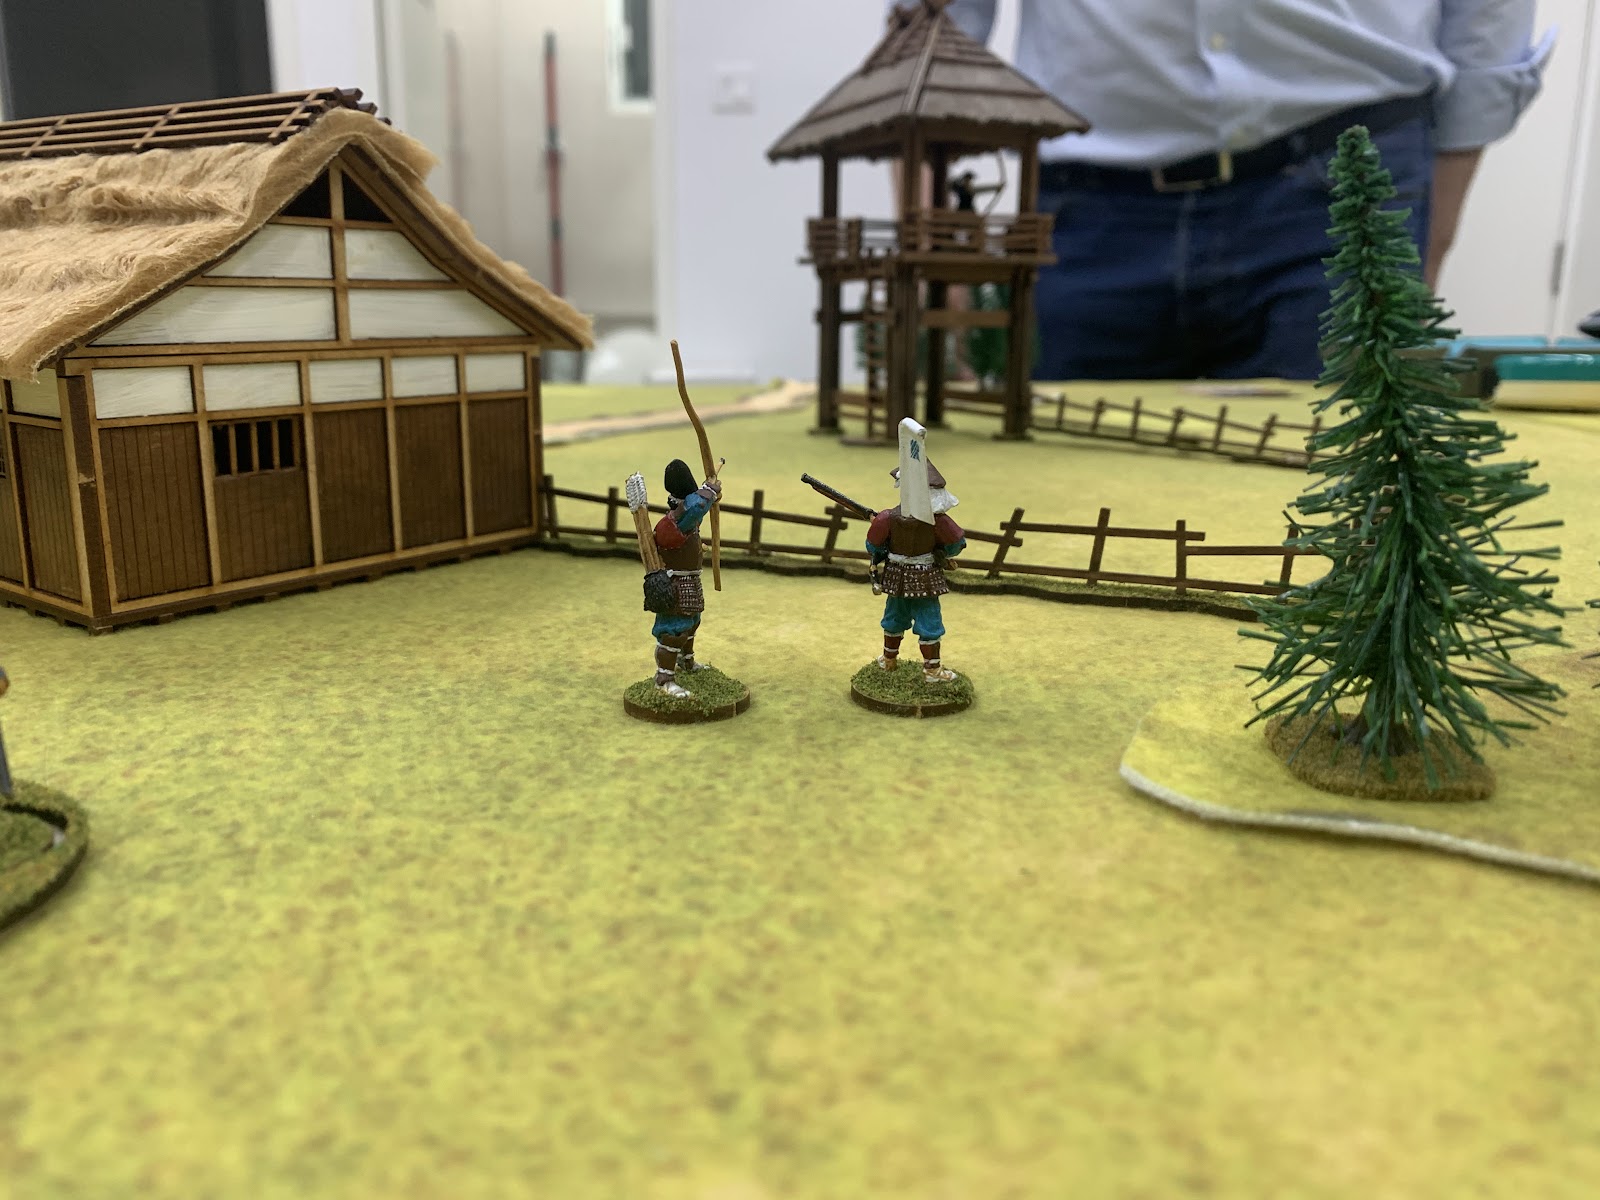
Game 2 involves the loser in scenario 1 attempting to take control of an outpost, part of whose garrison is held off-table as reinforcements. Whoever controls the most objectives (marked by the coins on the table) by the end of turn 5 wins. Not particularly visible in the above photo are Gareth's three deployed units: his recently-victorious samurai hero hiding inside the wooden-roofed kitchen, his spearmen concealed just under the thatched house, and his archer in the watchtower. For game 2, each side is granted an extra 4 recruitment points, enough to bring on a single samurai companion. Mine (the one in the cloak on the far left) deployed with the rest of the force; Gareth held his in reserve along with his musketeer.


Things were fairly indecisive at first, with my missile troops keeping Gareth's archer suppressed while my two samurai arced around the house.


With Gareth's samurai managing to come on as a reinforcement, this is how things shook out: samurai characters on the left flank, ashigaru followers on the right. I had a slight advantage in weight of numbers, but I was on edge due to my hero's wounds: normally, a hero who is cut down can attempt to pass a Test of Honour (a morale check, in layman's terms) which gives him an Injury card instead, but the wound carrying over from the last game meant I had no free pass for mine.


The arrival of the musketeer on turn 2 was a serious concern. My samurai companion has a very high Agility score which means he is more likely to avoid attacks, but being unarmoured he takes more damage if he does get hit. Gareth had three potential high-damage units who could gang up on him, each attack exhausting a potential action until he would have none left.


But although Gareth managed to pass the Test of Honour, his attacks against my unarmoured companion failed to hit, and I was able to wound his hero. I decided to commit my own hero in turn, delivering the coup de grace.


On the right, our followers continued trading blows. I lost a spearman, but some good shooting took out Gareth's archer, which gave me the edge on that flank.


To add insult to injury, a single strike from my hero cut down Gareth's remaining samurai, at which point we decided that the game was as good as over.


This then took us to game 3, where the two sides are searching for relatives among the wounded left after an earlier battle. These are represented by five markers placed at least 1' in from the table edges: four are visible from the above photo, and a fifth in the walled courtyard behind the storehouse on the right. Objectives can be searched by any figure who is within 3" of a marker while no enemies are also in range of it; first to three wins.

For this game, we got another 3 recruitment points, which I spent on getting a gunnery sergeant.


Gareth had spent his points getting an archery sergeant and converting his single archer into a group, which meant he now would be rolling five dice to hit – more likely to succeed than not, though still not an ironclad guarantee. When placing the objectives, he had unfortunately mis-measured, and his troops were noticeably further away from the objectives than he might have liked. Bold movement would be needed to make up for lost time. 


The opening moves were fairly obvious, with both of us trying to move up and take objectives quickly. Unfortunately, the turn sequence initially favoured me a bit more, with Gareth drawing skill cards rather than moving troops.


Very quickly, I had secured two of five objectives. Was it all over?


Not quite! Although not in a position to charge straight in, Gareth took his hero into obstructing distance of my third objective, and began to square off against my melée forces.


Luckily for me, I had one trick up my sleeve. Test of Honour allows troops to climb over obstacles if they can pass a skill check, and heroes have a decent chance of succeeding at those, so I took a gamble and got my hero over the wall.


The result, rather unsurprisingly, was a brawl over the objective that soon saw Gareth's hero once again knocked out of the fight, and losing a spearman to my own hero's follow-up attack.


On the next turn, my hero kept up the assault and slew the last of Gareth's spearmen. With his hero out of range of the objective, my companion took the last objective and clinched victory for the brown-and-blue team.

Overall, we felt we'd reintroduced ourselves to the rules fairly well, and the fact we managed three games in less than two hours (including a break for sandwiches) was encouraging for the planned campaign, where we might try to get two games in per session if possible. The viability of that will of course need to be considered against the fact that the one game we had with a turn limit was voluntarily ended early, and that we played with fewer troops than a standard-sized game.

Two things I will need to keep in mind are to remember Tests of Honour when troops are cut down (where the higher morale of ashigaru compared to other forces really comes into play) and the Tests of Wits for attacking enemies who are not the nearest target (which we mostly managed but occasionally overlooked).

Saturday, 10 May 2025

0200 Inventory

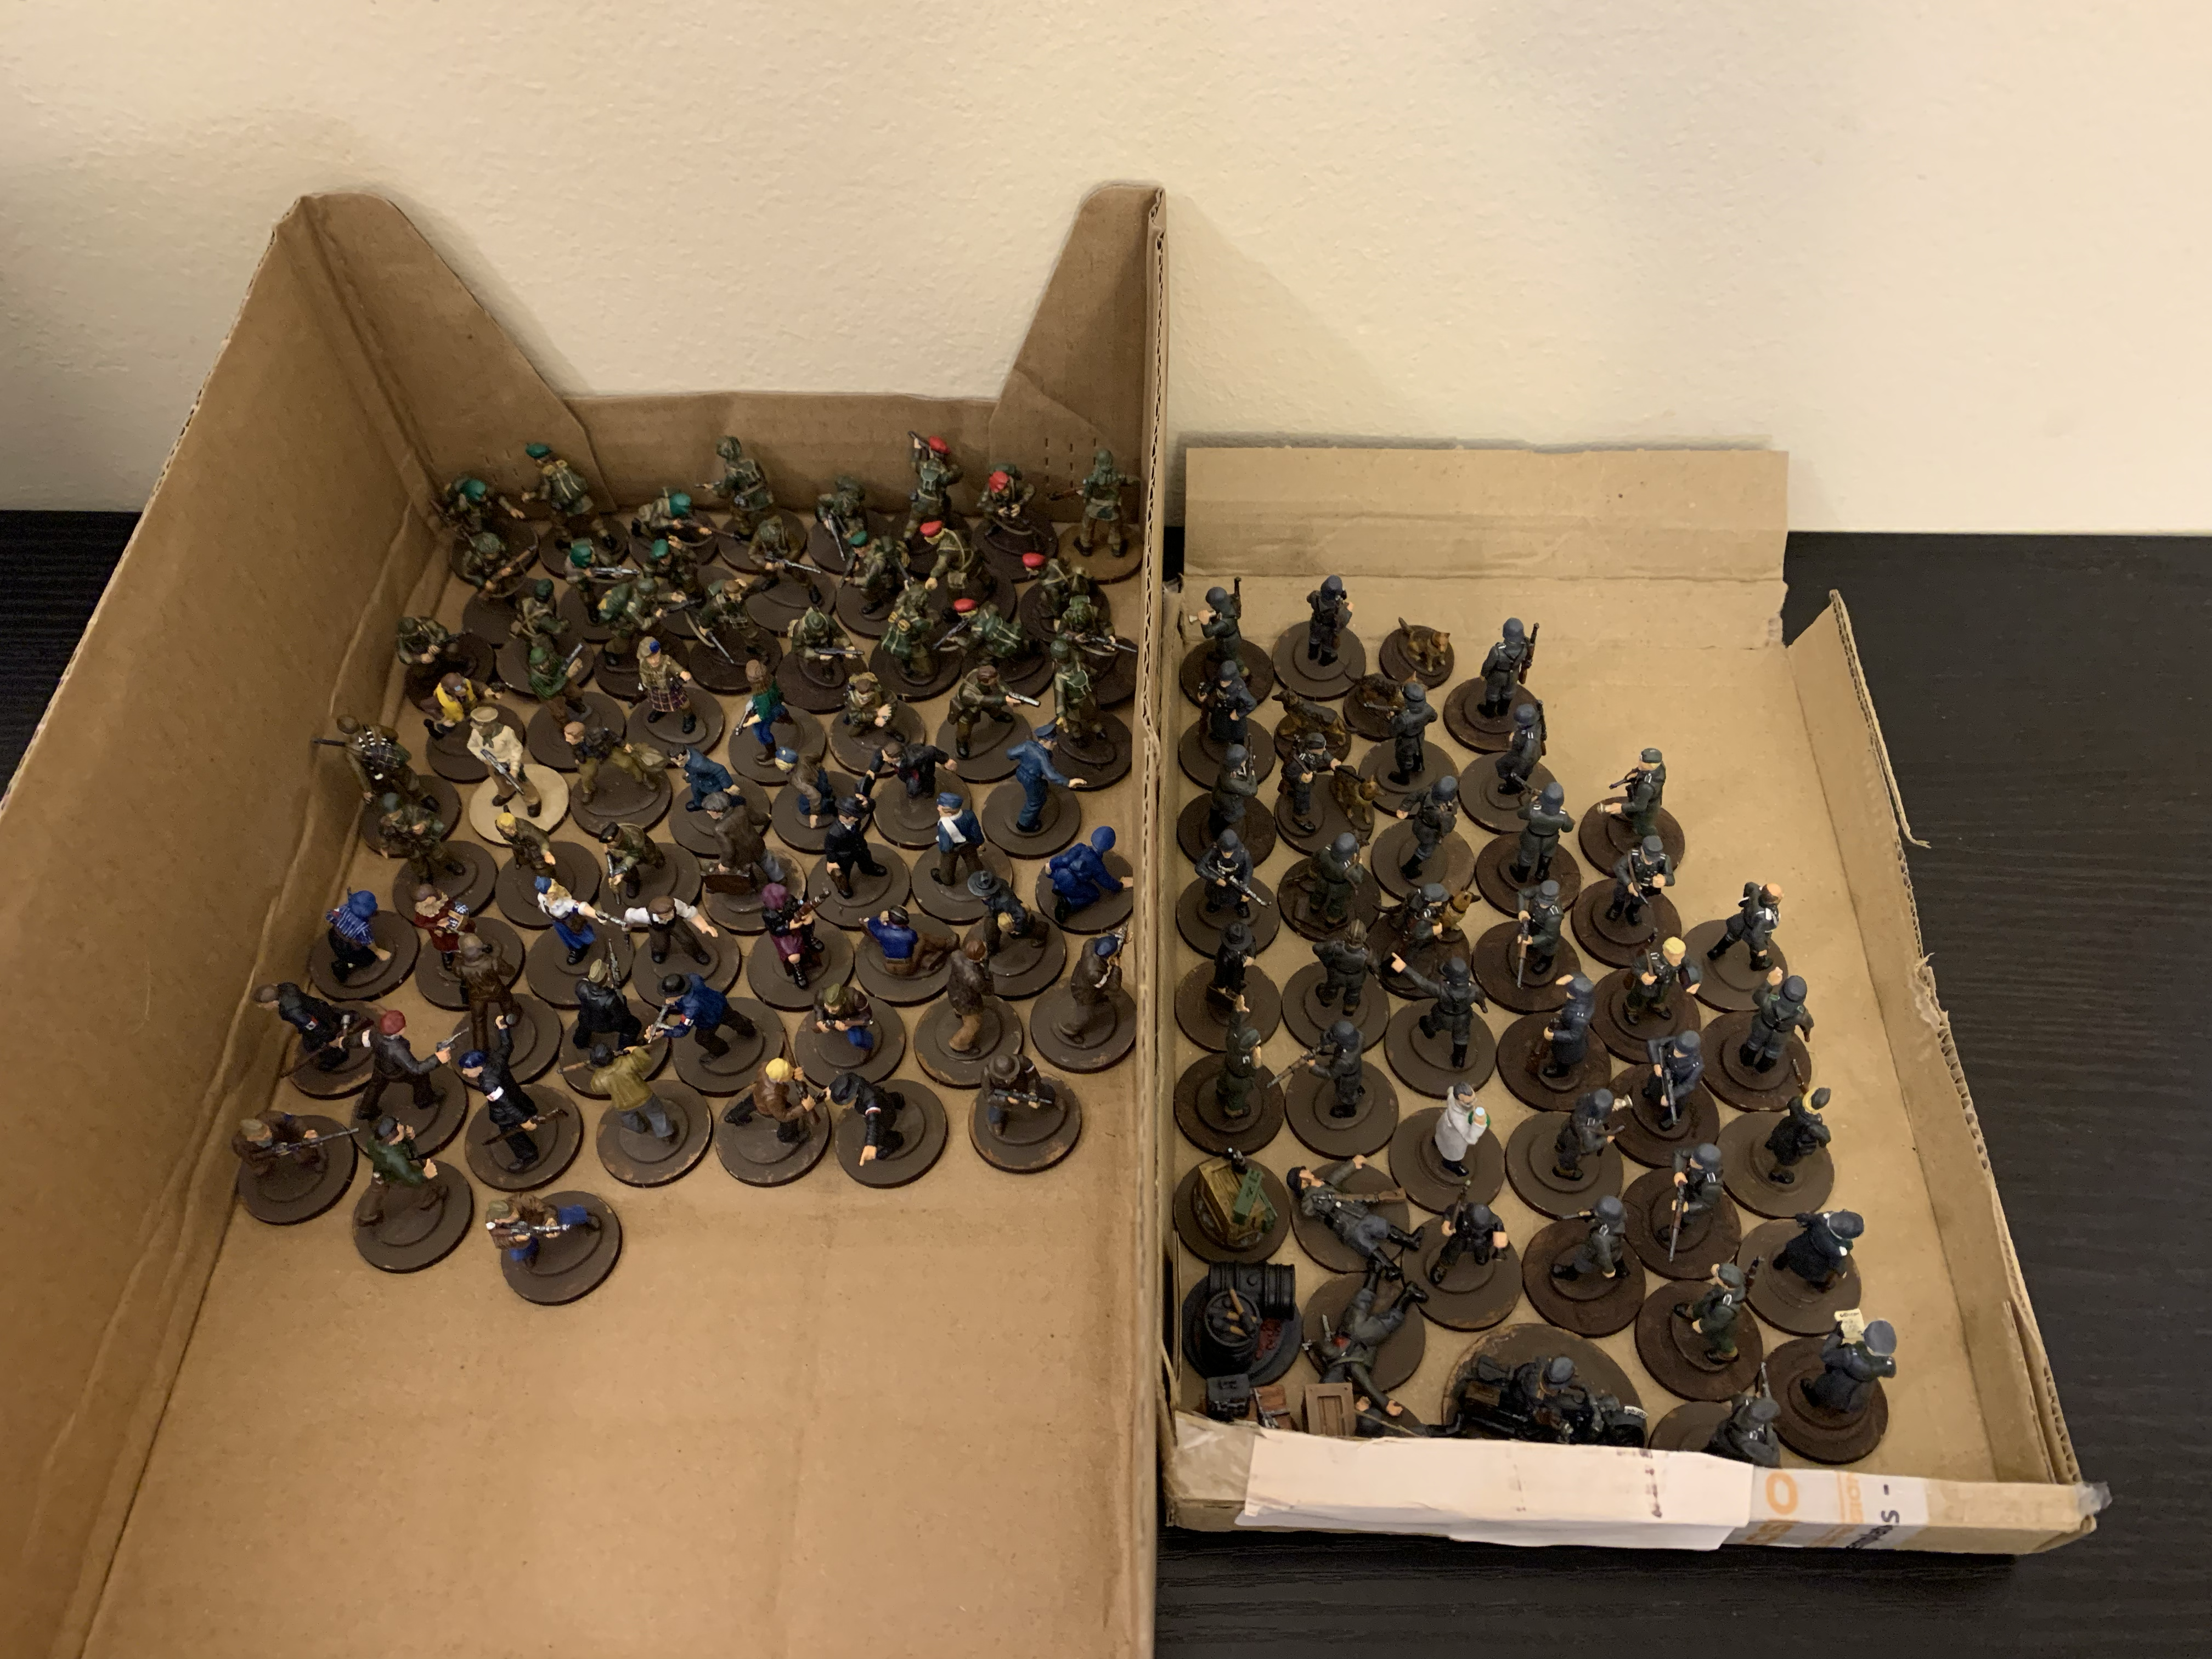
While this blog has been mostly focussed on 1860s, and to a lesser extent feudal Japan, a couple of recent life changes have meant that I've been pulled into a decidedly WW2 orbit in the last year to match the gaming preferences of my new neighbours. To dip my toes in, I decided to start with 02 Hundred Hours by Grey for Now Games, having had a good time with Test of Honour. And then I thought, 'let's get some of those expansions', and the rest of the story should be fairly obvious. Here we are, not only 9 months on from when I started, but also 107 men (and six dogs):

A temporary storage solution

In the blue corner we have the Allies. The starter box is focussed on the SAS, of whom I ended up doing 7 with definitively identifiable headgear. I later grabbed the Operation Torchlight box which adds five character figures and two extra sprues, plus four heads specifically for the Royal Marines. In all, that's 24 customisable plastic figures and five metal character pieces. Of those plastics, I did up seven as SAS (airborne helmets or red berets), ten as Royal Marines (battle bowlers or green berets), and seven 'generic' figures (bare heads or woolen caps). The general advice is to have a roughly even mix of rifles and SMGs, but the rules also let you bring a limited number of troops with either silenced weapons or 'long-range' weapons (sniper rifles and LMGs), which is represented here.

Seven SAS. I think that's the title of the film anyway.

Bit more of the same with the Royal Marines.

This lot I did up mainly as specialists, hence the radio operator, the Welrod-armed fellow, and the demolitions men. The demo man on the left has some bonuses relating to setting time fuses.

The Operation Torchlight box also comes with these rather snazzy specialist figures. I'm not sure if the 'SOE Agent' (right) and 'SOE Assassin' (left) have real-world inspirations, but the 'Highland Major' (centre) looks to be based on Tommy MacPherson of No. 11 Commando.

This downed pilot is mainly there to be an objective marker for the Escape scenario, but he still deserves a good paintjob.

The French Resistance also get some love here, with lower troop quality but access to a range of 'Plan' cards that can be used to trip up the Germans. Apart from a few metal pieces for characters including a Jedburgh team, the partisans are again mostly by Wargames Atlantic, and I grabbed an extra box on top of the sprues that came with the expansion, though I didn't end up painting them all. 

A nice mix of figures to serve as specialists – note the stick of dynamite in the basket!

A motley crew of patriots, just about enough for a standard-sized game.

A trio of 'Jeds', which improve the partisans' Plan cards mechanic on top of being slightly better fighters.

One of the more interesting sets (which I've already featured) is the Escape from Stalag Luft III, which as the name suggests is based on a mix of the historical and filmed 'Great Escape' in March 1944. On the Allied side, you get six men in uniform and four in disguise:


Over on the German side, things are a bit simpler. If you combine the starter box and expansions, you get five sprues, each with six men and two dogs, and six metal character figures (including a motorcycle rider!) Broadly speaking, troops are either ordinary infantry, Feldgendarmes, or (with the Facility 9 set) gas-masked men; these all have some small stat differences but essentially fill same mould as each other. The unique ones are the dog handlers, which cost more, but have much better detection and somewhat better melée than ordinary sentries.

Who let the dogs out?

The Wehrmacht's grunts

'Are you meine Mummy?'

'For you, Tommy, ze war is over!'

'The odious apparatus of Nar-zee rule...'

Objective and casualty markers

Everything is in the process of being packed and moved for the summer, but these may well see action again soon!

General Roundup for Early August

It's been a fairly hectic period with a lot of games for me, so rather than spending lots of time writing lots of detailed battle report...