Restoring my Honour
At long last, reunited with my Japan collection, I decided it was high time to get the old Test of Honour engine fired up again. Gareth (whom you may recall from reports such as for this game last year) and I have agreed to do an intermittent ToH campaign during the summer months, but we decided it would be best to try and really get the mechanics under our belt again. The most straightforward option seemed to be to try to play through the first half of the six-game introductory campaign, using standard forces.

Game 1 was set up as laid out in the book: each side would have one armoured samurai, a group of three ashigaru spearmen, one archer, and one musketeer; whoever cut down the other's Hero would win. Not wanting to beat around the bush, I decided to move swiftly and aggressively.
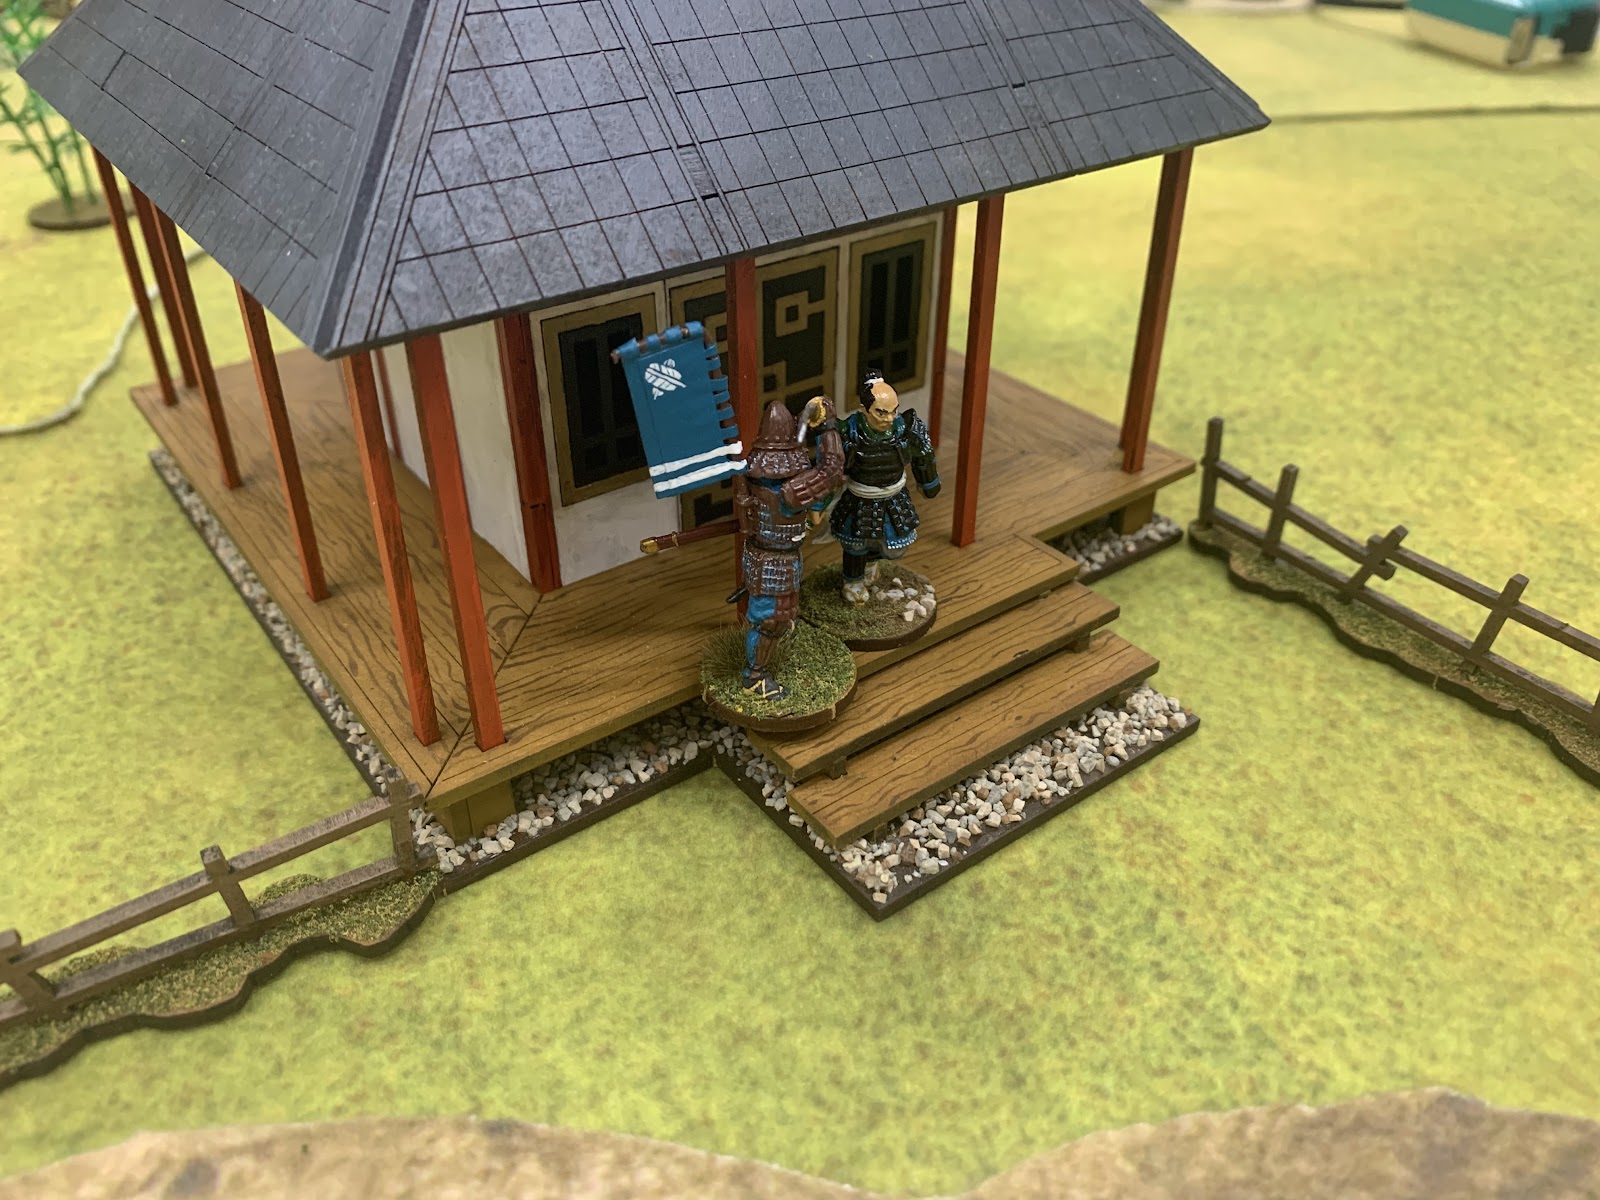
In retrospect, deciding to attack up the stairs of the shrine may have been injurious to my commander's health...

Despite some valiant efforts, Gareth's samurai struck down mine with nary a scratch on himself. The character progression rolls resulted in no effect for him, but my hero was left not only with a lingering wound taken in the course of battle, but also a light wound that would persist into game 2.
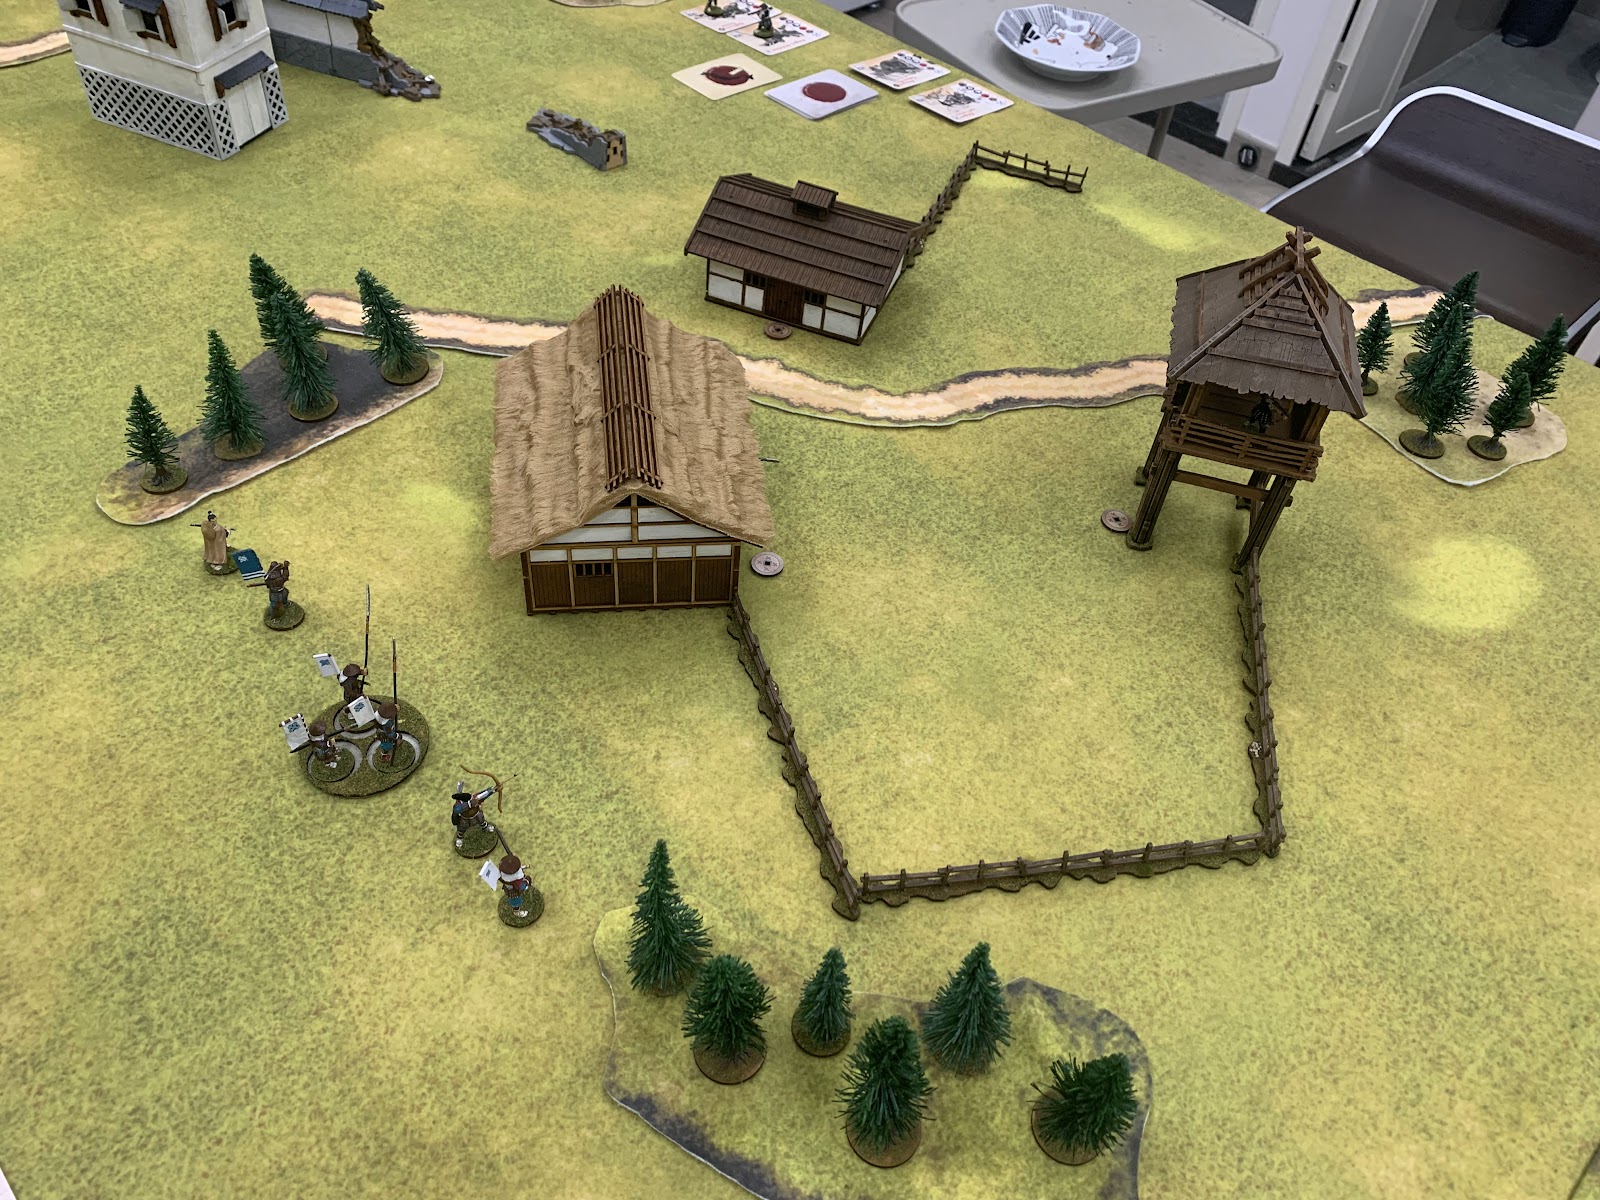
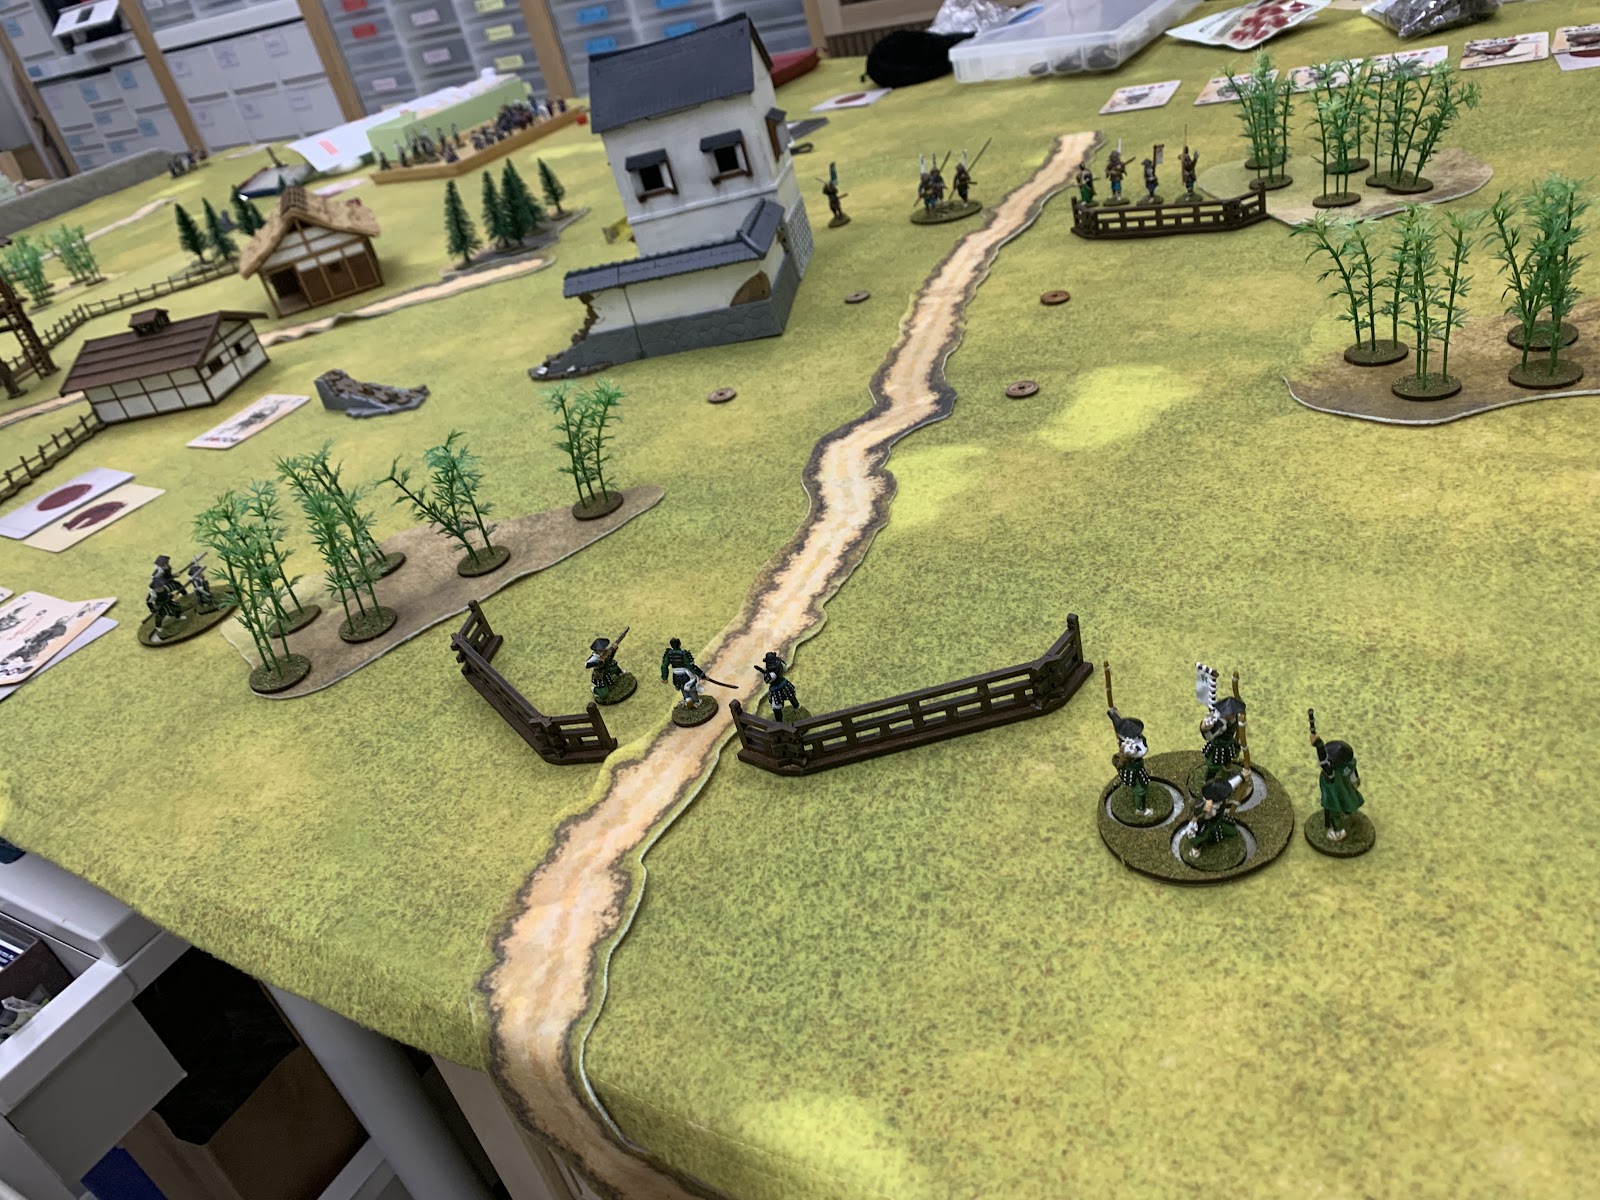
Game 2 involves the loser in scenario 1 attempting to take control of an outpost, part of whose garrison is held off-table as reinforcements. Whoever controls the most objectives (marked by the coins on the table) by the end of turn 5 wins. Not particularly visible in the above photo are Gareth's three deployed units: his recently-victorious samurai hero hiding inside the wooden-roofed kitchen, his spearmen concealed just under the thatched house, and his archer in the watchtower. For game 2, each side is granted an extra 4 recruitment points, enough to bring on a single samurai companion. Mine (the one in the cloak on the far left) deployed with the rest of the force; Gareth held his in reserve along with his musketeer.
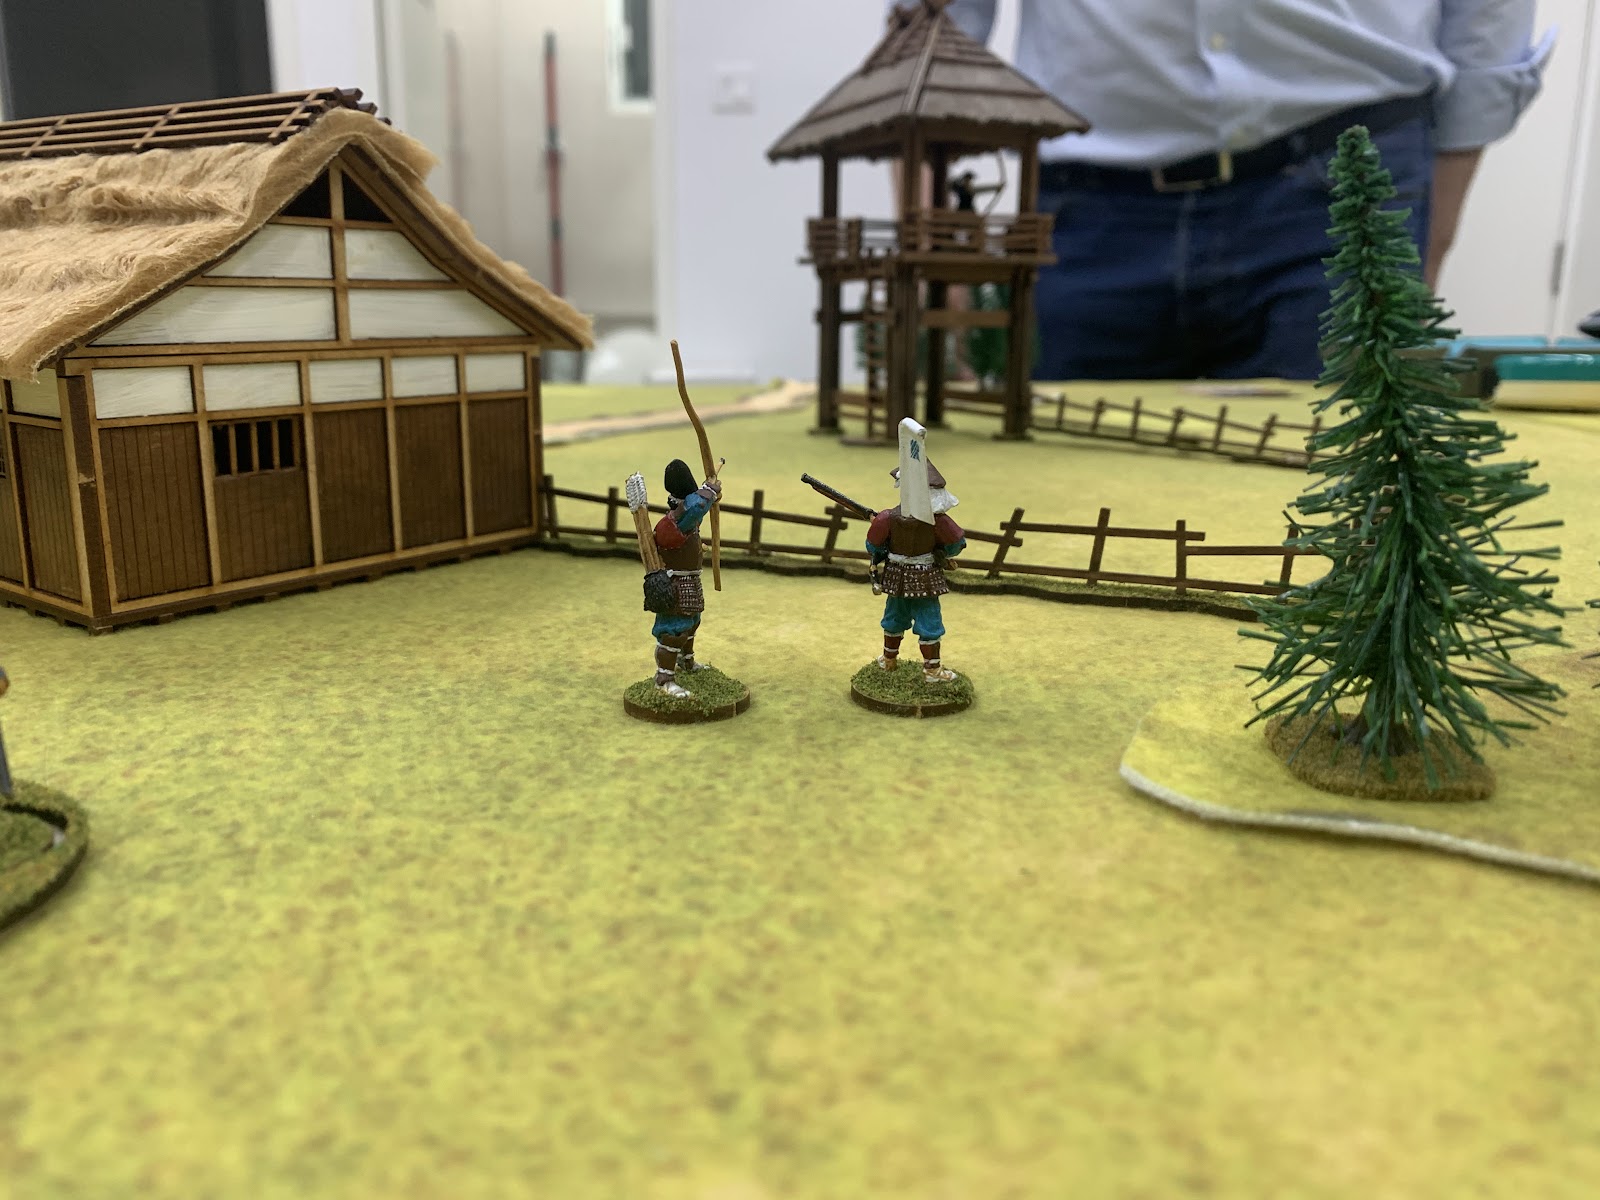
Things were fairly indecisive at first, with my missile troops keeping Gareth's archer suppressed while my two samurai arced around the house.

With Gareth's samurai managing to come on as a reinforcement, this is how things shook out: samurai characters on the left flank, ashigaru followers on the right. I had a slight advantage in weight of numbers, but I was on edge due to my hero's wounds: normally, a hero who is cut down can attempt to pass a Test of Honour (a morale check, in layman's terms) which gives him an Injury card instead, but the wound carrying over from the last game meant I had no free pass for mine.

The arrival of the musketeer on turn 2 was a serious concern. My samurai companion has a very high Agility score which means he is more likely to avoid attacks, but being unarmoured he takes more damage if he does get hit. Gareth had three potential high-damage units who could gang up on him, each attack exhausting a potential action until he would have none left.

But although Gareth managed to pass the Test of Honour, his attacks against my unarmoured companion failed to hit, and I was able to wound his hero. I decided to commit my own hero in turn, delivering the coup de grace.

On the right, our followers continued trading blows. I lost a spearman, but some good shooting took out Gareth's archer, which gave me the edge on that flank.
To add insult to injury, a single strike from my hero cut down Gareth's remaining samurai, at which point we decided that the game was as good as over.

This then took us to game 3, where the two sides are searching for relatives among the wounded left after an earlier battle. These are represented by five markers placed at least 1' in from the table edges: four are visible from the above photo, and a fifth in the walled courtyard behind the storehouse on the right. Objectives can be searched by any figure who is within 3" of a marker while no enemies are also in range of it; first to three wins.
For this game, we got another 3 recruitment points, which I spent on getting a gunnery sergeant.
Gareth had spent his points getting an archery sergeant and converting his single archer into a group, which meant he now would be rolling five dice to hit – more likely to succeed than not, though still not an ironclad guarantee. When placing the objectives, he had unfortunately mis-measured, and his troops were noticeably further away from the objectives than he might have liked. Bold movement would be needed to make up for lost time.

The opening moves were fairly obvious, with both of us trying to move up and take objectives quickly. Unfortunately, the turn sequence initially favoured me a bit more, with Gareth drawing skill cards rather than moving troops.

Very quickly, I had secured two of five objectives. Was it all over?

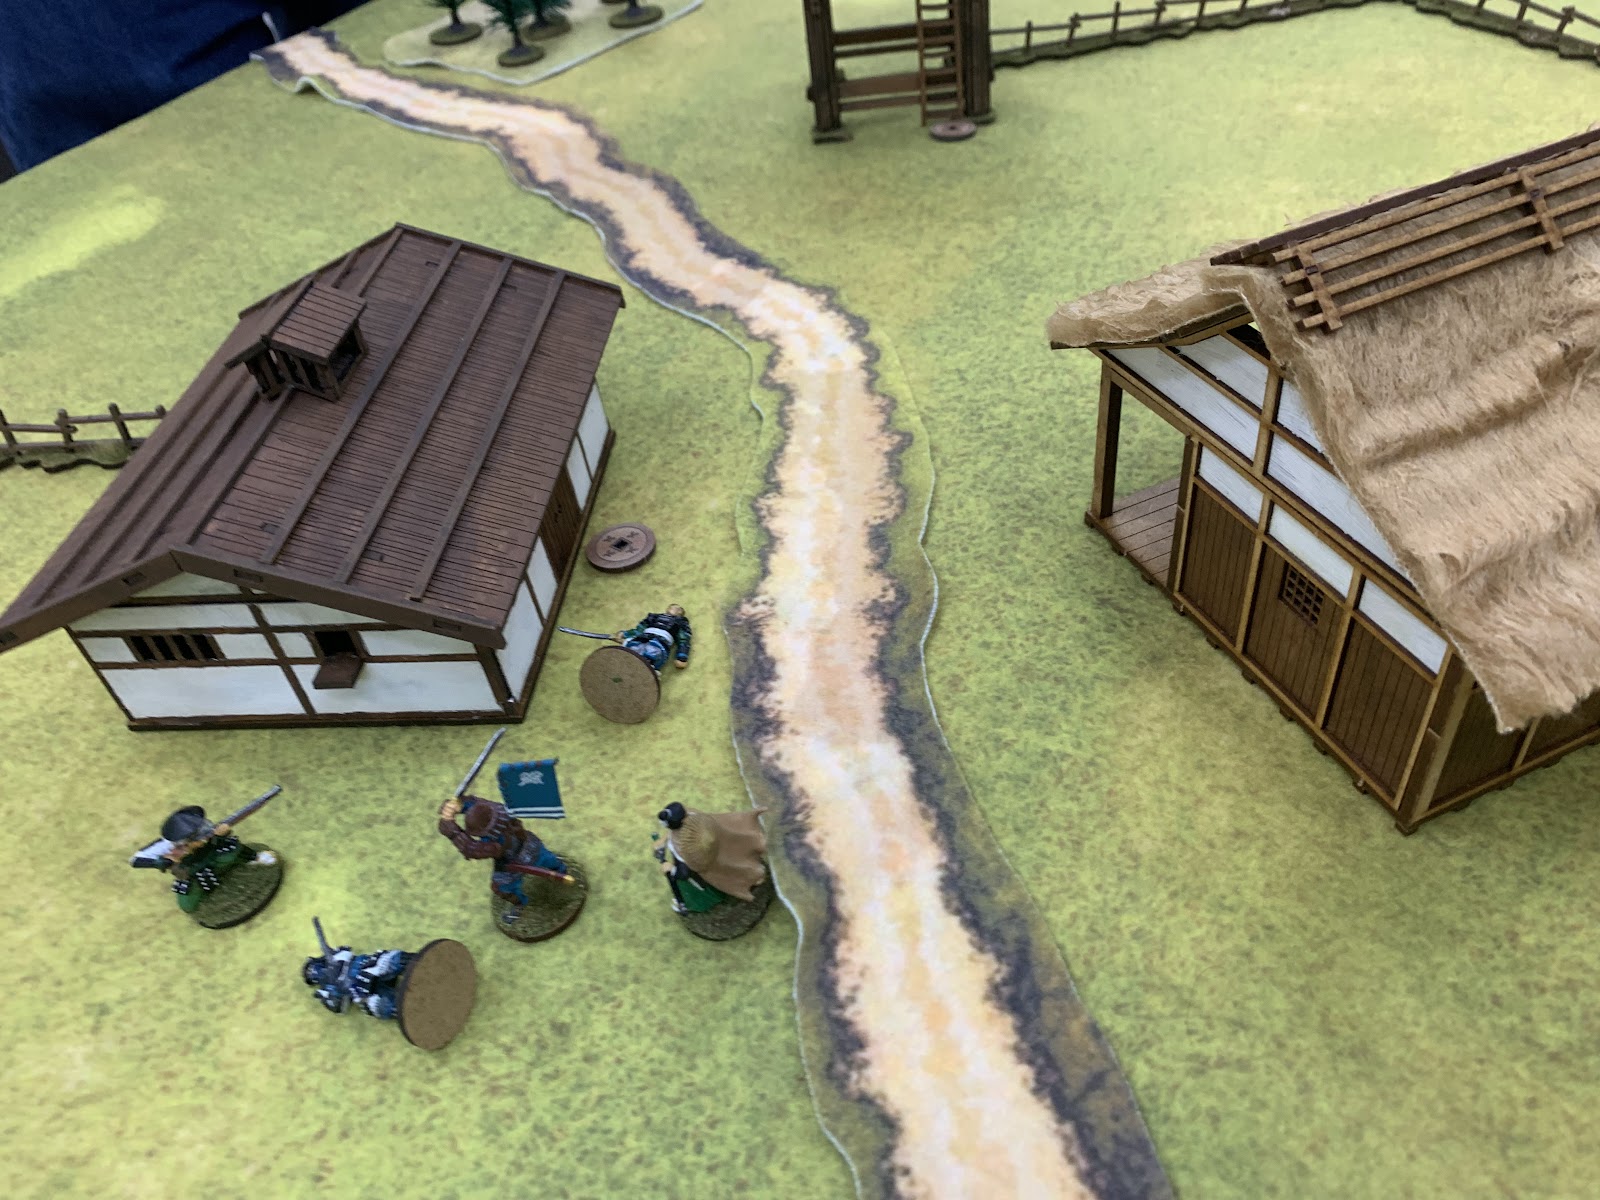
Not quite! Although not in a position to charge straight in, Gareth took his hero into obstructing distance of my third objective, and began to square off against my melée forces.

Luckily for me, I had one trick up my sleeve. Test of Honour allows troops to climb over obstacles if they can pass a skill check, and heroes have a decent chance of succeeding at those, so I took a gamble and got my hero over the wall.

The result, rather unsurprisingly, was a brawl over the objective that soon saw Gareth's hero once again knocked out of the fight, and losing a spearman to my own hero's follow-up attack.

On the next turn, my hero kept up the assault and slew the last of Gareth's spearmen. With his hero out of range of the objective, my companion took the last objective and clinched victory for the brown-and-blue team.
Overall, we felt we'd reintroduced ourselves to the rules fairly well, and the fact we managed three games in less than two hours (including a break for sandwiches) was encouraging for the planned campaign, where we might try to get two games in per session if possible. The viability of that will of course need to be considered against the fact that the one game we had with a turn limit was voluntarily ended early, and that we played with fewer troops than a standard-sized game.
Two things I will need to keep in mind are to remember Tests of Honour when troops are cut down (where the higher morale of ashigaru compared to other forces really comes into play) and the Tests of Wits for attacking enemies who are not the nearest target (which we mostly managed but occasionally overlooked).


Comments
Post a Comment