Escaping from Stalag Luft III, Part 2
I've left this one in my back pocket for something like two months now, but it warranted posting eventually, so here we are. For the conclusion of the Great Escape campaign, PH and I did what we did for the first three games and swapped sides in between. This meant I took the Germans in Game 4, and then the Allies in Game 5.
In Game 4, the escapees have to try and make contact with members of the local Resistance who can help them to safety. Five of the terrain features on the table contain an objective marker placed face-down, two of which indicate Resistance members, two of which are civilians, and one of which is a dastardly collaborator. To win, the escapees need to contact both Resistance members, and at least one of the figures who did so must get away.
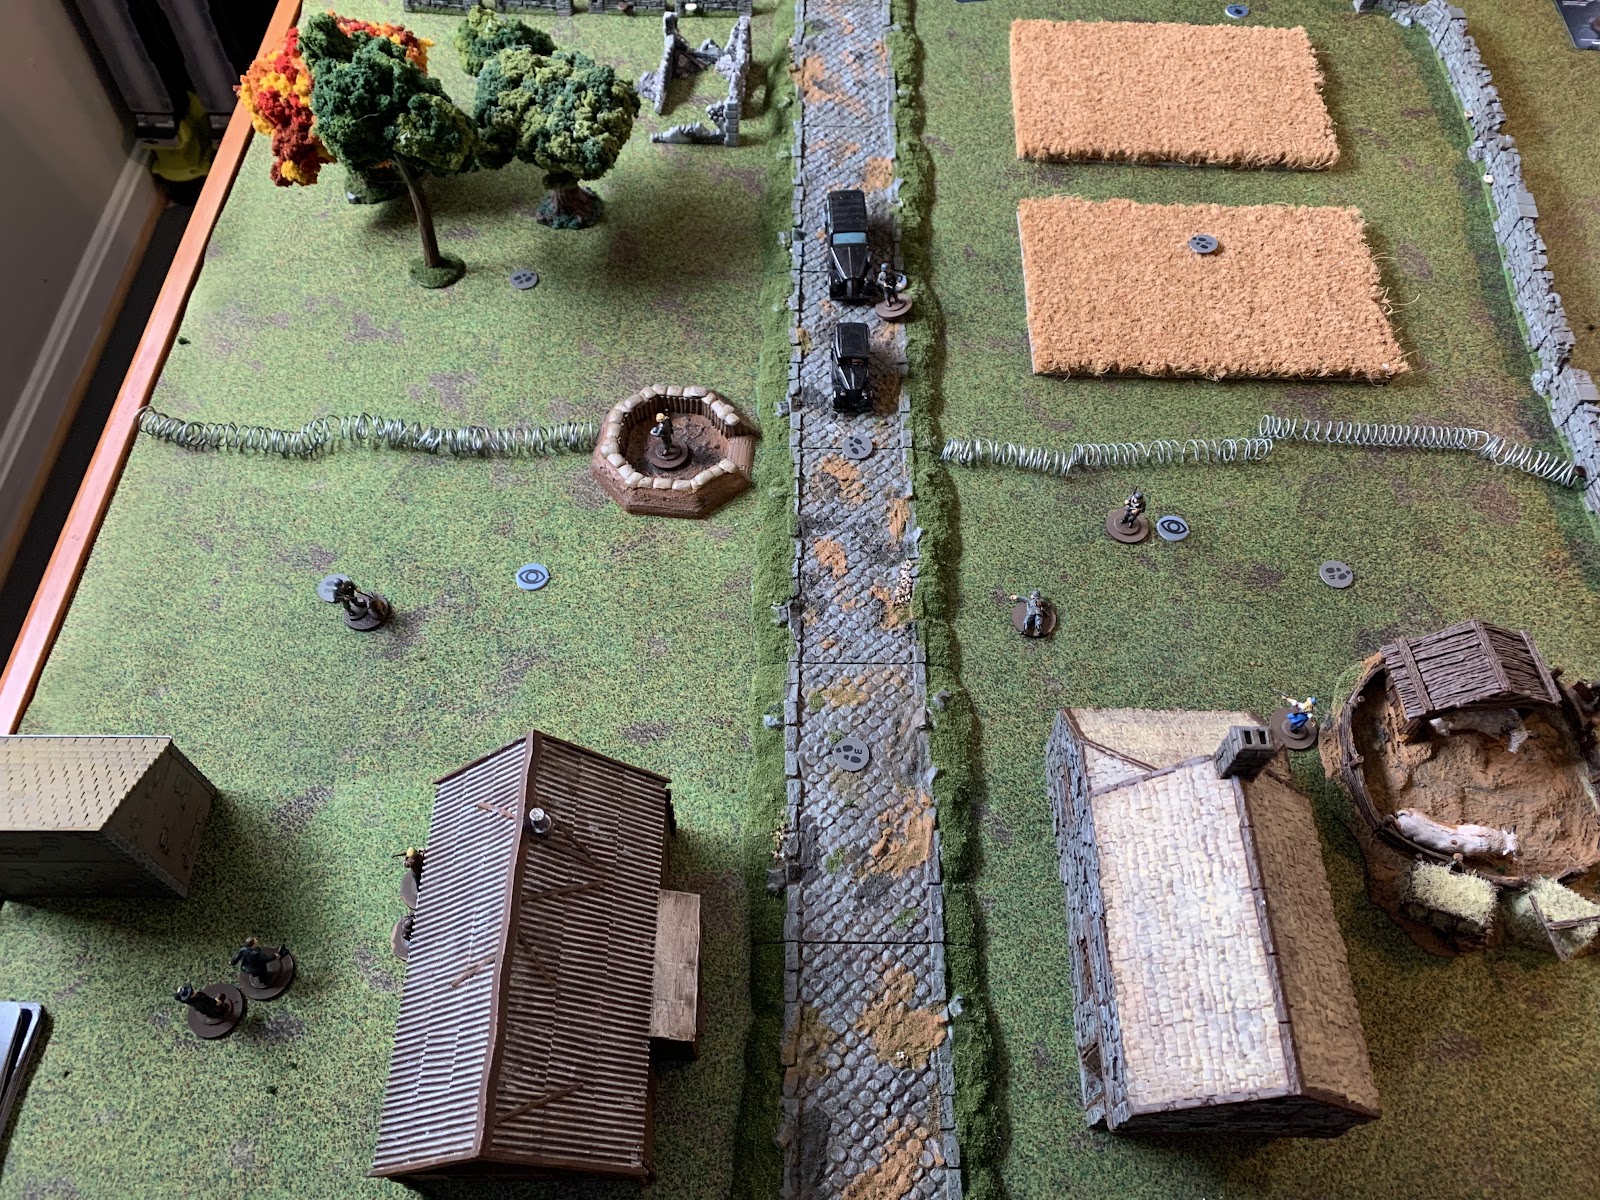
PH brought a fairly large force, given the limited budget available, with the aim of spreading out quickly. My patrols were set up to try to cover as many of the objectives as I could.


Unfortunately for me, PH got lucky with his choice of deployment and made his Resistance contacts basically immediately, and was able to start withdrawing fairly quickly. While we did get a lot of amusement from his repeated failures to get one man moving without getting himself spotted, he had plenty of spare troops ready to get things done.
 |
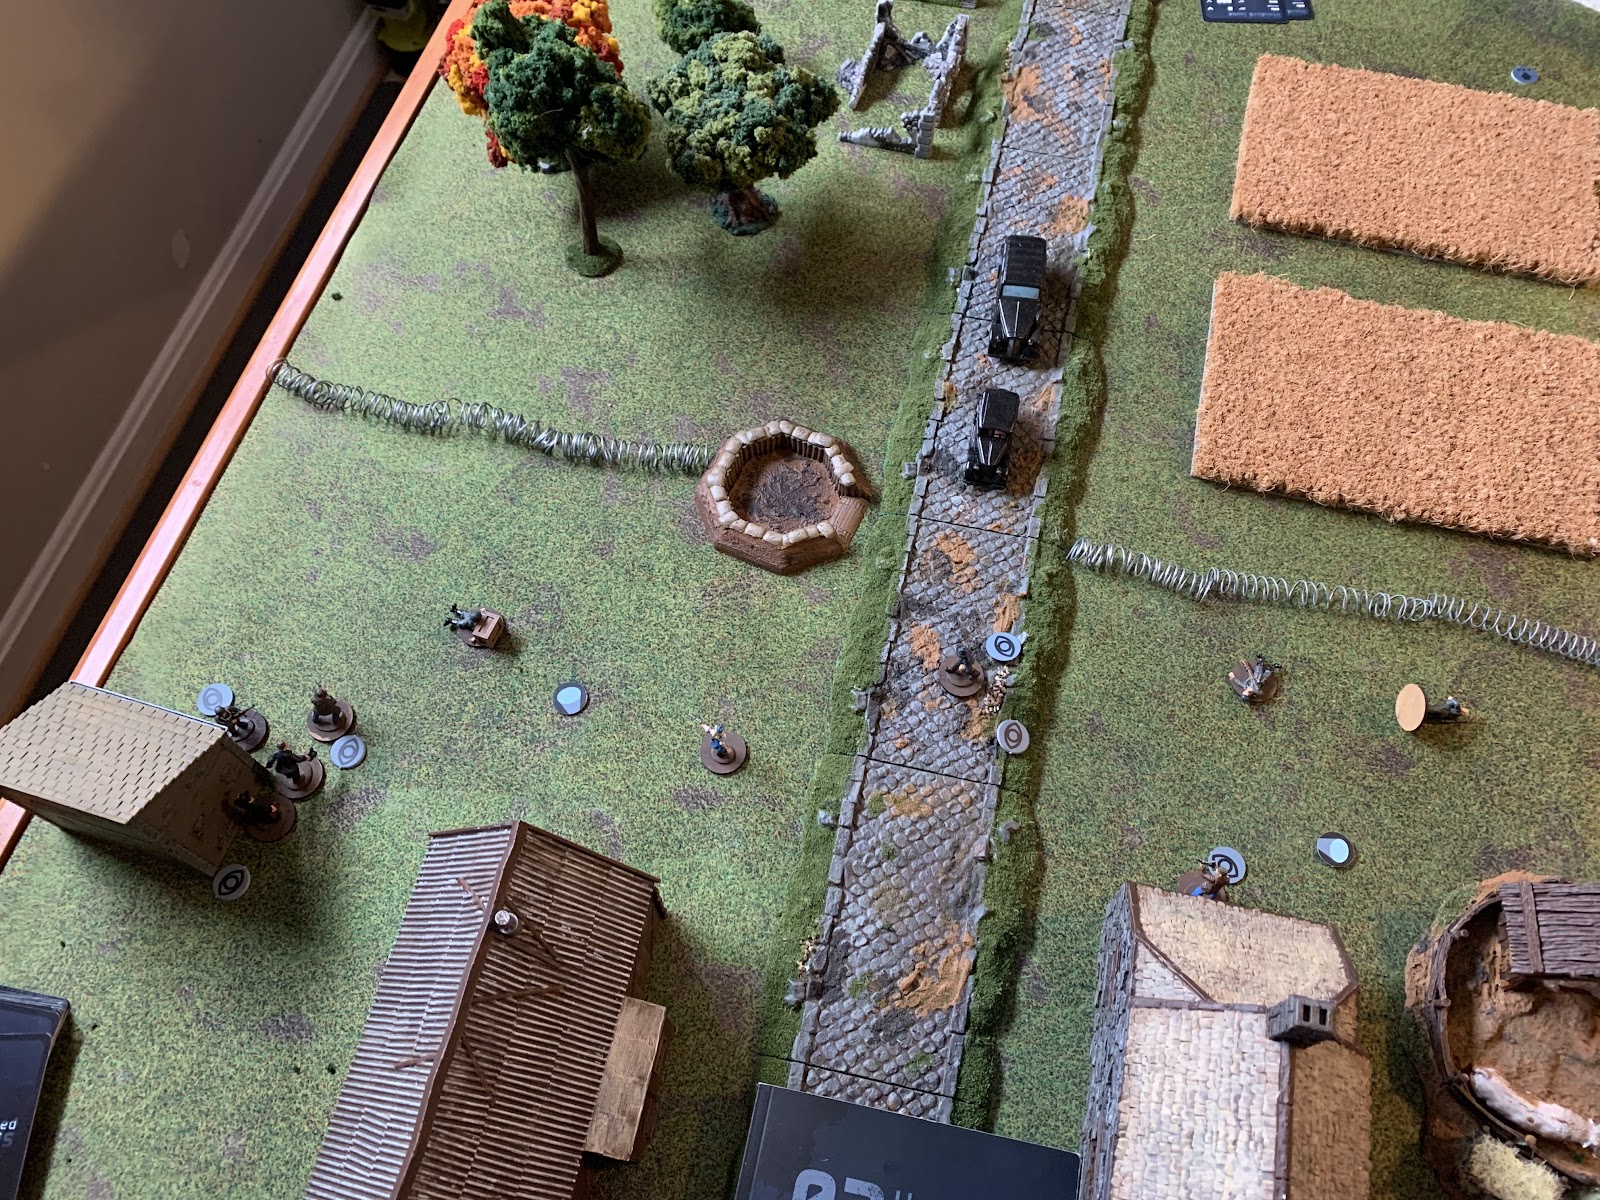
| Lt. Travis in the lower left corner spent most of the game having to use the Freeze! ability, which cancels out an Alert result on your movement dice in exchange for having to stand still instead. |
Meanwhile, my sentries made so much noise that they were all vulnerable to attack if any escapees got into melée range. PH had basically won even before the alarm was raised, but just to add insult to injury, some dastardly POW with a kitchen knife took out one of my thus-detected dog handlers on the way out...

With Game 4 over in fairly short order, we moved to Game 5, where things went similarly pear-shaped. In this scenario, the escapees need to try and get off the opposite end of a table split down the middle by barbed wire. The Germans can choose to patrol either side, and can deploy reserves on both sides of the wire once the alarm has been raised. Up to 50% of the Allied force (by points) can be partisans, but fewer escapees means fewer chances for failure. I imagine that a pure escapee force would be trying to make a mad dash across the table, whereas for my part I brought in some bigger guns and aimed to try and clear away some sentries in order to get past the checkpoint.
 |
| PH pointing out the orientation of his dog handler during the setup phase. |
Of course, the best-laid plans never survive contact with the enemy, and some unexpected early Alert results led to me relying much more on my silenced pistol-armed partisan agent than I had originally planned.
With stealth seemingly out the window, it now became a matter of trying to get my various unarmed escapees kitted out with captured weapons in an attempt to fight off a growing horde of German sentries, augmented by this rather intimidating chap on a motorcycle:

He didn't last long. With Germans only trickling in gradually, the Allies had a critical mass of firepower and picked them off one by one.

The end result probably couldn't be called particularly narratively satisfying, but in general terms I think we had a good time of it. In the end, each of us had achieved two major victories, plus a minor victory for me back in Game 1; we also felt it was morally correct for the Allies to have won all five games. And indeed, my original plan was based on the route of one of the three Great Escapees to have actually made it out, trekking across the Pyrenees into Spain.
Still, we came out of it a little concerned at how well the Allies had done every time. A couple of games had some close calls, but it seemed that Germans really had a rough time trying to make things happen, which is a bit of a known issue with the rules that many players tend to highlight. We'll probably revisit 0200 at some stage and see how we handle it in future.


Comments
Post a Comment