Just as the Ōtomo clan forces had begun mopping up the rebels in the south, a new threat came from the north. Vassals of the Mōri clan on the mainland spotted an opportunity to strike, and so a force under Captain Hiroji was sent out to secure a beachhead as a prelude to an invasion of the island. They took the risky approach of an opposed landing, moving to capture a coastal outpost and thereby challenge Ōtomo control directly.
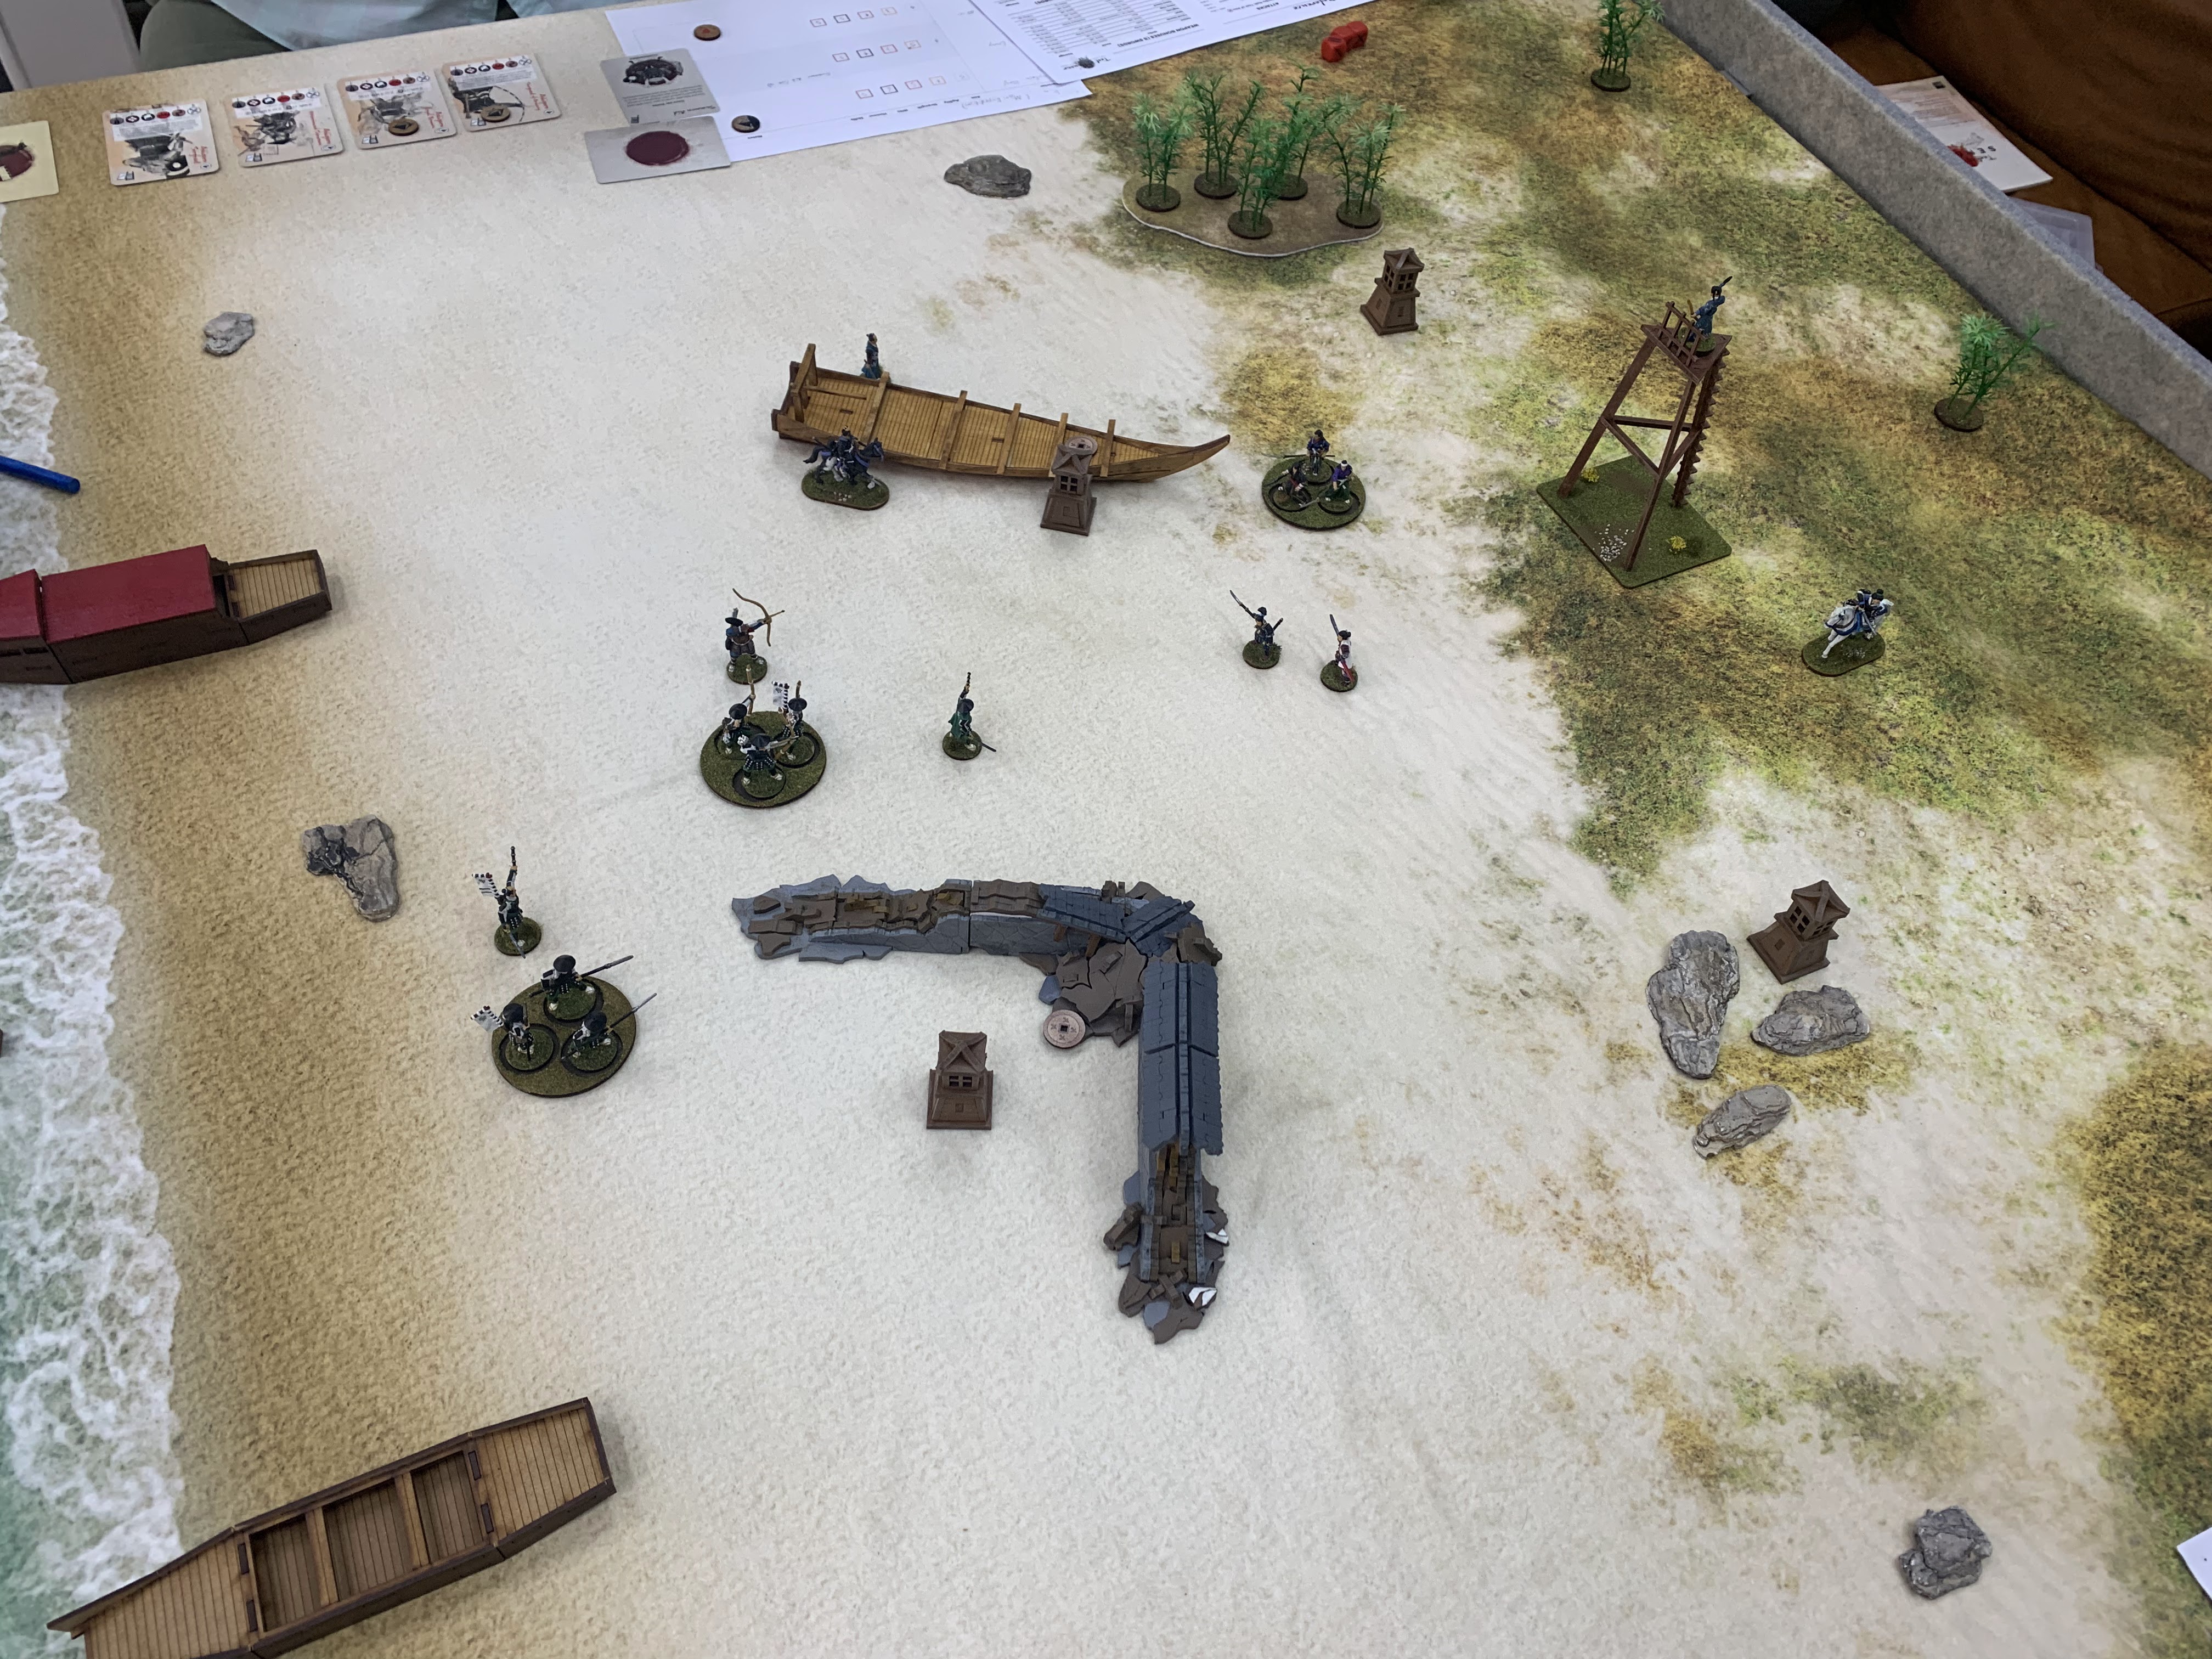
The Ōtomo outpost is an austere one, simply comprising a watchtower to provide early warning of pirate raids. On the beach below are the last crumbling walls of an old estate, built by a long-forgotten nobleman on what was once dry land even at high tide. The Mōri forces would land on the beach directly and attempt to sweep away the defenders in a daring night attack.
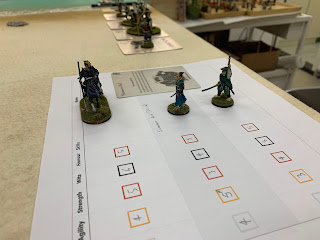
We ended up playing two consecutive scenarios. The first was to be Seize from the core rules. Three objectives are placed on the table, with victory going to whoever controls the most at the end of 5 turns. The defenders start up to 24" in, but have to leave just under half of their troops in reserve as reinforcements.
 |
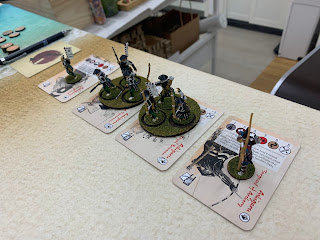
| The three Mōri characters |
 |
| The rest of the invasion force. |
 |
| Ōtomo reserves |
 |
| Ōtomo on-table followers |
 |
| The Ōtomo hero, Lady Chiho, and her companion |
 |
| Initial dispositions: the Ōtomo dispersed widely to try and cover more ground, whereas the Mōri deployed in a more concentrated block. |
 |
| End of Turn 1: slow progress for both sides, quietly inching towards each other on the beach. |
 |
| End of Turn 2: Some more movement, but mostly indecisive. |
 |
| Turn 3 saw what looked to be a decisive melée in the centre, with all three Ōtomo characters ganging up against two of the Mōri's. The Mōri ashigaru officer was cut down and their hero suffered a head wound, but the situation might still be rescued. |
 |
| End of Turn 3: have the Mōri overextended? |
 |
| Er... well that was a dramatic change. After a failed charge by Chiho, Captain Hiroji counter-charged, wounding his Ōtomo counterpart... and with 5+ swords on the damage roll, charged again and finished her off... and having rolled 5+ swords again, charged down the mounted companion as well! |
 |
| The Ōtomo bannerwoman rushing in, three turns too late to be of any help... |
 |
| End of Turn 4: The Ōtomo presence in the centre having effectively vanished, what might be done to salvage things? |
 |
| The only viable option was to have the other companion contest the objective on the beached ship, and hope that she would survive to the end of the turn. Thankfully, Hiroji failed to replicate his earlier success. |
 |
| End of Turn 5: with each side controlling one objective and the third being actively contested, the battle ended in a draw. |
For the follow-up game, I offered a few options, and the Mōri commander chose to make a second attempt at taking the outpost during the day. This time we played it as the Control scenario (5 objectives, 5 turns; no specific attacker or defender). I brought a fairly similar force to the first game, while the Mōri, having suffered some negative effects that reduced their deployment points, had to bring in a more austere warband.
 |
| Initial dispositions. |
 |
| ...oh dear, that was quick. |
 |
| Revenge! |
 |
| ...oh no, Hiroji did it again. |
With all three characters slain before the first turn was even over, I threw in the towel. The second game was over in less than 20 minutes. The Mōri now have a secure foothold on the island, and the Ōtomo commander has a seriously bruised ego...


Comments
Post a Comment