The Anglo-Indian Intervention Force in Japan, Part Four (British Infantry)
After a determined effort, save for a brief sidetrack to round out the artillery, the infantry are at last done. The first of the infantry were done over a year ago, back in August 2022, so the completion of the full set has been a long time coming.
My decisions for the infantry weren't too complicated. In short, I wanted to get a reasonable variety of appearances while sticking with regiments that were more or less on hand. That meant the Yokohama garrison, the Hong Kong garrison, and some regiments from India. As it turns out that was actually not too tricky to do: the late George Nafziger's compilation of orders of battle includes almost yearly accountings of the locations of the regiments of the British Army, so it was easy to check who was where.
It also helped that there is some information on the Yokohama garrison I could draw on, which led to me finding out that there was a changing of the guard in early 1868 as the 1/10th took over from the 2/9th. That, conveniently, gives me a useful element of backstory to my 1868 campaign setting, with the 2/9th remaining in Japan and being reinforced, rather than relieved, by the 1/10th.
 |
| Slide taken from this video by Prof. Thomas French, who has done a number of talks over the last few years about the British garrison at Yokohama: https://www.youtube.com/watch?app=desktop&v=944XNCyF6-U |
As with the Indian infantry, the plan was for each battalion to have enough men to provide two Groups for Sharp Practice, which would mean at least 16 men plus command figures. This would also be enough for one unit for The Men Who Would Be Kings. With plans laid, it was time to get painting.
2nd Battalion, 9th (East Norfolk) Regiment of Foot


This, along with the 1/10th, I finished in mid-September.
What made this an interesting one was the regimental emblem. Where most regiments would have their number in Roman numerals on their colours, and in Arabic numerals as a cap badge, the 9th were allowed to use Britannia as their symbol by George III in 1799, which they bore on both their regimental colours and their cap badges. Now, while I did go to the trouble of painting a Britannia on their colours (for the simple reason that I wasn't happy with how my printer did it), I was not about to do the same on their caps, hence the somewhat abstract blob I have done on them.
The figures are Perry BIF.
1st Battalion, 10th (North Lincoln) Regiment of Foot


There's less of an interesting history to the 10th, they're really rather bog standard as far as appearance goes. I did this in a batch with the 2/9th, mainly for the sake of convenience, as both regiments had yellow facings. That meant that I'd only need to struggle with that accursed, semi-transparent colour once, and never again (at least for this lot). That said, I did find success with doing the entirety of the cuffs, collars, and shoulder straps in white, and then filling in the yellow bits.
Figures are Perry BIF.
73rd (Perthshire) Regiment of Foot


This one I did quite a while earlier, back in November of last year. The 73rd had started out as the 2nd battalion of the Royal Highlanders in 1780, becoming its own regiment in 1786 but losing its Highland status in 1809. It then managed to suffer not one, but two major maritime disasters: many of its wounded died in the wreck of the Arniston off the coast of South Africa in 1815, and several hundred died during the wreck of the Birkenhead in 1852. While it was officially redesignated a Highland regiment in 1845, it seems as though it never readopted tartan save for officers, and it was made a line regiment again in 1862. In 1866-71 it was the main part of the Hong Kong garrison, hence its inclusion with this force. In a rather fitting coda, in 1881 the Childers Reforms saw the 73rd reunited with the 42nd to form the Black Watch (Royal Highlanders).
Figures are Perry BIF.
42nd (Royal Highland) Regiment of Foot

 |
| I used the camera flash on these to make the tartan show better. |
 |
| A closeup of the piper with full Royal Stewart tartan. |
Speaking of the Black Watch, this was the part that I most dreaded doing and most wanted done, but I think the results do speak for themselves. Having fought in India in 1857, they were still there ten years later, so I thought I'd give them a change of scenery.
Most of the regiments I did as a large batch of men followed by the command figures individually or in small batches where uniforms matched. For these, the sheer quantity of tartan meant I decided that I would not try to attempt that. Instead, I'd do small batches of 4 at a time for men, 2 at a time for command figures, each of which would be about a day or two's worth of painting. This ultimately took about two weeks to finish.
I admit that I'm not entirely sure about the accuracy of the piper's uniform, which I based on some photos from 1866 with attributed colours, but he's a fun splash of extra colour to the regiment.
The figures are slight conversions from Iron Duke/Empress Miniatures' Sutherland Highlanders from their Indian Mutiny range. These are wearing the low-cut 'China boat-coat' with simplified cuffs issued for the early part of the Arrow War in southern China, rather than the standard doublet with tashes and cuff flaps. A dremel was used to create the tashes, and I painted the cuff flaps on.
3rd Battalion, Rifle Brigade (Prince Consort's Own)

 |
| Sorry for the odd colour balance here, some setting must have changed without my notice. |
I thought I'd make things easy for myself right at the end, with the much simpler uniform of the Rifle Brigade. Well... I thought I'd make things easy for myself, but some little niggles crept in.
The main thing was that Rifle battalions used the 'two-band' Short Rifle rather than the 'three-band' Long Rifle. Now, that just meant cutting the rifles down, no? Well... the shorter rifle means that the slings tend to attach differently, with most examples having the sling going from the second band to about halfway down the stock. So that meant also cutting and filing round the slings, then using Green Stuff to extend them. Funnily enough, Perry modelled the sergeant half-correctly: the rifle is the shorter version, but the sling terminates in front of the trigger guard as on the long rifle. Ah well, I only caught that after I'd finished painting, and it's not inaccurate, just uncommon.
Figures are, again, Perry BIF.
2/20th (East Devonshire) Regiment of Foot

This is a bit of a small supernumerary unit that I'd done up for Ronin games for use as legation guards, hence the 2/20th which was the first of the Yokohama garrison battalions. I might buff it out to a full size force at some stage, but given how many troops I have already... probably not.
The sergeant and men are from Foundry's Indian Mutiny range, while the officer is a conversion from Artizan's Second Anglo-Afghan War range,
Infantry in Review
With the infantry done, I decided to lay them all out:


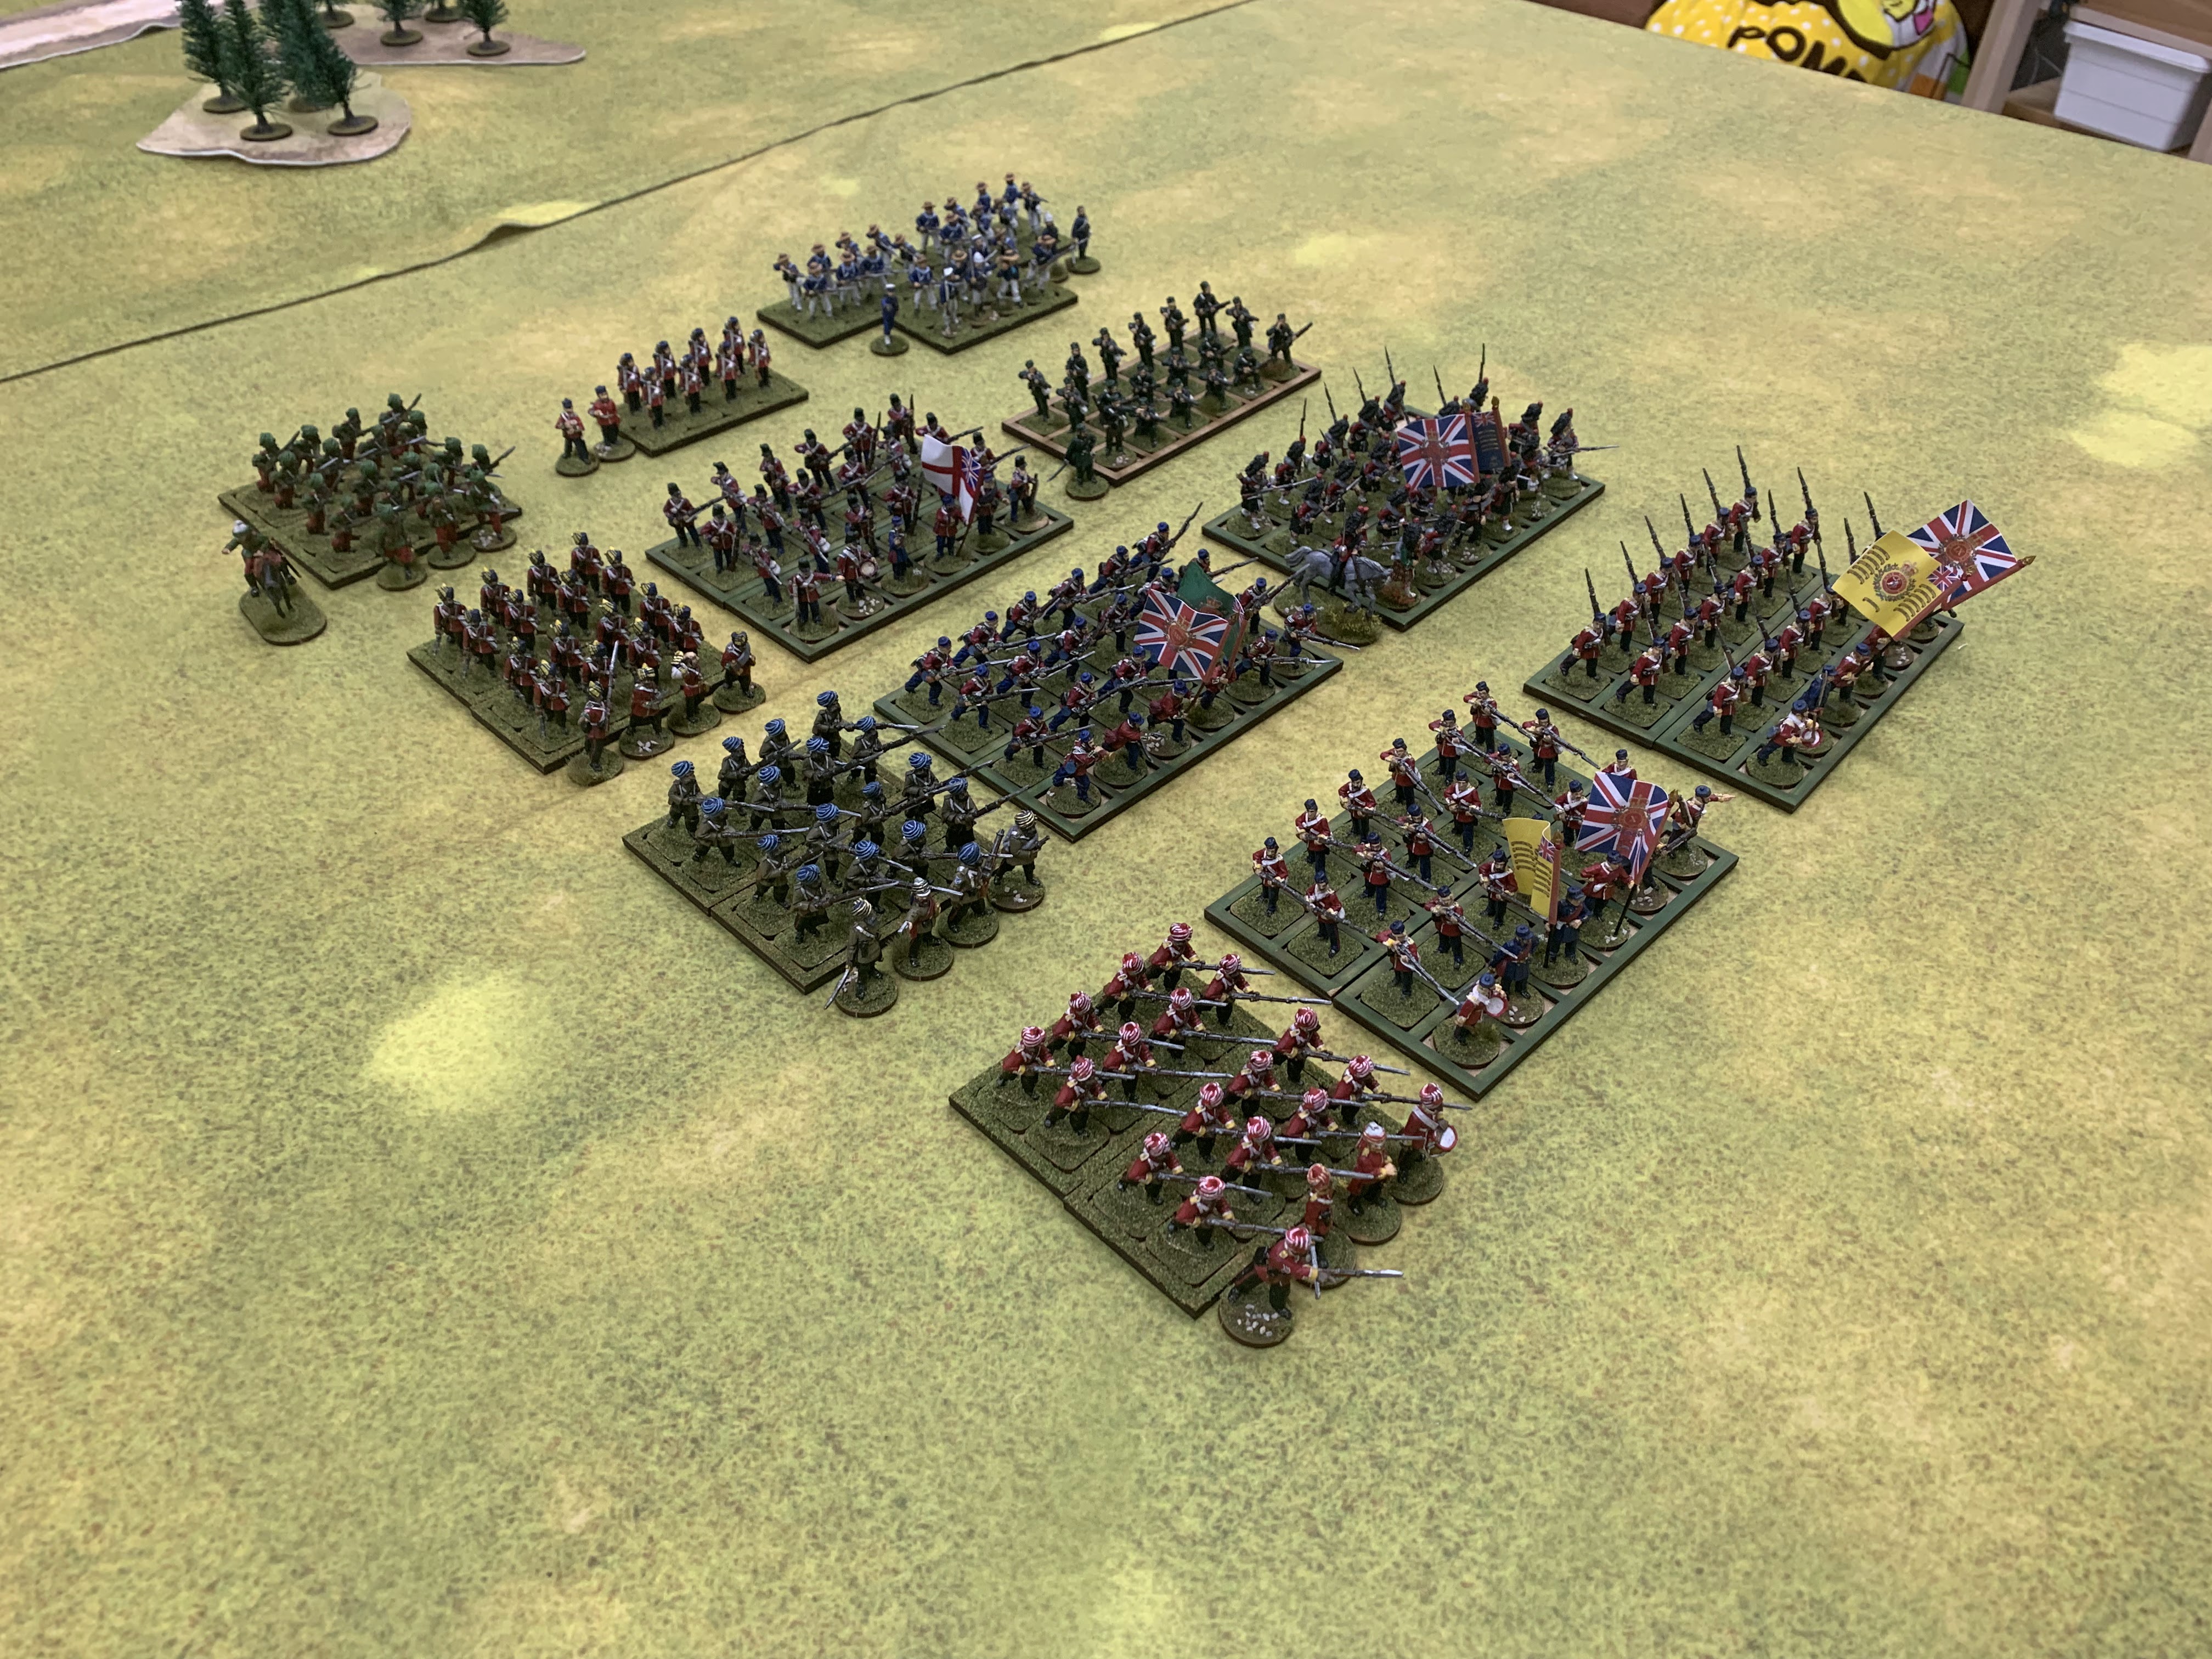
That's 256 men and 2 horses: 76 Indians (including Baluchis) plus 4 British officers; 82 British line infantry, 24 highlanders, 19 Rifles, 24 Royal Marines, and 27 Naval Brigade.
These I've organised into the three brigades in which I plan to organise them, plus supernumeraries at the back:
- 1st Brigade: 10th BNI, 2/9th, 1/10th
- 2nd Brigade: 45th BNI, 73rd, 42nd
- 3rd (Light) Brigade: 6th BNLI, RMLI Bn., 3/Rifle Bde.
- Extras: 29th ByNI, 20th, Naval Bde.
Each brigade will also have an artillery battery.
Progress Review
- Indian Infantry (complete)
- Naval Forces (complete)
- Artillery (essentially complete)
- British Infantry (complete)
- Cavalry (not started yet)
- Support Figures (a few done)


Comments
Post a Comment