Tuesday, 23 July 2024

Practicing Sharply

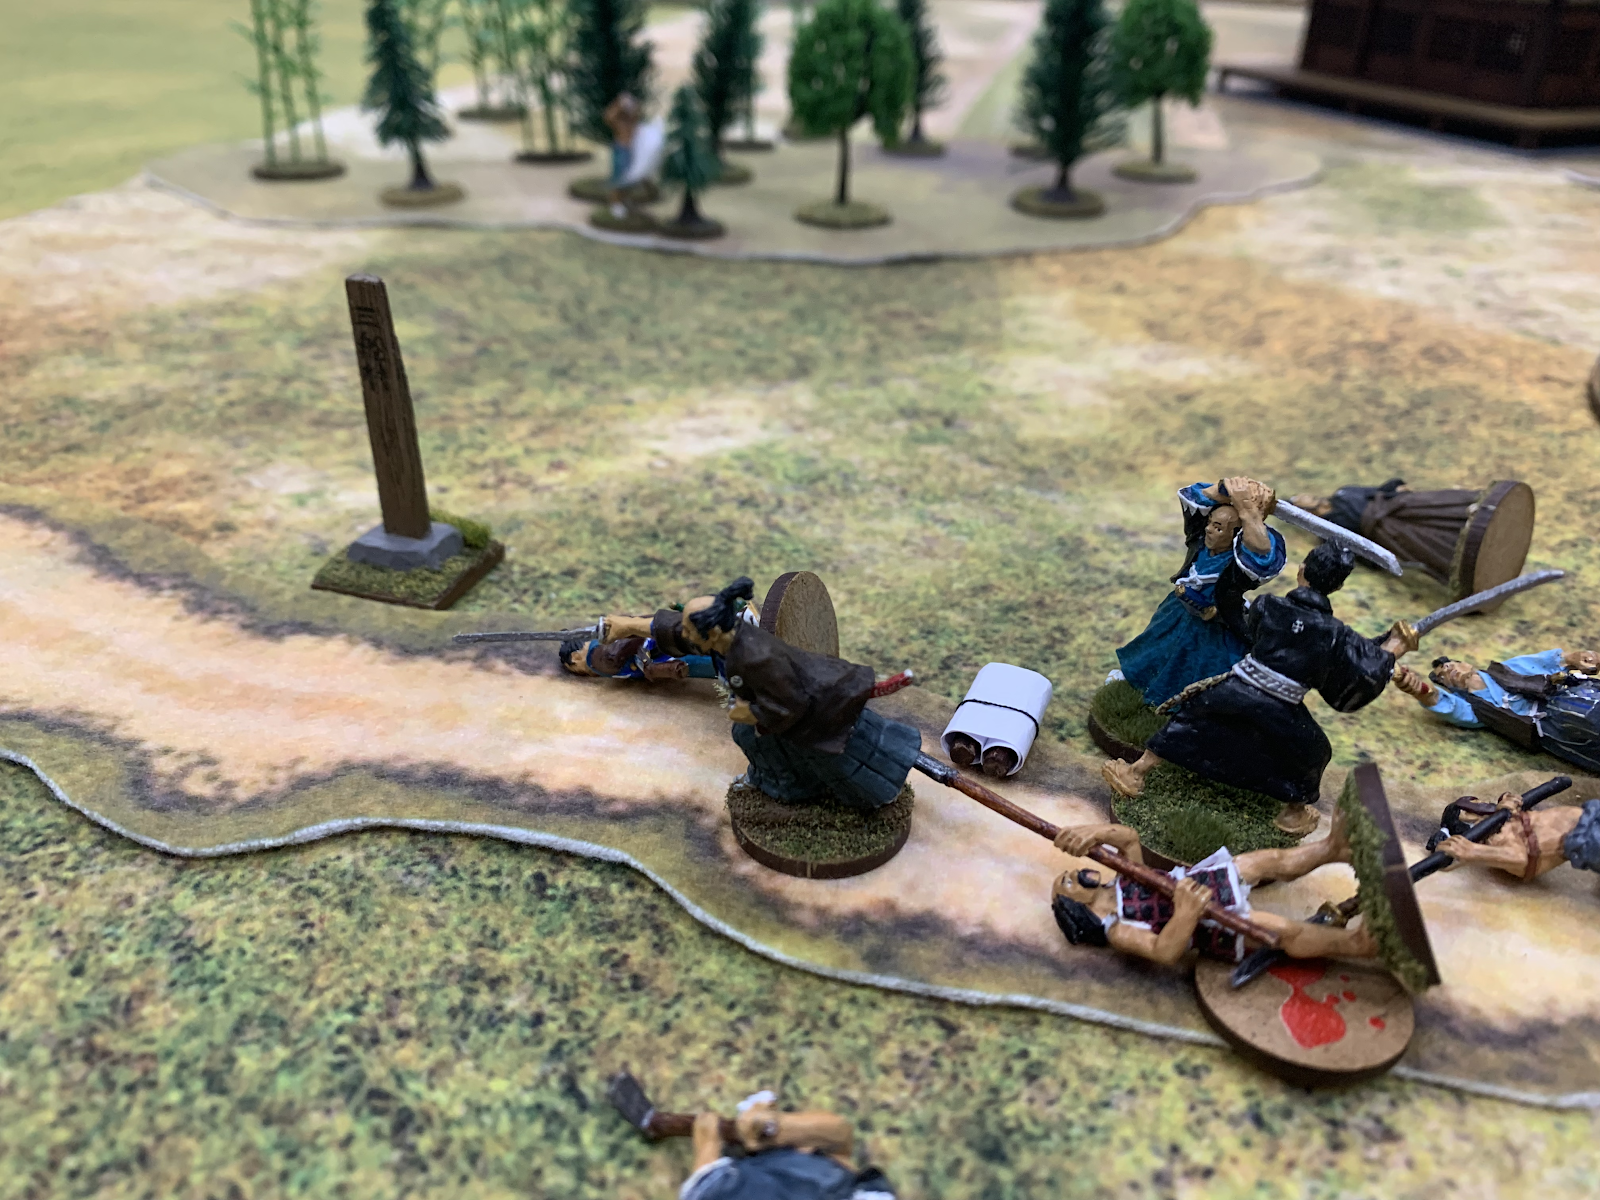
Back to Sharp Practice this week, with a relatively simple setup as Gareth took charge of an Imperial attacking force going up against a Shogunate defender, using the 'Defence in Depth' scenario out of the rulebook. I decided I'd bring out the temple terrain again, a decision with... fateful consequences. We rolled quite high for support (16), so Gareth upgraded his main infantry over to breechloaders, upgraded his light infantry Leader, and got a Musician as well. For my part, the Shogunate force was 1 point lower, so I decided to spend 16 support points on a unit of Yugekitai Skirmishers and took a Holy Man with the leftover point. Suitably fuelled with some churros from a local confectioner's, we set our sights on the battlefield.

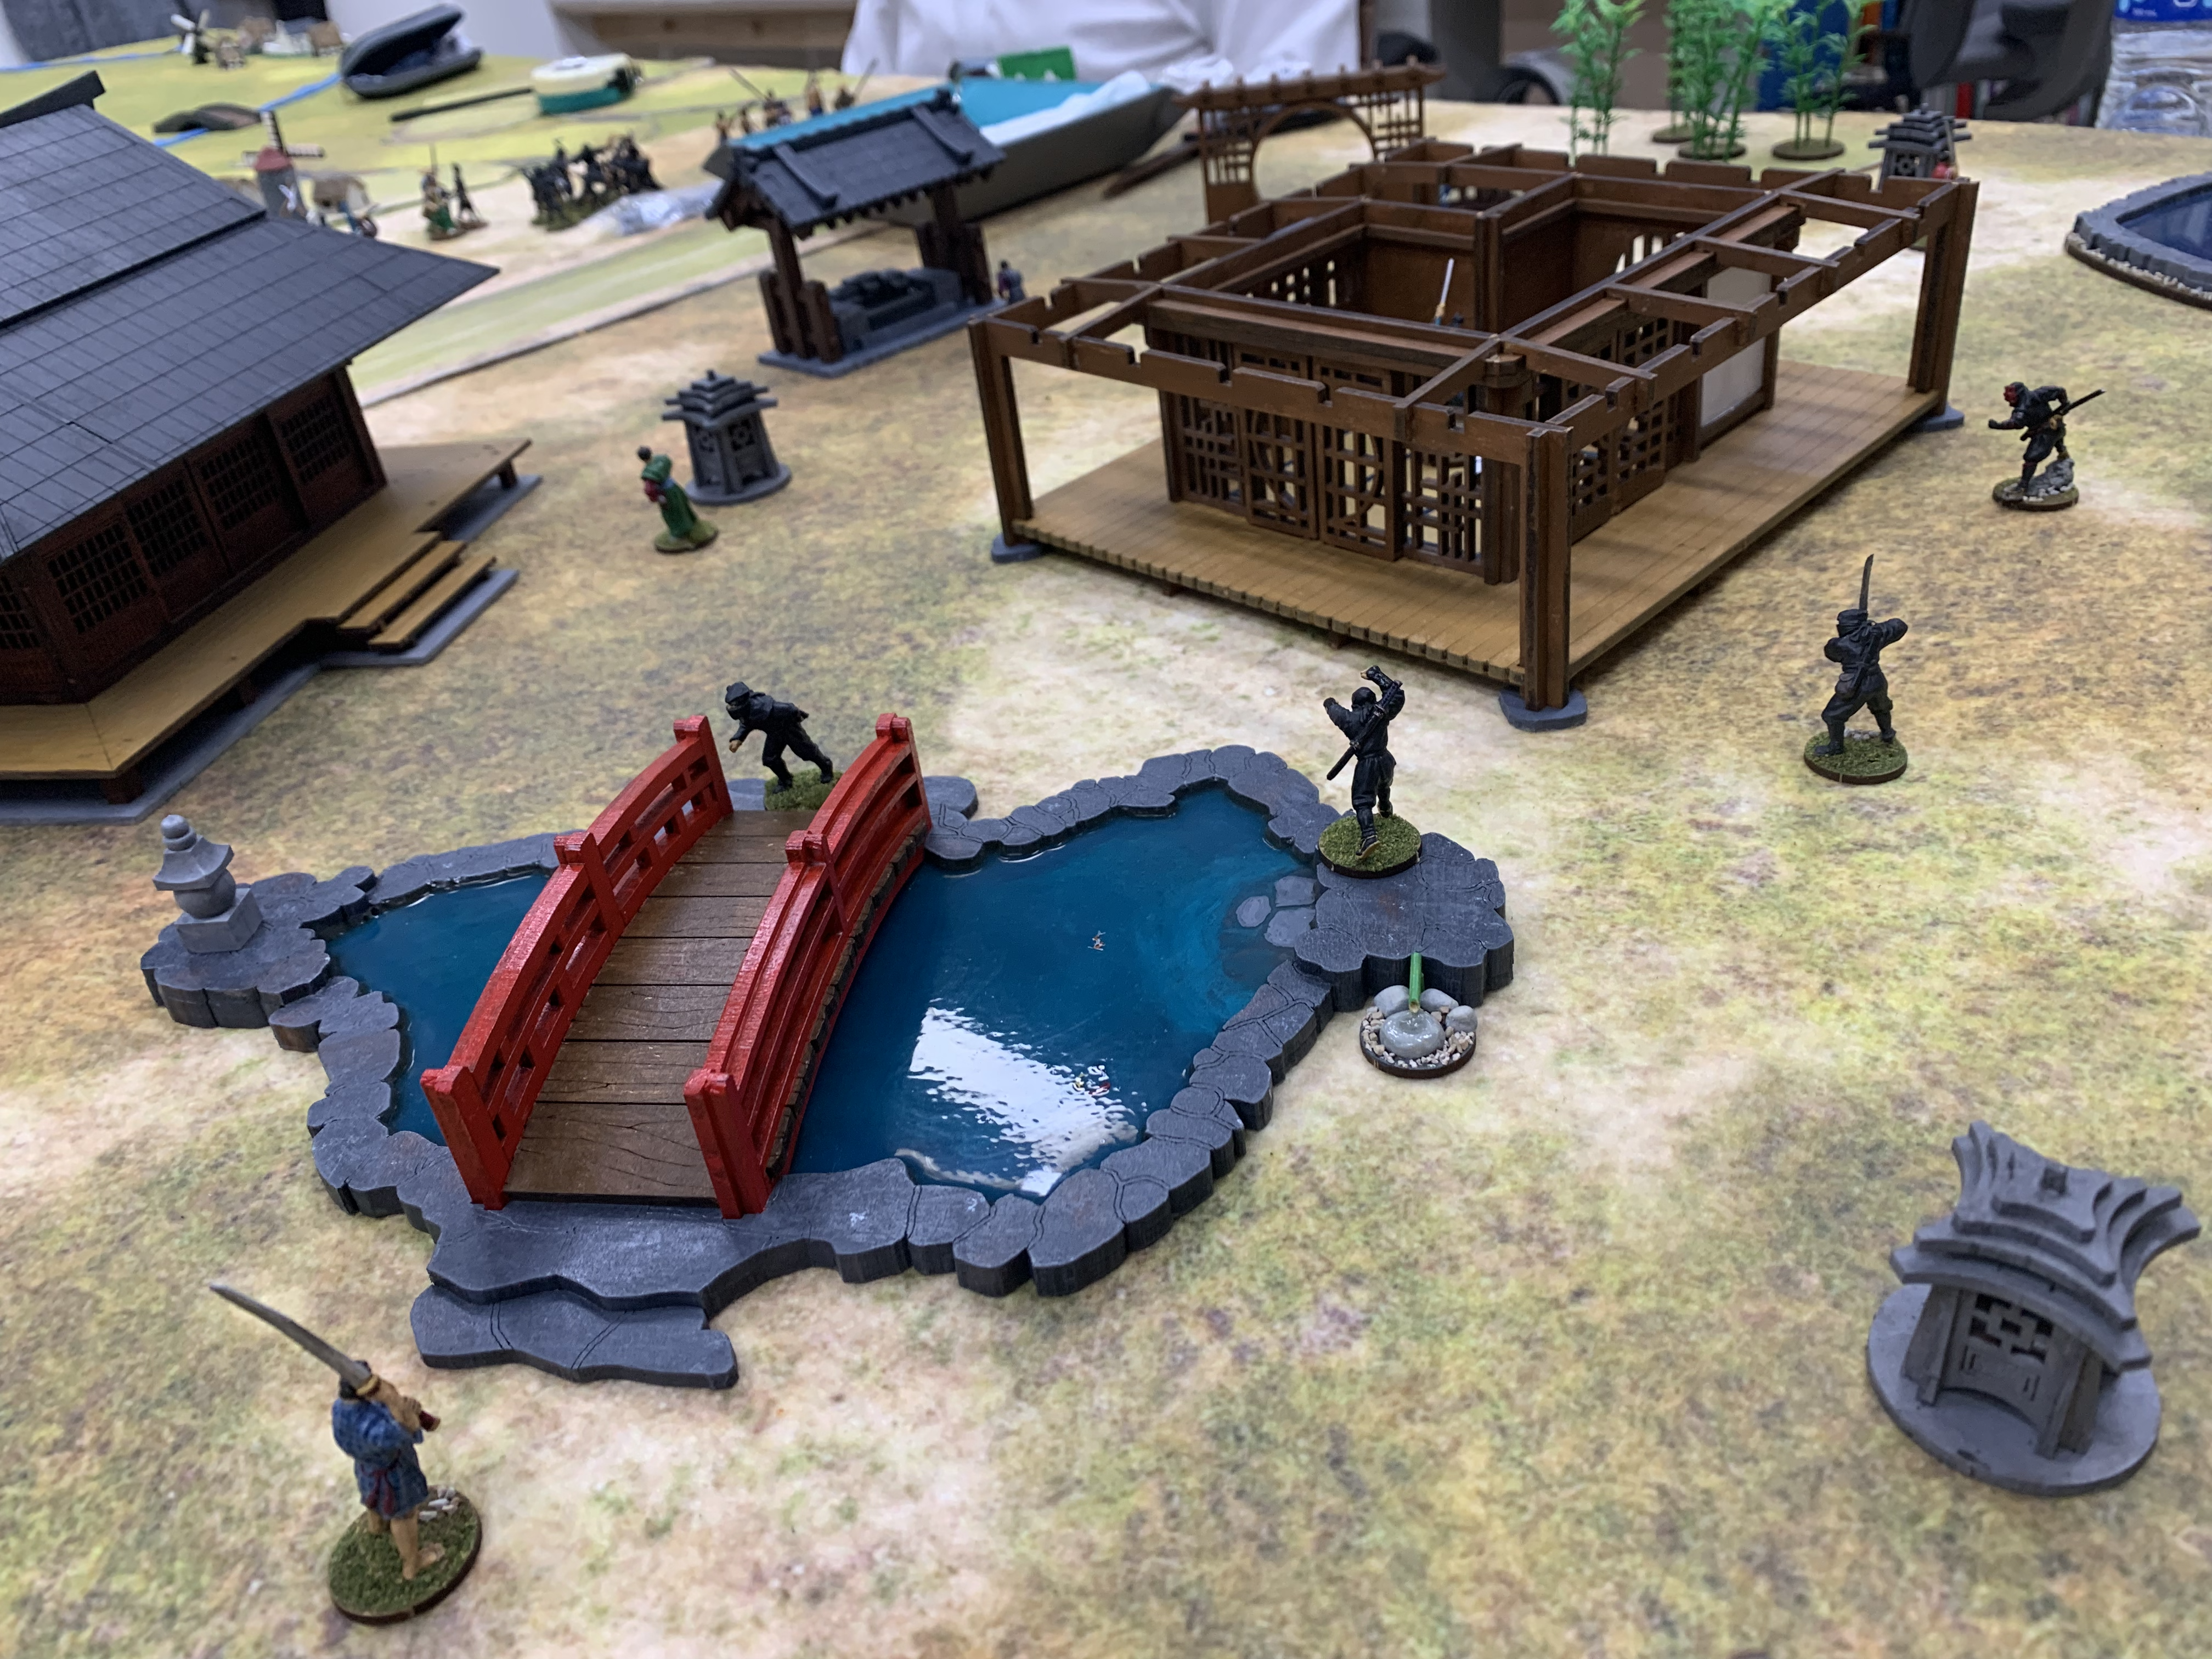
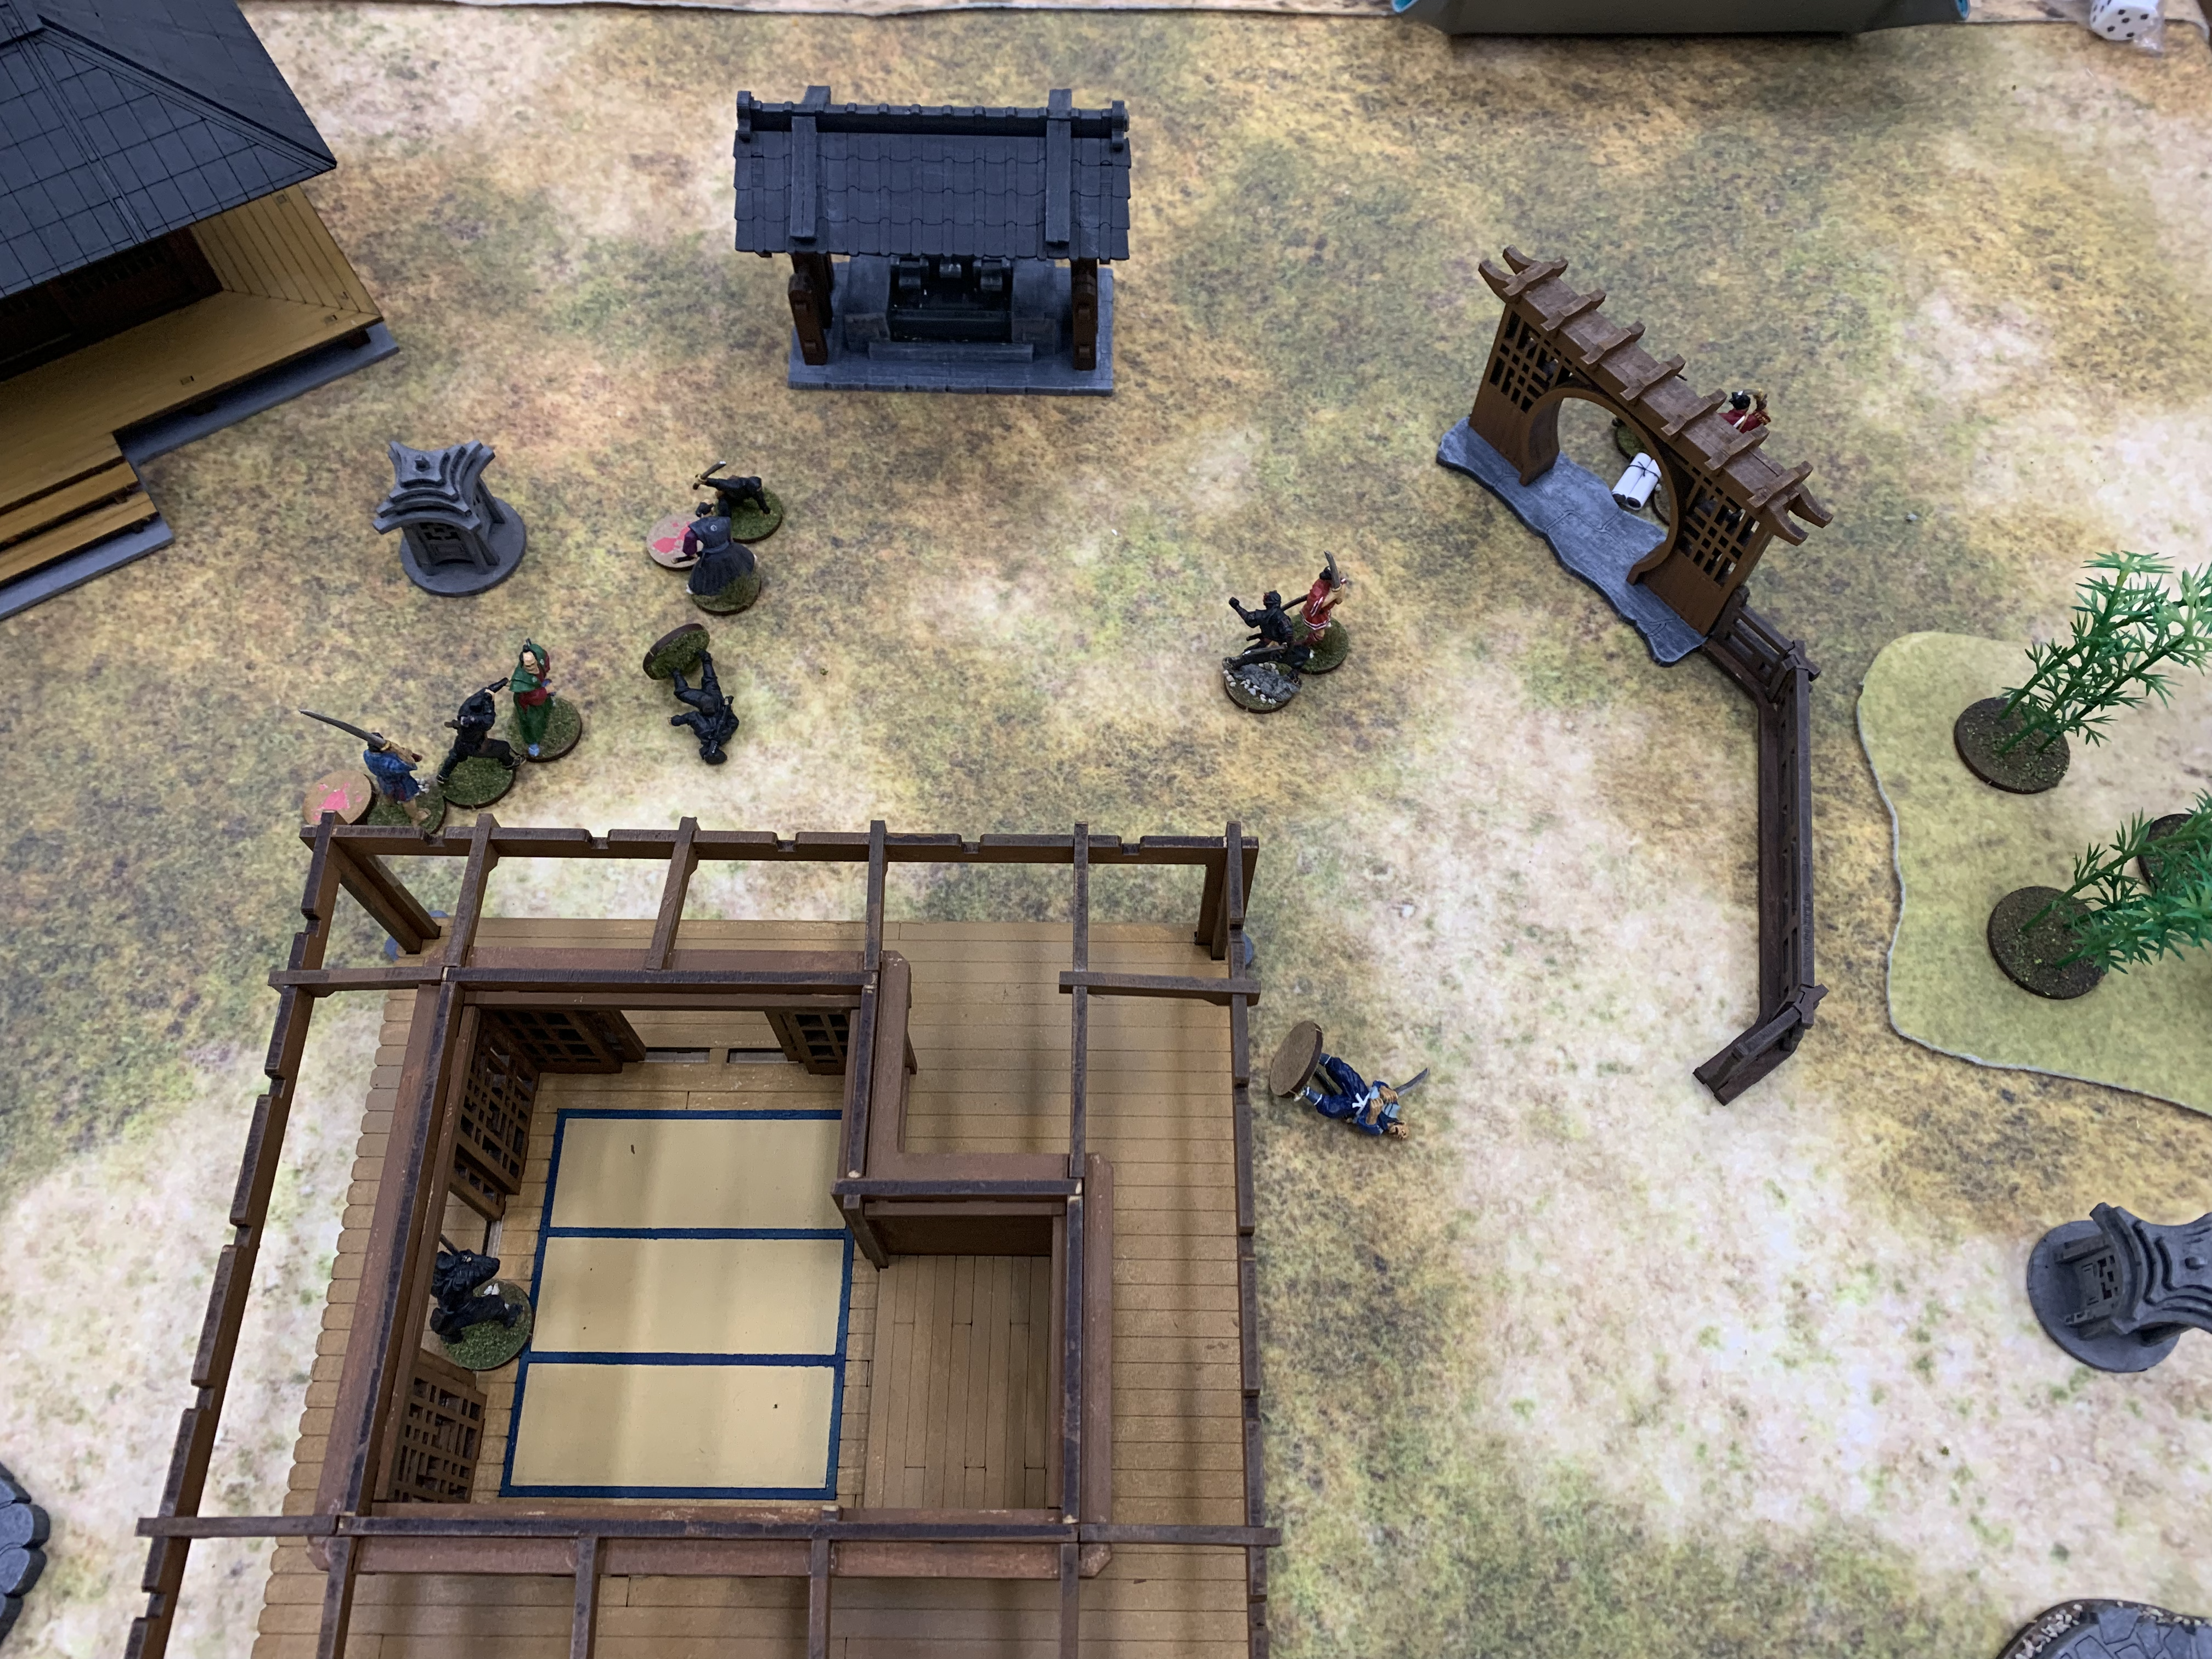
The table: Imperial DP in the upper right corner, Shogunate Primary DP behind the main shrine building, and secondary DP in the theatre (roof removed).

The Imperial force: two Groups of Regulars with BL rifles led by a Status III Leader (black headdress) and accompanied by a Musician, two Groups of Regulars with ML rifles led by a Status II (white headdress), and one Group of Light Infantry with BL rifles led by a Status II (red headdress).

The Shogunate force: two Regulars with ML rifles led by a Status III Leader, two Skirmishers with BL rifles led by a Status II, two Regulars with Muskets led by a Status I, and a Clan led by a Status II.


A set of custom tokens I've done up for Boshin War games, as an alternative to cards.


Gareth opted to try to beeline for his objective by going past the pagoda, but some unfortunate bad draws in the first couple of turns meant he only had a single formation on the table to start off with and didn't have the covering fire he might have liked, especially as my skirmishers started taking up positions in the pagoda.

End of turn 1: Some Shogunate elements on the table; Imperial column prepares to enter the temple complex.

End of turn 2: Imperial column shelters behind a shrine as the Shogunate skirmishers start occupying the pagoda.

End of turn 3: Imperial force fully deployed.

End of turn 4: Developing situation on the left as the Imperial skirmishers rush into the woods to try and occupy the Shogunate rifle line.

Turn 5 is a Chapter End as the Tiffin is drawn first.

Turn 6: First fire by the skirmishers against the Imperial army's second-tier riflemen deals unexpectedly severe damage: three dead and a light wound to the officer!


End of Turn 7: The Shogunate skirmishers shift their fire to the Imperial column in the open, which takes severe Shock as a result.

Turn 8: shock result as the Imperial skirmishers manage to kill three Shogunate riflemen!

Shogunate losses mount further as rifle fire from the men behind the fence manages to kill one of the skirmishers on the first floor.

Gareth takes advantage of a four-card activation to fire his muzzleloaders again (to no effect) and to do some more rallying on his beleagured breechloader men.

Unfortunately, I managed to get my musketeer Leader to activate with three cards, which means an Ambuscade!

In two close range volleys, the Imperial light infantry lose five men, their Leader is knocked out, and they suffer four Shock points and become Broken.

By the end of Turn 8, some good shooting on the left has led to the Imperial breechloaders taking heavy losses too. Is this the end already?

Turn 9 suggests perhaps the answer is no! Three more Shogunate Skirmishers dead, and Shock starting to come in too. At the end of the turn, they will begin withdrawing from the pagoda towards safety

On Turn 10 I decided to push forwards to cover the withdrawal of my skirmishers, forming my line troops into column and advancing towards the central road.

No Imperial activations on Turn 11, but my only significant move was to try to push my musketeers further up, only to roll a triple 1.

Turn 12 saw more favour from the dice gods as the musketeers raced across the gates onto the flank of the Imperial riflemen.

Unfortunately, I had yet to reload my muskets, giving the Imperial riflemen a head start on Turn 13, while both my Skirmisher leader and Gareth's force commander worked hard at rallying the Shock from their beleaguered troops.

A volley into the rear of the Imperial musketeers failed to cause decisive damage: six Shock on one Group and two on another, not enough to cause any involuntary movements, and considering that they were moving away, not slowing them down either. Worse still, a Random Event meant my musketeers could now only fire at close range!

And so the Imperial riflemen were able to rush through the gate to relative – if temporary – safety, while the Shogunate riflemen shook out into line and prepared to enfilade them should they attempt to move out.

Turn 14 saw an interesting reversal of the scenario concept in which the defenders managed to take the attackers' primary DP.

Tense standoff on Turn 15 as the Shogunate musketeers move up while the Imperial officers focus on rallying, in the hopes that they might be able to make one last mad dash towards the side of the pagoda.


But it was not to be. After a brief Turn 16 that saw the musketeers advance, on Turn 17 they pushed up to the fence and fired a devastating volley into the rear of the Imperial assault column. Not enough to break anyone... yet.

But this withdrawal now forced the column directly into the line of fire of the Shogunate riflemen, who, in their first volley of the game, decisively broke the Imperial force.

With Force Morale down to 4 and commander's morale not much better, this was where we called a halt.

I do wonder whether my terrain setup was just a bit too favourable to the defender here. The pagoda is a tough strongpoint, especially with two windows and a doorway facing in every direction on each floor. Even rating it as Light cover wouldn't help much when Skirmishers get an extra cover level anyway. On the other hand, if the Imperial Light Infantry unit had joined one of the line units behind the fences and fired into the pagoda from cover, that might well have provided the necessary covering fire for the other line unit to push forwards and perhaps seize the tower at bayonet point.

For my part, the Ambuscade with the musketeers was a lucky break that was far from guaranteed, and had I not pulled it off I would have been in a tough spot. The table setup here created a lot of open sight lines, and the fighting was far away from the deployment points, which meant that the Shinsengumi shock infantry were unlikely to get very far, while my decision not to upgrade my Status I Leader for the musketeers to a Status II meant that I was really sacrificing those troops' ability to receive fire as well as deliver it. A number of gambles were made today, and it seems mine paid off in a way Gareth's didn't.

A further thought is I should really have been using the smoke house rule that I'd been borrowing from some of the Lard Magazine issues, where units need to roll a 'smoke die' when firing. Had I done so, the fire from the pagoda might well have suppressed itself and led to some more movement again.

Thursday, 20 June 2024

Testing My Honour

Gosh, I've put a lot of things on pause, haven't I? This blog, for one, including all those Japan photos still left over from January. The Ronin campaign has, I'm afraid, sort of fizzled (for now! we might finish next week!), but I only need to make one last push on the British project to call it feature-complete, so that's good at least.

Anyway, instead of progressing on any of those, I've been painting up more 28mm samurai in order to finally have a proper go at Test of Honour. After playing through the introductory scenario a few weeks ago, over the weekend my dad and I had a go at one of the six basic scenarios in the book, pitting a mainly conventional samurai+ashigaru warband against the Rogues and Ruffians set, which I had bought in order to pad out my bandits a bit when I first conceived of the campaign. Both sides fielded 24-point forces, the conventional warband consisting of a samurai hero, an armoured and an unarmoured companion, a sergeant, two spear groups, one bow group, and a single musketeer. The Rogues and Ruffians comprised the full character set, plus one of the Trait cards (which seems to be how you're supposed to play them). While in theory the Rogues and Ruffians would warrant the inclusion of Ambush Quest and Skill cards, and I actually had got quite a few extra cards from other sets of figures I had bought over the last couple of years, we decided just to boil it down to the core set for this game.


For the scenario, we rolled a die and got 'Ambush', with one side (in this case the warband) trying to transport a chest off the other end of the table, and the other (the rogues) trying to steal it for themselves. The chest ended up being assigned to the ashigaru sergeant, which we later realised was a bit of an error since he could only move once a turn unlike the samurai. Not, of course, that this would ultimately matter much...

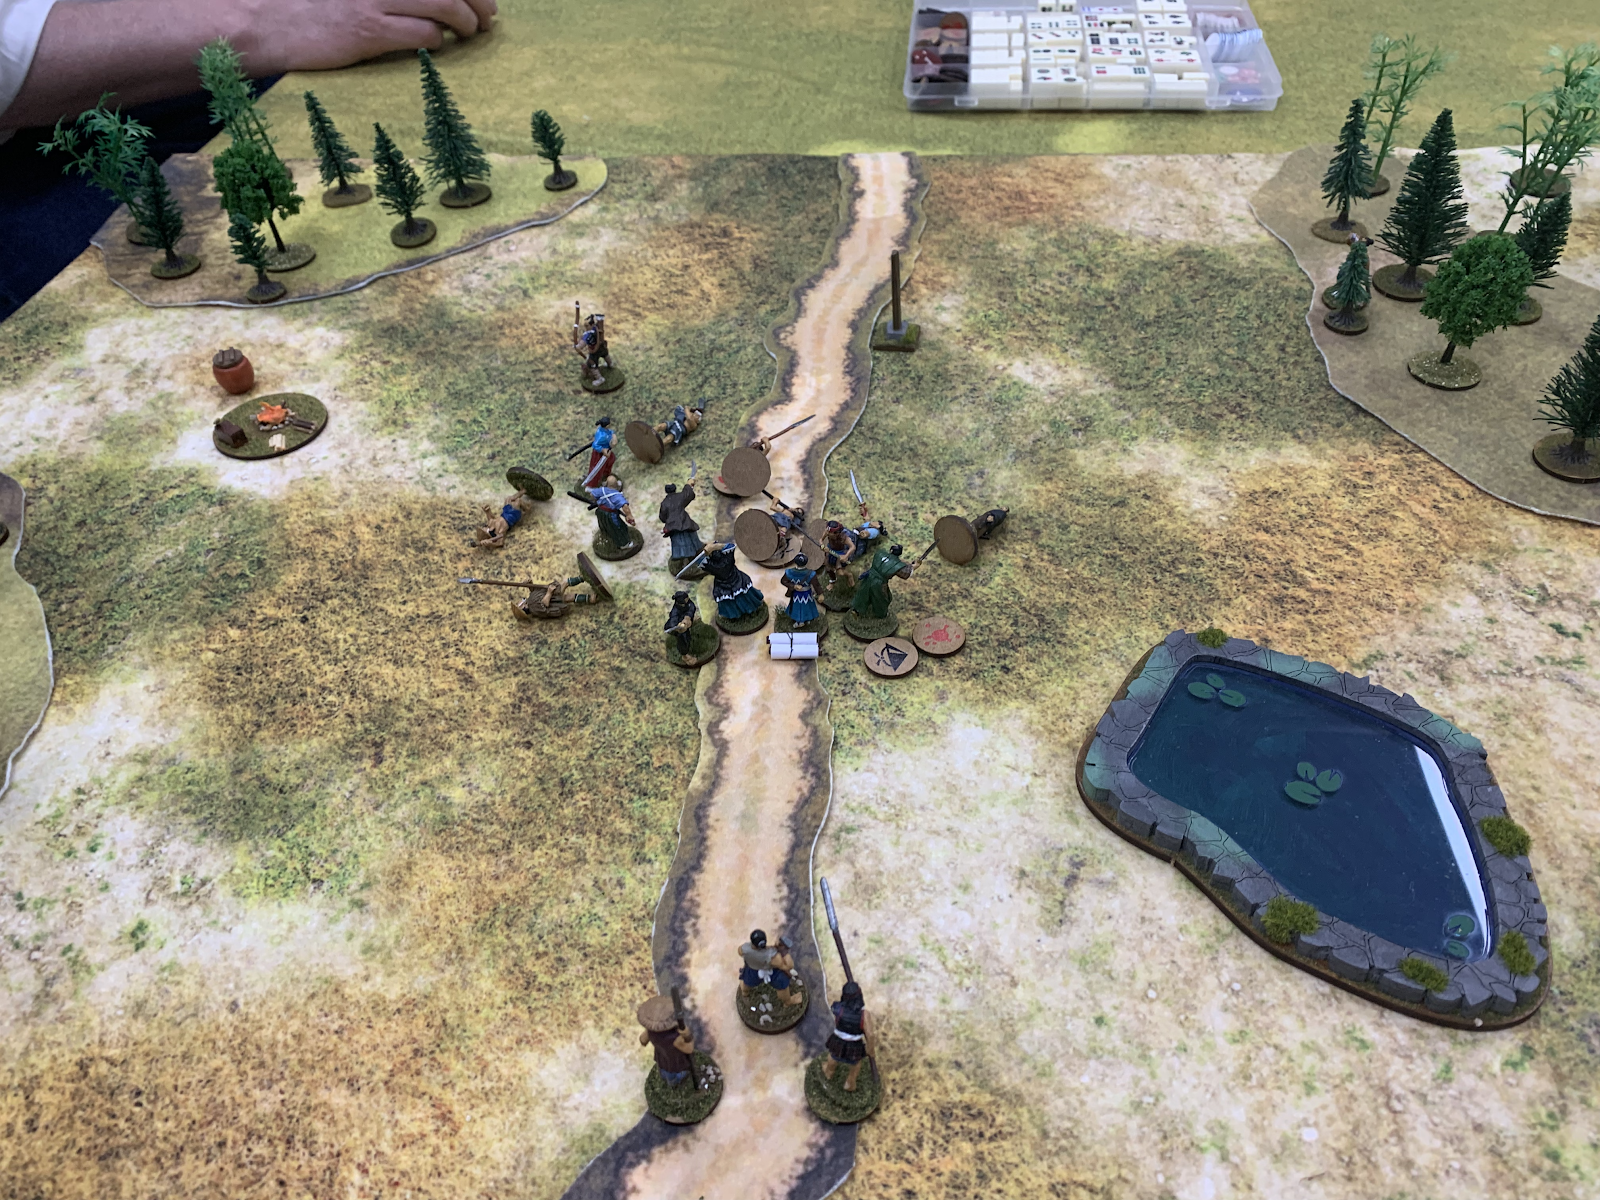
The game started off quickly with both sides moving their melee troops up on the road and by the woods, while the missile troops skirmished on the other side.


First blood would be drawn when the Brute character among the rogues managed to wound and bowl over one of the samurai:


However, he managed to recover and was relieved by some spearmen.


The centre would end up revolving around a fight between the remaining Character figures on the road.


After a charge by the spearmen against the Widow (the dual-swords lady in black) which I was forced to parry, it seemed as though the samurai hero was likely to slaughter her if given enough actions to do so. With 5 Strength dice by default, plus another for the Widow being an unarmoured model, plus another for rolling a weapon bonus during the Aim roll, it seemed certain that she'd be done for... until.


Phew! Unfortunately this reprieve would not last. Not long after, I activated my musketeer, the Drunkard, who proceeded to, er, fire directly at the Archer next to him. Thankfully, he missed.


Fortune seemed to swing my way again when the samurai hero rolled a fumble result on his Aim dice, leading to his suffering a light wound:


However, he got the last laugh when the unarmoured samurai attacked the Widow and scored a pretty decisive Strength result.


While Heroes have a chance to survive an otherwise-fatal attack and instead take an Injury card, I failed the Test of Honour required to do so and so that was curtains for her.

Over on my right, the Brute had managed to chain attacks against one of the spear groups and wipe it out, but was now sandwiched between two samurai (the unarmoured one having rushed off to that flank) and unlikely to make it out alive.


The Witch managed to score a light wound against the armoured samurai, but that would be the last such success this game:


Two attacks from the samurai hero whittled down her defences, and then that was it.


It actually shouldn't have been – I had drawn a Skill card for her that would have given her a 50/50 chance of actually surviving that attack, but, er, I had forgotten it! The Brute fell not long after, and so with all three of my Characters dead, having accounted for none of the enemy's, it seemed high time to quit the field.


In the end, I was quite happy with Test of Honour even if I lost this game quite badly. The comparison to Ronin is obvious: whereas the latter game is a bit more predictable at the movement stage, with all models getting to move, I feel like the single opposed die roll for melée resolution creates slightly too many fringe results to be entirely satisfactory all the time. Test of Honour doesn't necessarily involve less luck, but the need to pass two or three die rolls to successfully land a killing blow does at least give fights a chance to drag out a bit more; there's also a little more opportunity to withdraw from an ongoing combat. While I don't think I can make it work for Boshin War, at least for feudal Japanese games I think ToH may well be taking over from here on out.

Friday, 31 May 2024

Ruminations on Context, Process, and Result in Wargames Rules

While browsing Reddit recently, I ended up stepping into this thread posted by user /u/tehulzpare, asking how he might 'sell' rules with greater asymmetry and complexity to his friends – more specifically in this case, how he might get people to try Chain of Command rather than their existing staple, Bolt Action. As someone who is also sort of facing this question (both my current and previous groups are CoC devotees, but I'm going to be moving away for the next couple of years, near some friends who are mainly BA players), I had my own thoughts going in.

As I was reading through tehulzpare's post, though, I started being put in mind of this blog post by Chris Pringle, author of Bloody Big Battles, from back in 2015, musing a bit on the various directions that rules can go in. To cut it very short (but you really ought to read it for yourself), Chris suggests that rather than seeing rules as falling on a sliding scale from more 'war' to more 'game', we should instead look at rules as striking a balance between three priorities: Context, Process, and Result.

In brief, 'Context' for most historical rules is military history – in the case of a fictional setting, perhaps we can reframe this as capturing something of its atmosphere – while 'Process' is the way the rules are played on a turn-by-turn basis, and 'Result' is about winning and losing. Rules that focus more on Context look to more authentically capture the nature of warfare in their given setting, up to and including directly recreating historical battles; those that focus on Process look to produce interesting and enjoyable mechanics; those that focus on Result aim to produce a balanced game where players of equal skill ought to win or lose at equal rates. In the end, we can plot these factors as a triangle:

Chris' 'Wargaming Triangle'

I'd mulled over that post before, but I had the opportunity to put into words a thought I'd had on this for a while: namely, that none of these three poles necessarily correlates with complexity. A set of rules with a more simulational focus can achieve this both through extreme complexity (for instance, the infamous Campaign for North Africa requires Italian troops to consume more water because they need it to cook pasta) or through abstraction (Chris' own BBB springs to mind). Rules that are too simple might not necessarily be fun (which has been the case for about half the people I've tried roping into The Men Who Would be Kings) and certain complexities can often be the thing that fundamentally makes certain rules interesting (take, for instance, the system of Attack and Defence counters in Ronin, or the various command and control mechanisms found in most Lardies rules), but rules that are too complicated can just turn into interminable maths exercises. Chess and its abstractions produce an almost completely 'fair' game (first-move advantage for White aside), but 'tournament' rules for historical wargaming can be filled to the brim with various esoteric numerology in order to achieve 'balanced' outcomes.

If what distinguishes these various poles is not complexity, then it must be something else. My conversation in the Reddit thread suggested that it might instead be the matter of asymmetry: a Context-heavy game will naturally tend towards asymmetry because it is what that context provides for. A Result-driven game actively aims to try and suppress and mitigate asymmetry in the interests of balance. Process, however, is basically independent of either of these because what matters is the moment to moment, rather than the start and end. It stands to reason, at least to me, that under this particular scheme, while you can have a game that is both Context- and Process-focussed or both Result- and Process-focussed, you cannot have one that is both Context- and Result-focussed. In other words, you can have a game that makes Isandlwana fun, or you can have a game that makes a balanced engagement between a British force and a Zulu force that are materially equivalent fun; you cannot make a game where the British and Zulus have an equal chance of actually winning the Battle of Isandlwana.

The three priorities would instead seem to form a grid rather than a triangle, with a spectrum running from more Context-focussed to more Result-focussed, and another perpendicular to that signifying mechanical interest.

The 'Wargaming Grid'

But not long after I came up with The Grid, it struck me that even that sort of doesn't quite work. The reality is that 'Context' games actually do make an effort to mitigate asymmetry (or at least, tend to – I'll get on to that), while 'Result' games aren't actually all that symmetrical.

The reason for that is that both types of game make use of what I will term 'complementary asymmetries': that is to say that strengths will be balanced by weaknesses in theoretically equal measure. If you have a set of rules with a points system for army building, then it will normally make better troops cost more: if I play a game of Blücher where I bring only Guards, and my opponent only brings conscripts, in theory their inferiority in quality is made up for by a superiority in quantity. Asymmetry is mitigated, but very much present and accounted for. To be a little heretical, BBB scenarios are, in a sense, also result-oriented: generally speaking, the stronger force will be expected to achieve more difficult objectives than the weaker in order to win; in theory, equally skilled players should still win and lose at roughly comparable rates.

That is not to say you cannot have 'Context' games (in this case I refer to individual scenarios rather than necessarily a set of rules as a whole) that are essentially Result-agnostic, but I would argue these tend to fall into one of three categories:

  1. Bad design, where the scenario simply was not balanced around the forces and objectives involved;
  2. Intentional disparities in difficulty (for example, not all of the historical battle scenarios for Twilight of Divine Right give the weaker side an easier objective); or
  3. Battles as part of campaign games, where the 'context' is not so much specific military history as the decisions made by the players leading up to the events of the day.

It is these situations where games will have strong context, but not attempt to create a balanced result regardless.

So, if we can indeed have Context+Process games, then we end up back at the triangle where we started from. And yet, the more I think about it, the less convinced I am that there are necessarily any games out at the points of the triangle. All rules must have Context, Process, and Result. Context is how the game starts, Result is how it ends, and Process is how you get from one to the other. Not unlike Clausewitz's Trinity, real wargames, like real war, may gravitate towards these poles to varying degrees at varying times, but they are never solely characterised by one of them. No set of rules (at least, none that anyone will actually play) gives you a setup and a set of victory conditions, and then provide no actual mechanics for resolving it.

To be fair, this is perhaps stretching Chris' words a bit from priorities to actual content, but for me at least, I think this Inscribed Circle model helps preserve the theoretical idea of the three poles while perhaps taking a bit more stock of how wargames tend to play out in practice.


Does it really matter in the end? Probably not, but at least I've had a chance to write out some sundry thoughts that have been going around for a while.


Saturday, 25 May 2024

The Kenshin Ryu Campaign, Scenarios 2 and 3: Assassination and Duel

So, here's a turn-up for the books!

Unfortunately, Gareth was ill last week, but this week his son Tim turned up as well, so they ended up splitting between them: Gareth and I would play through the Assassination scenario to give Tim a chance to re-familiarise himself with the rules, and then Tim would take the Koryu for the Duel.

Game 2 was... well it certainly was something. Owing to the En Garde points changes, the ninja force comprised six men rather than the five from the original scenario, and I chose to deploy four to begin with, with two held in reserve to try and stop the Sensei's advance. This, er, did not work out quite to my advantage. My Ninjas all had a less than stellar performance in melée against all the lesser figures, and one was completely swept aside by the Sensei. Right at the end, I managed to win a critical Priority roll and close in with my Chunin... who proceeded to be cut to pieces almost immediately. This left a single Ninja to flee the field in terror.


The less said about Game 3 the better. My plan had been to get some forces in position to do some damage to the Senpai should things go a bit inauspiciously in the duel. Turns out, 'a bit inauspiciously' meant my Leader dying in the first round of melée, leaving all of my troops horrendously out of position and surrounded by hostile Koryu figures. I managed to pull three men out, and my musketeer heroically took down a Koryu Kouhai before being himself cut down (the only Koryu casualty of the entire game), for a decidedly disastrous continuation.


In the end, across the two scenarios, the Bandits had a mere four survivors: one Ninja, one Gashira, and two Bandits. Points-wise, this did not look very good for them, but I was not exactly in a good enough mood to do the maths on this, and decided to focus simply on congratulating my opponents in public while plotting my vengeance in private...

Having more than reversed the losses from Scenario 1, and with the Koryu up 6 points with both a surviving Sensei and having firm control of the scrolls... let's say I'll be asking Gareth very nicely if I can have some more reinforcements ahead of Scenarios 4+5...

Sunday, 5 May 2024

The Kenshin Ryu Campaign, Scenario 1: Ambush

Having dithered and dawdled for a while, I decided to finally get going on the Kenshin Ryu mini-campaign that Craig Woodfield wrote up for Ronin, but with a twist: the basic problem with doing it in Ronin is that when fighting against Koryu, Bandits get enormously more mileage out of archers (firing twice per turn) compared to musketeers (firing every other turn), and the number of bandit archer figures out there is, er... limited to say the least. So, instead I converted the Ronin army lists over to En Garde, which is pretty simple as a process: just subtract 1 each from Initiative, Fight, and Shoot, and then run the unit profile through En Garde's points system. The end result is that troops are generally a bit cheaper in En Garde, but I've got just enough figures to make it work. So, with that all sorted out, the usual Tuesday evening game with Gareth would be Scenario 1: Ambush, with me taking the dastardly bandits.

Gareth, whose force comprised one Senpai, four Kouhai, and six Initiates set up with his main body of men bunched together, with some picquets out to force me to deploy further apart; my own men, with three Gashira (including one archer), seven Bandits (with two gunners), and three Peasants, were thus quite scattered. My plan was to accept that I might take heavy losses if I fought him head-on, so I would simply try to wear down his force at range. This turned out to be perhaps more effective of an approach than either of us had expected...

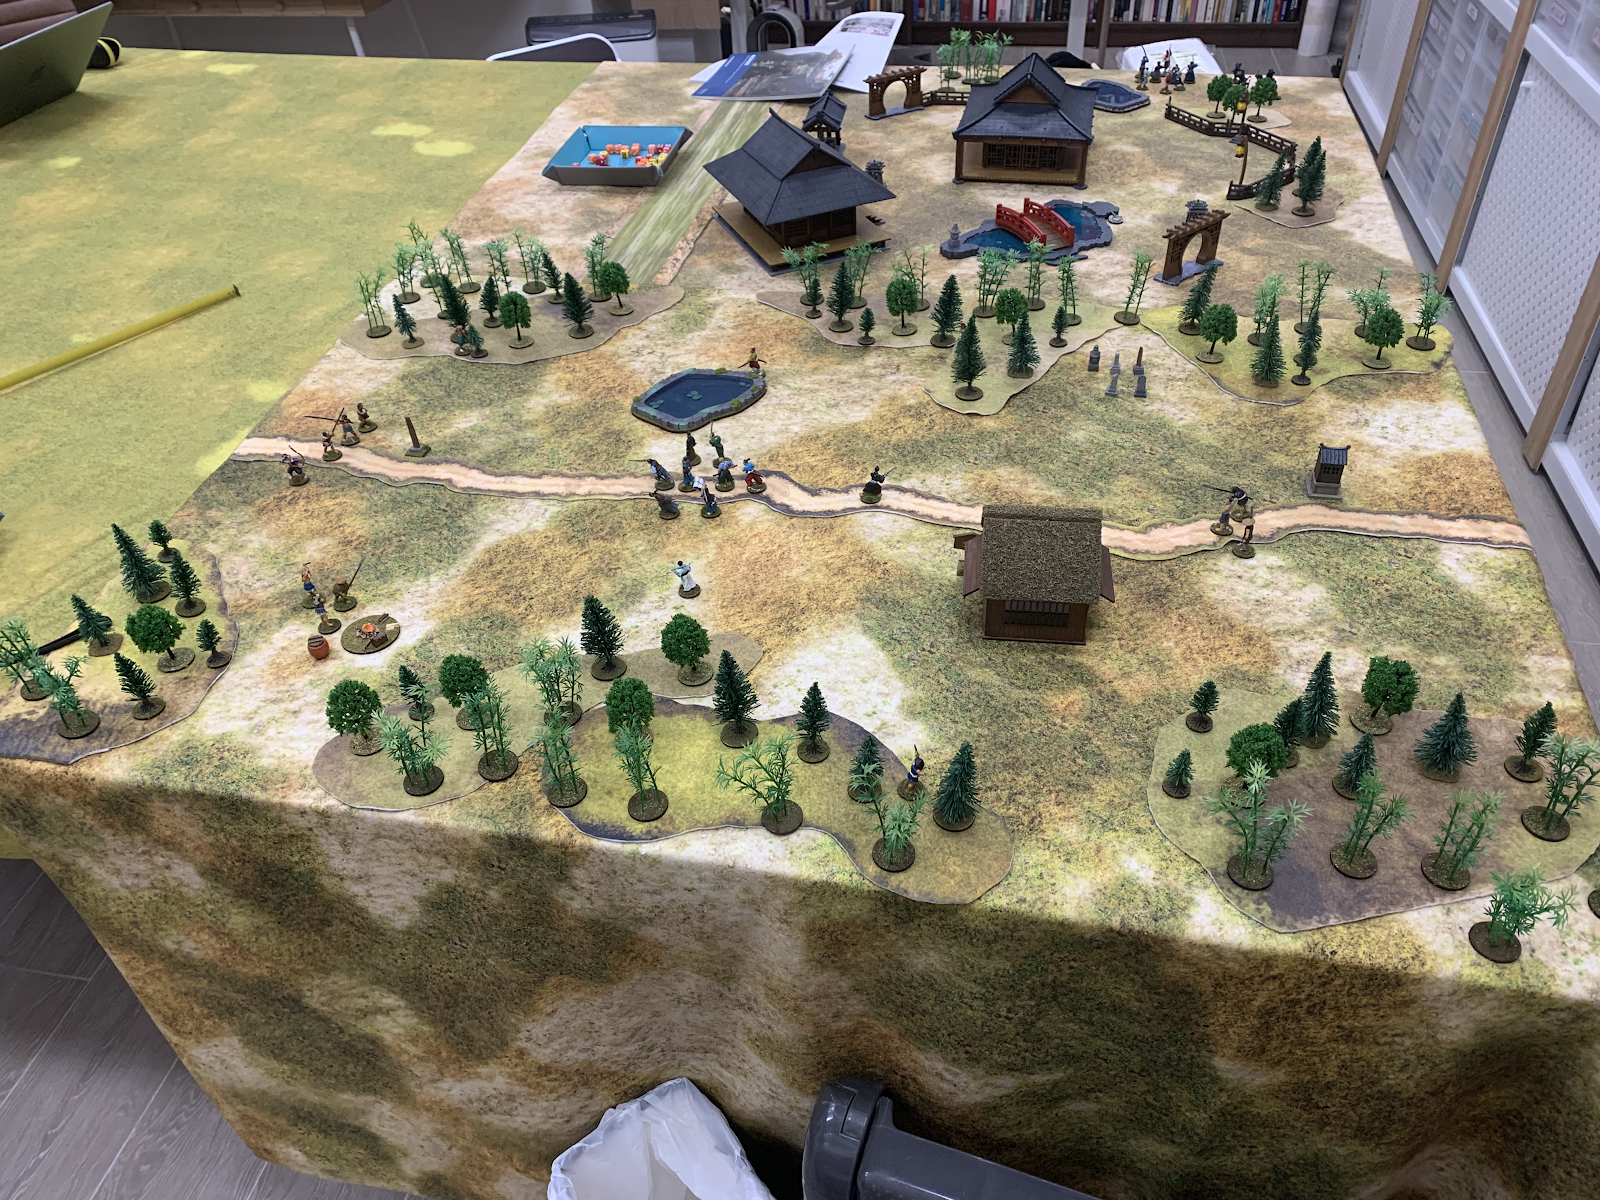
Initial deployment: Koryu by the pond, Bandits closing in. Table for Scenario 2 (which we decided to leave for next time) in the background.

Having not played in a while, Gareth had rather forgotten the importance of using Defence counters, and quickly lost a Kouhai figure in the first melée clash, along with the more expected losses that came from the Bandits' fire.


Despite initially pushing past the first line of Koryu figures, the piecemeal attack by the Bandits quickly ran into trouble once they got stuck in with the more elite core of the enemy.


For a moment it seemed like the result would be a near-draw in terms of casualties while the Koryu escaped with the scrolls, but suddenly, disaster struck. With his second shot of the game, the Bandit musketeer in the corner landed a fatal hit on the Senpai, the only Commander in the Koryu force. Instead of being able to group-move his troops off the table, Gareth was now stuck getting men off one at a time.


After some further shooting attrition, only a single Koryu Kouhai made it off the left side of the table with the scrolls. The only other survivor was an Initiate out on the Koryu right flank, who managed to cut down a Bandit and then flee in the other direction, where no Bandit forces awaited...


The end result was a clear win for the Bandits in terms of the immediate scenario, but in the long run, the Koryu had maintained control of the scrolls. If Gareth can manage to keep his Sensei alive in Scenario 2 next time, the Koryu will have locked down one of the overall campaign objectives, which just about compensates for their losses this time round even if the next game's casualties are about even.

Bandit losses...

As compared against Koryu

Both forces were originally capped at 150 points. Gareth's Koryu originally totalled 149 points, of which he lost a rather terrifying 123, while my Bandits started out with 150 exactly, and lost 56. For now, that means a difference in losses of 67 favouring the Bandits, which translates to 2 campaign victory points.

Next time, we'll play through Scenario 2 and possibly see if we can also fit Scenario 3 in.

Bloody Big (Taiping) Battles – A full run of 2nd Hukou

My BBB Taiping project has sadly lain dormant for a long time, but I had long wanted to play out another scenario and got an opportunity thi...